I’ve been working on this bibimbap with crispy ground beef since my late teens. I’ve finally perfected it as the perfect easy, quick, and delicious weeknight dinner that also appeals to toddlers. It makes a complete dinner for the whole family.
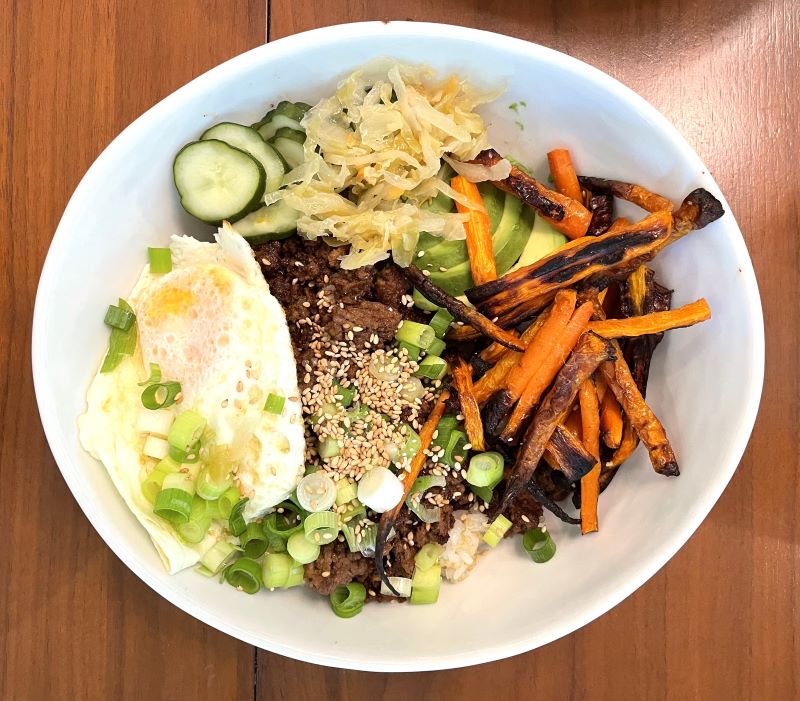
I started on this dish in my late teens when I had an iron deficiency (I was a distance runner). I learned I needed to eat more beef, but I was also a total wuss who was repulsed by the thought of handling raw meat. So I found the easiest possible beef thing to cook. Ground beef came in a package I could open and dump directly into a pan and stir-fry. No need to ever touch the raw meat. Huzzah.
Over the years, I’ve tweaked and refined this bibimbap recipe with crispy ground beef. This is now one of our most-loved family meals, by both adults and, importantly for everyone’s sanity, our children. It’s super quick to cook, and the kids devour the crispy ground beef. It’s as close as we come to a no-fail meal for our picky 2-year-old. (On a related note, see here for vegetable hits for my stubborn kids).
There are several components, so everyone gets to participate in making their own bowl. FYI, it also works well as a vegetarian meal if you have vegetarians in the house. There’s plenty here to make a good bowl without the beef.
We could make this dish more complex, and it has veered that way at times. But the charm of this dish is the simplicity of it. You start the rice (20 minutes cooking time in a sauce pan), which starts the clock for the rest of the cooking. I then try to get everything else done in the next 20 minutes. And it really does work out.
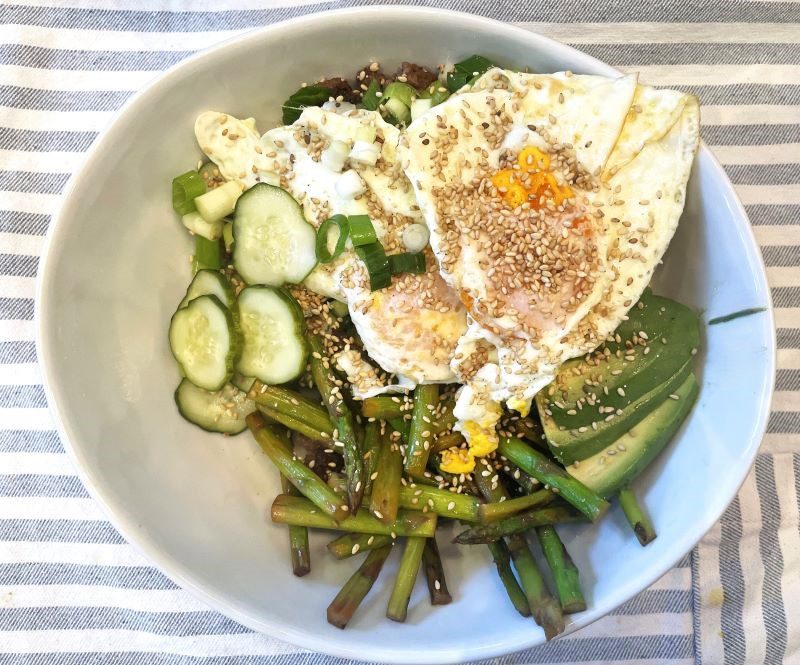
The Key Components of “White Trash” Bibimbap with Ground Beef
I call this “white trash” bibimbap because it isn’t an authentic Korean recipe, just Korean-inspired, and because it can be made with very cheap ingredients. I use rice, ground beef, pickles (if needed, you can make them yourself in about 10 minutes), carrots, green onion, and sesame. The recipe gives an option for asparagus or carrots because I find that asparagus tends to cook up a bit faster. Because I tend to make this dish when I’m in a hurry, my usual choice is asparagus.
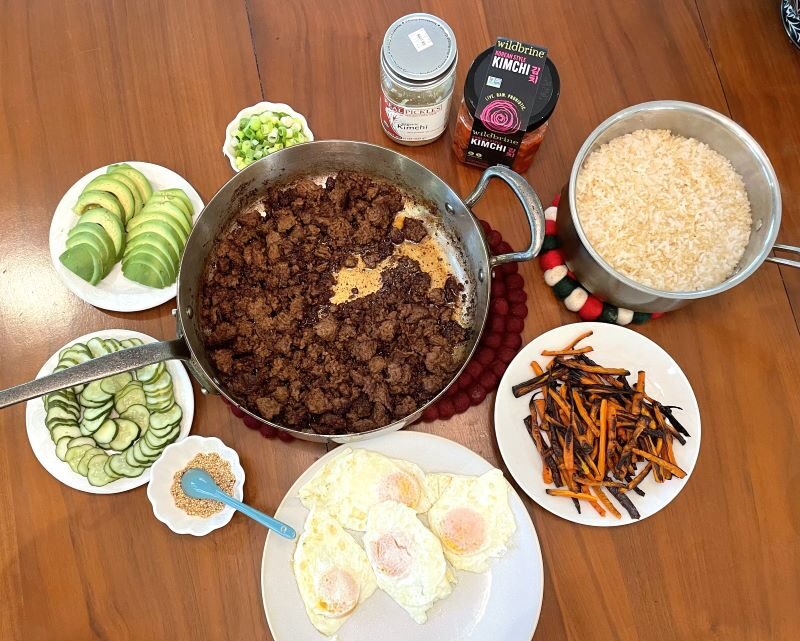
You can easily make swaps as long as you work within the structure of the dish. So what is the structure of this dish? The key structural components of this bibimbap recipe with crispy ground beef are:
- Rice: I suggest sushi rice or a mix of sushi rice and quinoa (I suggest a 3:1 rice to quinoa ratio for picky kids);
- Protein: Fried eggs and ground beef (ground beef is optional for vegetarians obviously);
- Pickled Vegetables: Sour or half-sour pickles (or quick-pickled vegetables – recipe to come) and/or kimchi;
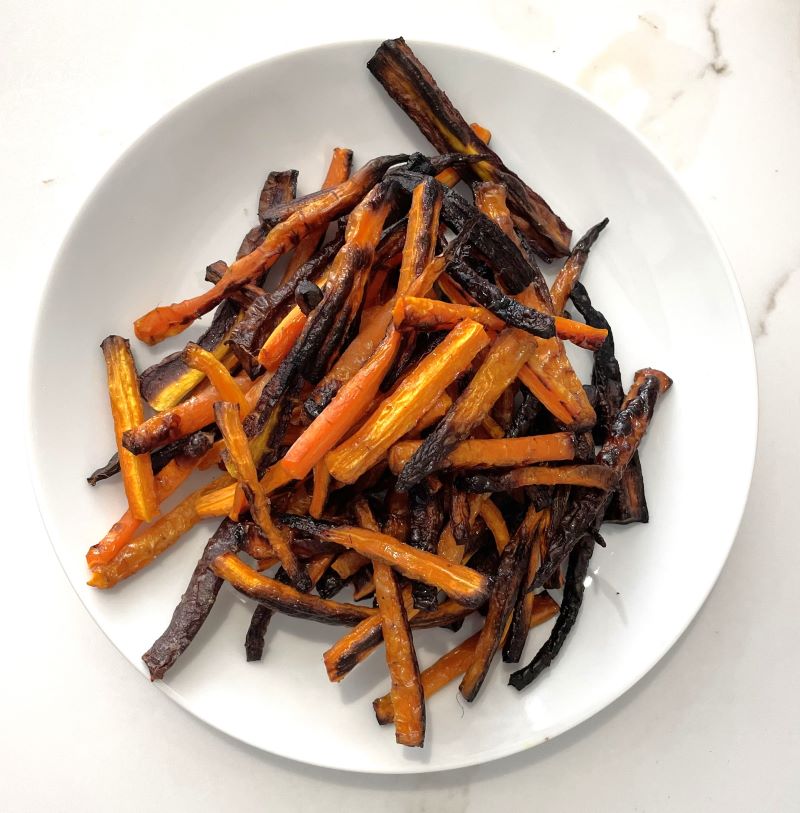
- Vegetables: I like stir-fried asparagus with just olive oil and lemon and/or sliced avocado, but roasted carrots are also very good because they add a sweet element to the mix;
- Toppings: Green onions & sesame seeds.
These flavors and textures just work really well together. So as long as you keep to the structure, you end up with a delicious dish. In the recipe below, I walk through how I typically make the dish to keep things uncomplicated. But wanted to make it clear that this dish thrives on whatever you happen to have in your fridge at the time.
Cooking Technique Matters
The key to making the beef in this recipe taste good is in how you cook it. You need to brown it and crisp up the beef and, at the last minute, cover it in delicious soy sauce and then lemon. I’ve tried hacks that call for a baking soda slurry to be added to the beef to crisp it up, and they work — but they also give the beef a bit of a weird rubbery texture that I find unpleasant. So I’m sticking with old-fashioned buying 80/20 ground beef and cooking it in a way to maximize browning and minimize moisture release.
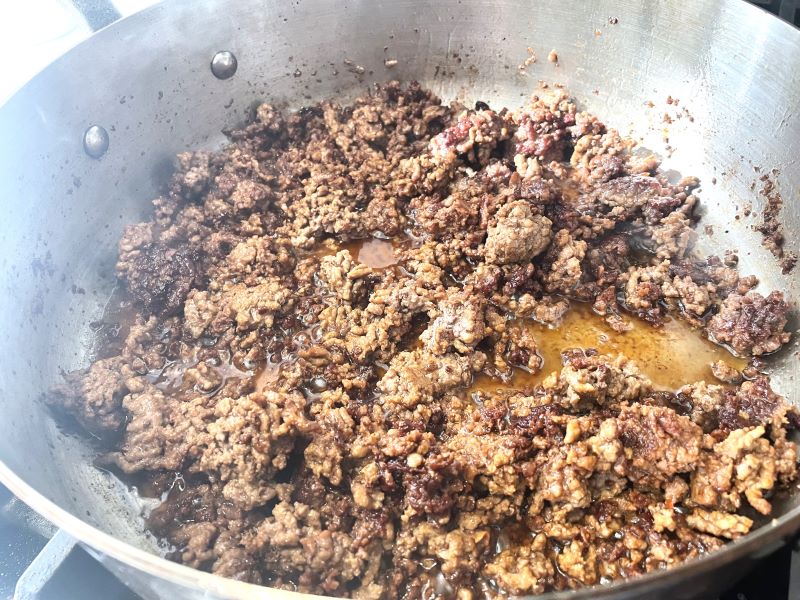
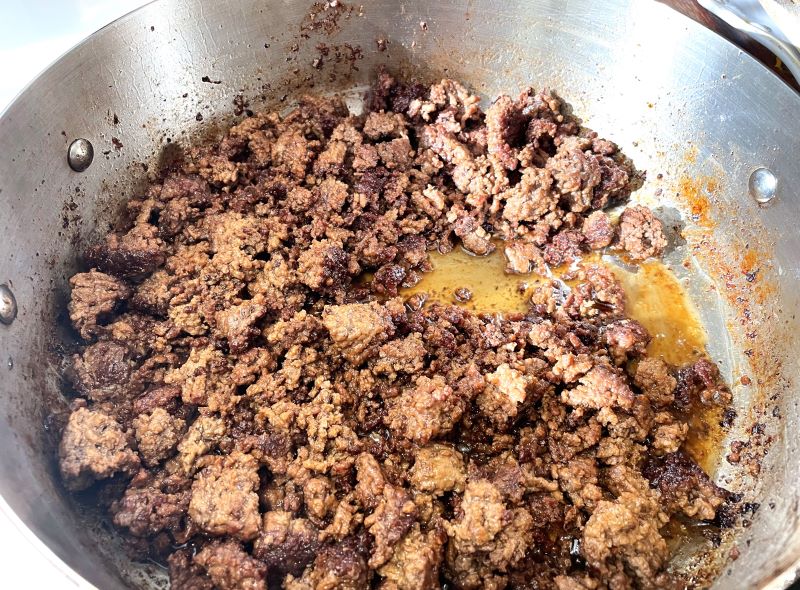
Details on cooking technique are in the recipe below. You can see how crispy the beef gets in the image above.
Now, on to the recipe!
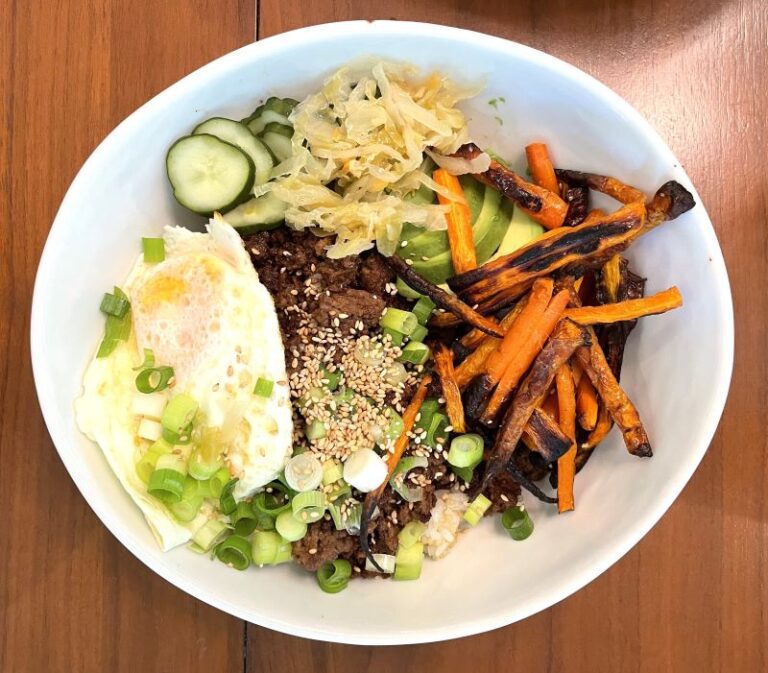
White Trash Bibimbap with Crispy Ground Beef
Korean-inspired crispy beef over rice
This is a go-to recipe for a quick weeknight dinner that kids and adults love. Everyone gets to make her own bowl from the offerings of crispy beef, fried eggs, vegetables, pickles, green onion, sesame seeds, and rice. My kids love sprinkling sesame seeds on everything.
Recommended Equipment: There are some moving parts to this recipe – I find the ability to set a couple of timers really handy as a reminder to check on each element (I do this on my watch).
- Total Time: 20 minutes
Ingredients
Base
1 1/2 cup sushi rice (you can use another rice, but note that the amount of water used to cook the rice will differ)
1/2 cup quinoa (optional – you can replace with 1/2 cup rice)
1 bunch asparagus or carrots (your choice!)
olive oil
2 lbs 80/20 ground beef (you can go leaner, but the beef will not be as crispy.)
1 1/2 lemons
1/4 cup soy sauce
3–4 eggs
Toppings
1 avocado
1 bunch green onions
pickles
kimchi
sesame seeds
Instructions
1. Start the rice.
Add the 1 1/2 cups of sushi rice to a saucepan. Rinse the rice 2-3 times until the water runs almost clear (I just swirl it around the saucepan and pour out as much of the cloudy water as I can before spilling rice into the sink).
Add the 1/2 cup quinoa and 2 1/2 cups of water. Salt the water. Set the pan over high heat. Bring to a boil, stir, cover, and set to a very low heat.
Set a timer for 20 minutes. Once finished, just turn off the heat and leave the rice covered to rest until you’re ready to eat.
2. Prep the vegetable of your choosing (asparagus or carrots).
Asparagus: Wash off the asparagus and snap off the tough ends. Slice it into pieces approximately 2 inches long. Set to one side.
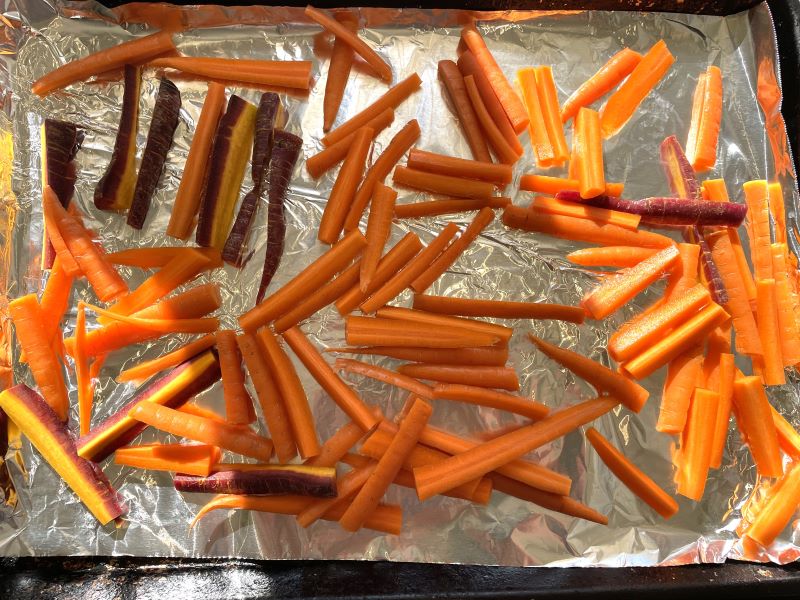
Carrots: Wash the carrots. Slice them into thin strips, about 1/3 of an inch thick at the thickest. They need to be thin so that they cook quickly. Place them on a sheet tray lined with aluminum foil. Spray them down with olive oil (I use this sprayer so I can use good quality olive oil) and dust them with salt. Pop them in the oven at 425F, convection if you have it, for about 20 minutes. Check on them every few minutes starting around 15 minutes.
3. Start the crispy beef.
Heat a steel or copper bottom pan (not non-stick – we want this pan to get HOT) and add some olive oil. Let it preheat for 45 seconds to a minute at medium-high heat.
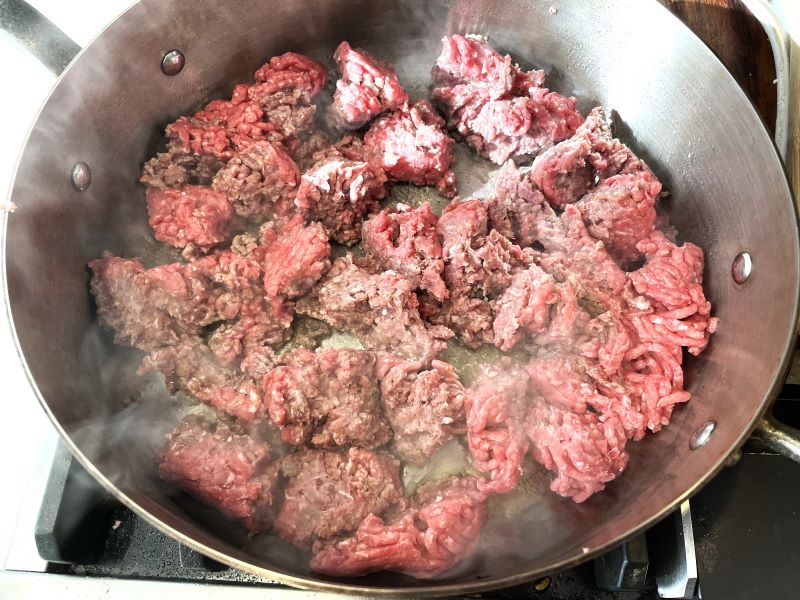
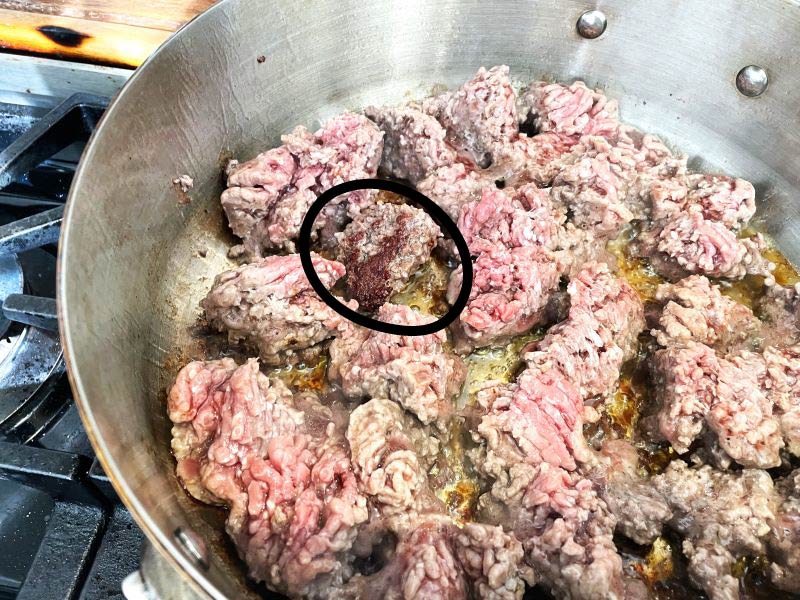
Dump the ground beef into the pan. With a wooden spoon, break the ground beef up into chunks to cover the bottom of the pan. You don’t want it to completely cover the bottom so that you can’t see any of the pan. You’re just making sure there is a good distribution of beef all over the pan so we can get some good browning. (See picture below.)
Then let it cook, undisturbed, for about 5 minutes. Monitor the heat during this period to make sure you don’t have a lot of smoking but do see a lot of aggressive sizzling. In general, think of this like cooking a hamburger. You want to let it all brown well on one side before you flip it. If you move the chunks of ground beef around during this time or mash them up, the beef will release moisture into the pan and the beef will boil, not fry. It is difficult to overcook the beef during this period, so err on the side of cooking longer.
4. If you’re doing asparagus (not carrots), now is the time to start it.
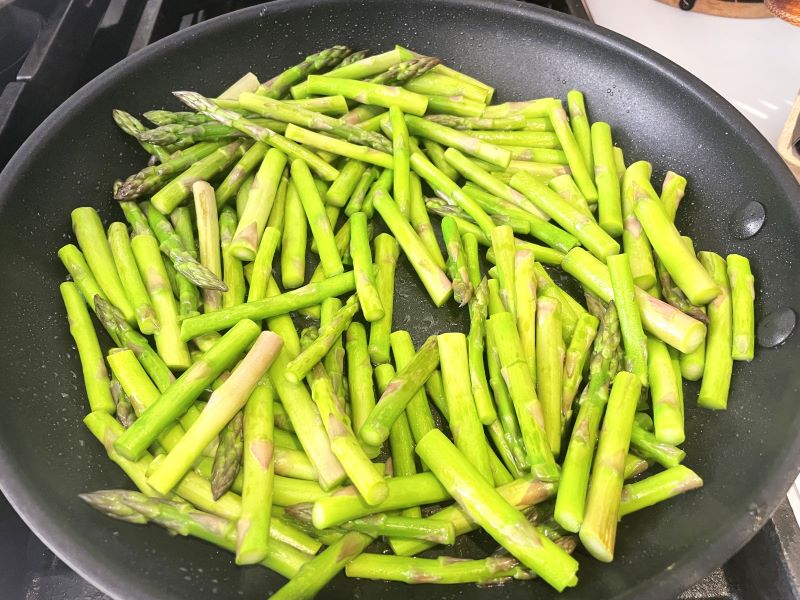
While the beef starts browning, start the asparagus. Spray a nonstick pan with olive oil and set over medium heat. Put the asparagus in the pan and let it sit for several minutes. This will sear the asparagus without making it mushy. Only after it has sat for several minutes will you give it a stir.
5. Slice the avocado.
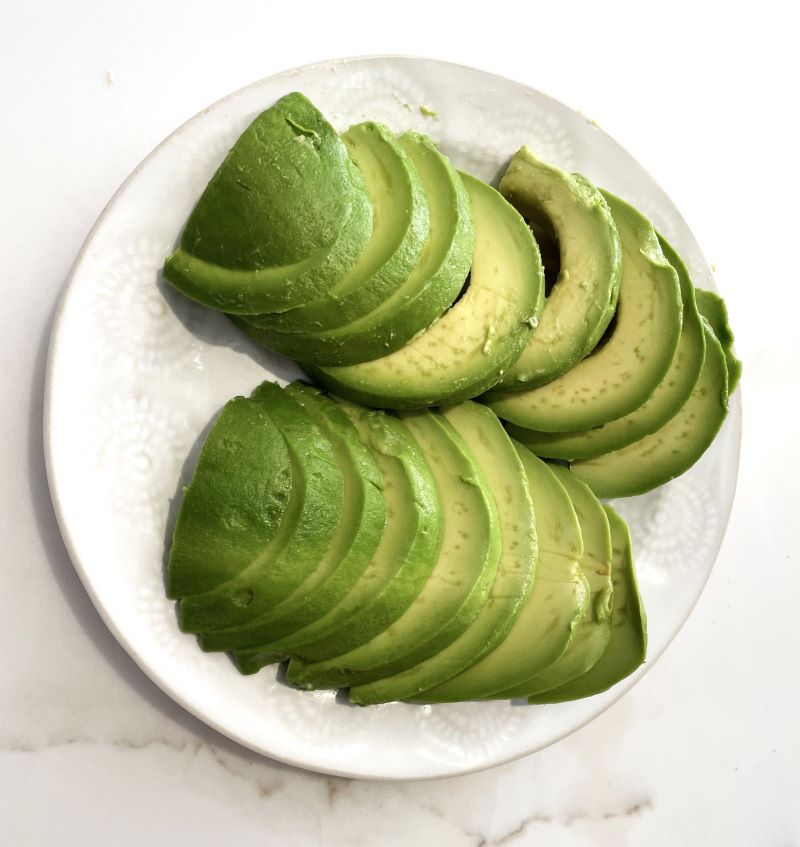
While the asparagus/carrots and ground beef cook, slice the avocado.
6. Check on the beef.
Check on the beef by flipping over one of the beefy chunks to check on how it has browned. It should look like the picture below (see the one flipped over chunk with some good browning).
If it hasn’t browned much, let it sit for another minute or two and then check again. If in doubt, let it brown longer.
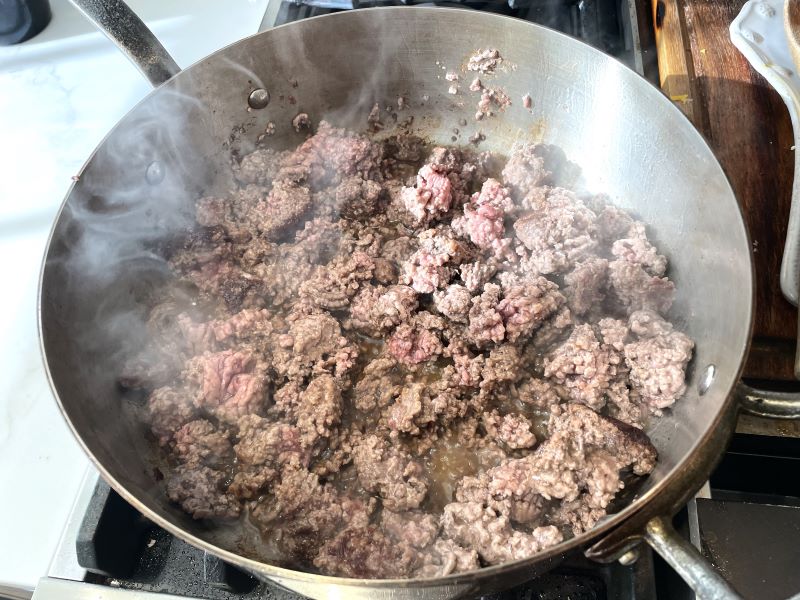
If it has browned up nicely, then use the spoon to break up more of the beef and give it a good stir to make sure you’re getting some uncooked beefy bits to the bottom of the pan so that they can brown up. Then you’re going to let the beef sit again for another 4-5 minutes to continue browning (it doesn’t need quite as much time to brown this time around).
7. Check on the vegetables.
It’s probably about time to give the asparagus a stir. It should have some browning on the bottom. Stir it well and then let it sit again for several minutes without touching it.
If you’re doing carrots, take a peek and make sure they’re not burning too much in the oven. Note that you do want them to brown, so a little burning is good.
8. Prep the green onions.
Wash and slice the green onions.
9. Finish the vegetables.
Asparagus: The asparagus probably needs one more stir. It should be crisp-tender by now. If not, let it cook a bit longer. As soon as it feels crisp-tender, squeeze 1/2 a lemon and sprinkle a little salt over it, give it one last stir, and immediately turn off the heat. Put it in a serving dish.
Carrots: The carrots are probably done by now — check on them. They’re done when they are very tender and look a little caramelized (see picture below). The ones in the picture are a little on the dark side.
10. Finish the beef.
Check again to see if the beef is browning on the bottom, if so, give it one last stir and break apart any remaining big pieces. Let it sit for a last 2-minute browning session. After this, it should be mostly cooked through.
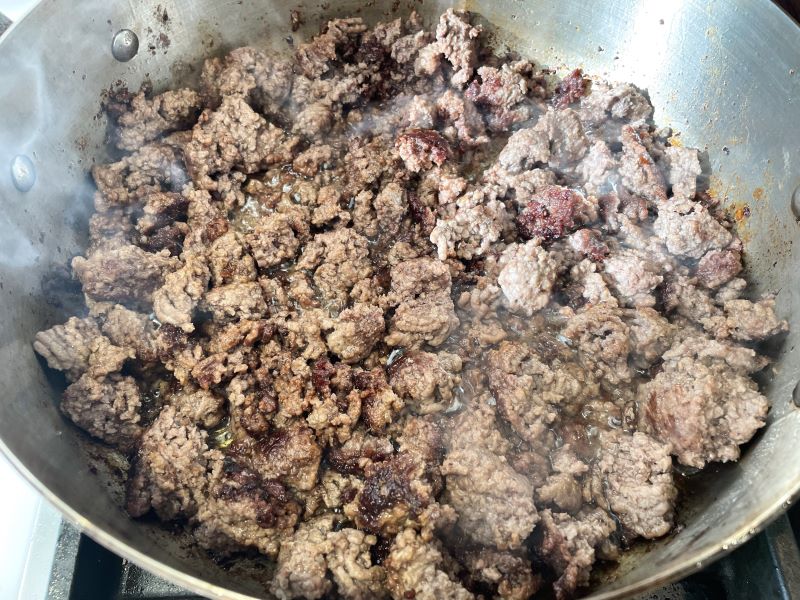
Next, add the soy sauce and give it a few good stirs to make sure the beef is coated in the soy sauce as the sauce cooks down. I usually let the soy sauce cook down for about a minute, then I squeeze 1 lemon over the mixture and immediately turn of the heat. Give it one last good stir, and it’s ready to go!
11. Fry the eggs.
Spray down a nonstick frying pan with olive oil. Let it preheat over medium heat for about 45 seconds. Crack 3-4 eggs into the pan and let them cook until the egg whites are nearly cooked through. Then flip the eggs and count to 10. Turn off the heat and put the eggs on a serving plate.
12. Get everything on the table and make yourself a bowl!

- Prep Time: 20

