The simplest, homiest chicken broth requires almost no effort – you just need a couple of minutes to get it going, and then to be around (like, in the building) for a couple of hours while it cooks.
We’ve started eating more chickens around here lately, leading me to two conflicting emotions.
1: I hate throwing away a whole chicken carcass! Usually there’s some meat on there still to pick off, but then we just throw away all the bones – it feels so wasteful. Shouldn’t I use it to make chicken stock?
2: Why on earth should I make my own chicken stock? It feels a little extra, doesn’t it? You can buy broth or bouillon that tastes perfectly delicious. So why waste the time?
Fun Fact: Did you know that stock and broth are different? I didn’t. Stock is made from cooking down bones – broth is made from cooking down meat. Adding these hot vocabulary words to my kids SAT flashcards now.
My Conversion
One night when my kids were sick, I decided to bite the bullet and make broth. Maybe about a year ago now. I popped the chicken carcass into a large saucepan, covered it with water, and cut up some ginger and let it cook down for about an hour or so. I then poured the broth through a strainer into a glass Tupperware, and saved it for the next day. I thought the ginger broth might be good for a sick little kid, and I could pop in some of the leftover chicken pieces to get some protein in there. Shockingly (at least to me) the kids LOVED it.
So I started making chicken stock more often, knowing it was something our kids would like. After a meal, I’d immediately pick off any leftover meat to set aside, then throw the carcass into some water, and set it to a low heat while I finished cleaning up the kitchen and putting down the kids. I’d just make sure to turn it off before bedtime.
Getting Lazy
After the kids were no longer sick, I dropped the ginger and tried putting in other vegetables (onions, carrots, celery, etc.). Those were popular as well.
Then one night I got to a really lazy point where I just threw the chicken into the water with nothing other than salt and cooked it for like 2-4 hours. It was absolute perfection.
It is the absolute best, homiest, comforting chicken broth. And, yes, it is actually better than the store-bought broth. Like emotionally, but also nutritionally (not something I was happy to discover, given that I use chicken broth for almost everything).
Also, it was so simple! I never realized how easy chicken stock was to make. Especially once I got into the habit of doing it. I was already going to be around because I am not leaving the house after bedtime. So why not just make the broth. It smells amazing while it cooks, and the kids love it.
New routine: easy chicken stock.
Nutrition: Why go homemade?
I was really hesitant to look into this. I eat A LOT of chicken stock. In rice, pasta, chicken dishes, soups, risotto, etc. I thought the results would not be very good. Nevertheless, here we go.
Based on my review, the commercial stocks aren’t terrible, but they’re also not great. I think the primary issue is that while the commercial stocks probably not really bad for you (most contain some sugar and more salt than you’d include at home), they also aren’t healthy for you – they’re not giving you the minerals, collagen, and protein in the way that a homemade stock will. So you can think of them as a slight negative – but mostly a missed opportunity to be healthy.
A lot of the stocks you can buy have a number of mystery ingredients, because flavor is lost during processing and while the broth sits on the shelf waiting for you to use it (see my discussion of this whole process in my breakdown of Salt, Sugar, Fat.). For this reason, the commercial stocks will include ingredients you’d never include at home, because they serve primarily as flavor enhancers (sugar, disodium inosinate, etc.) and/or preservatives.
My food philosophy (if you care) after listening to all the media hype about preservatives and unpronounceable ingredients, is to try to avoid eating mystery ingredients when I can avoid it – probably they’re fine for you, but honestly it sounds like no one really knows for sure.
My solution? I still keep shelf-stable stocks around, but I use homemade when it’s not too big a pain in the butt. Whenever we have chicken, I now make a point of making some easy chicken stock.
Some Shelf-Stable Options:
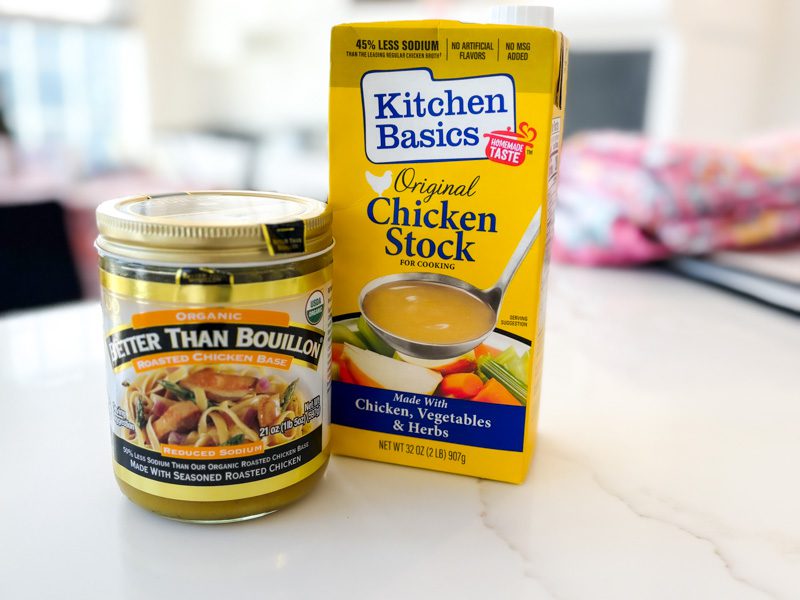
I told you I eat a lot of chicken stock. That means I’ve tried a lot of chicken stocks in my time. I looked at my two current favorite (flavor-wise) options below so that we can look at some specific examples. That said, if you check out the ingredient lists for other commercial chicken stocks / bouillons, you’re likely going to find very similar ingredients.
This has historically been a go-to for our family. It’s hard to beat the ease of keeping a little jar in the fridge and scooping out a spoonful of bouillon whenever you need it. It takes up almost no space, and it doesn’t go bad.
The ingredient label is not pretty. For starters, it’s long. As soon as you get past the first ingredient (roasted chicken), it’s salt, sugar, corn syrup solids, hydrolyzed soy protein (flavor enhancer), dried whey (milk), flavoring (likely some sort of proprietary blend – could be natural or artificial), food starch (a thickener or stabilizer), disodium inosinate (used to give an umami flavor to foods) and disodium guanylate (a flavor enhancer common in processed foods), and turmeric (probably for color).
The corn syrup blows my mind a little, but I guess I shouldn’t be surprised. I’ve read that many processed foods have sugar where you wouldn’t expect it (again, see my breakdown of book Salt, Sugar, Fat) in order to compensate for flavor loss during food processing – but I hadn’t expected it here.
It gets a C+ health score from Fooducate due to concerns regarding high sodium and being highly processed.
This is my other go-to chicken broth. It gets a B+ From Fooducate, which is a bit better than the bouillon.
After its first ingredient (chicken stock), it lists sea salt, honey, natural flavors, vegetable stock, black pepper, bay leaf, thyme.
Again, honey is probably better than corn syrup, but why does chicken stock need to have sugar in it?
Make Your Own
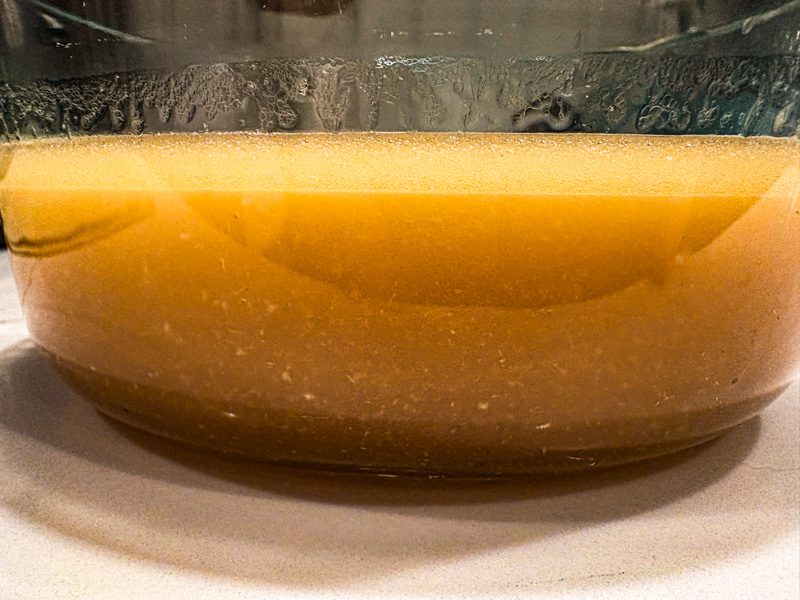
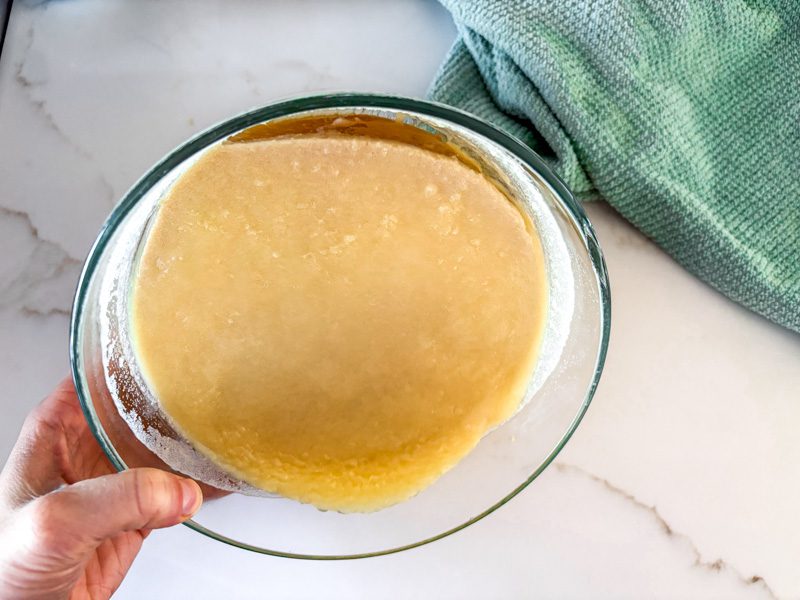
Unlike commercial stocks, homemade chicken stock is actually quite healthy for you. It has only three ingredients – water, chicken, salt. It becomes richer in collagen and protein the longer you cook it. You can tell it has a high collagen content if it becomes gelatinous when it’s chilled (see the image below: mmm collagen). The collagen will break down into gelatin, which is beneficial for gut health, joint support, and skin elasticity.
When you simmer bones for several hours, you also extract small quantities of minerals and nutrients like calcium, magnesium, and phosphorus. These nutrients are largely missing from commercial stock, which tends to rely on concentrates or flavoring agents.
The flavors also don’t suffer from high temperatures of processing or sitting on shelves for months – you’re eating it right away. So you don’t need to rely on salt, sugar, preservatives, and other flavor enhancers the way that commercial brands do. You don’t need nearly as much salt.
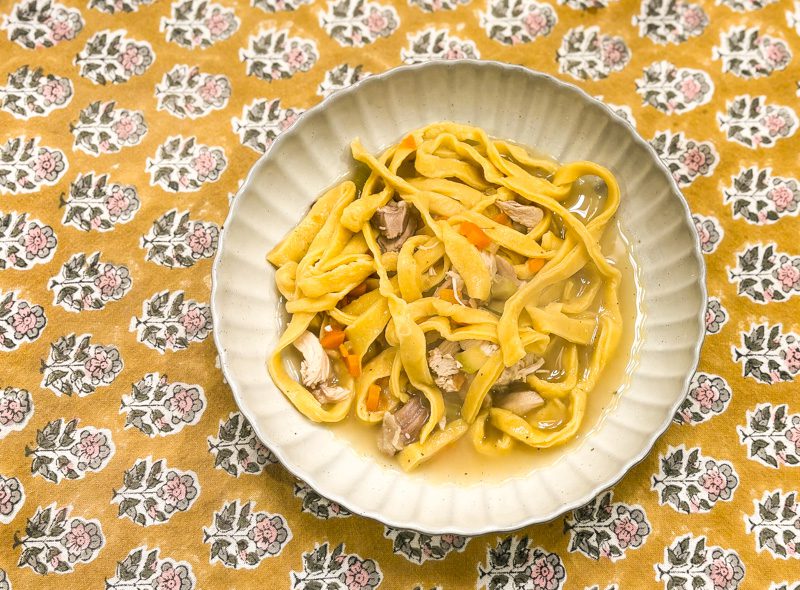
What to do with your broth?
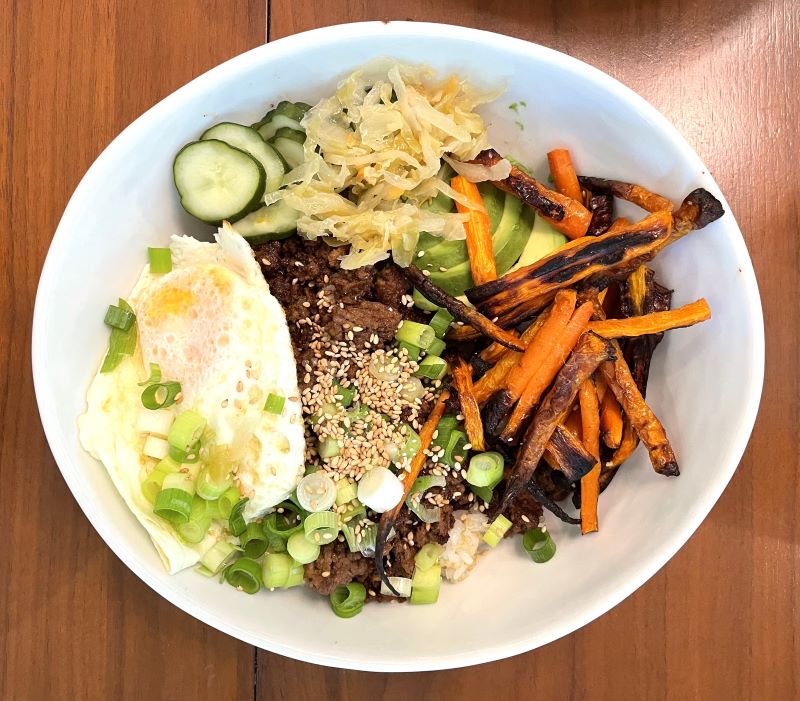
Soup! Risotto! Cook pasta in it! Make The Couscous Dish! Wild rice with tomatoes and saffron! Add it to chicken dishes made with rice (for example, Grass Chicken)! Make Giant Greek Beans! So many options! The world is your oyster!
Print
Simplest Easy Chicken Broth
The simplest, lowest-key, homiest chicken broth requires almost no effort – you just need a couple of minutes to get it going, and then to be around (like, in the building) for a couple of hours while it cooks. I usually start it immediately after dinner so it can get started while we put the kids down and clean up the kitchen. It’s not like I’m headed out for the night! Just don’t forget to turn it off before you go to bed!
I’ve experimented with adding carrots, celery, ginger, lemons, etc. to the stock – but I’ve found that the most comforting and most chicken-y broth is made with only the chicken and salt. So that’s what I’m recommending here.
Equipment: 1 large pot or saucepan (I use a 3-quart saucepan)
- Total Time: 2 hours 5 minutes
- Yield: 4 servings 1x
Ingredients
1 leftover chicken carcass
approximately 6 cups water
1/2 tsp salt
Instructions
1. Pick off any remaining meat.
Try to get all the meat off the carcass and set it aside for later. I put it into soup, but only in the last 10 minutes of cooking or so (otherwise, the meat will lose flavor).
It’s okay if you don’t get all the meat off – it will just enhance the flavor of the stock.
2. Put the carcass into a large saucepan.
The pot I use is about 3 quarts (about 12 cups). Sometimes its a bit of a challenge in getting all the chicken in there, but if it pokes out a bit, that’s fine. The structure of the carcass will start to break apart naturally after about an hour of cooking. It will fit into the pot much better at that point, so don’t stress.
I try to get all the juices, bones, skin, and cartilage in there. Sometimes some meat gets in there too, and that’s just fine.
Top it with about 6 cups of water (more if you need to based on the pot you’re using). Try to cover as much of the bones as possible, but leave at least an inch of space at the top of the pan (so that liquid doesn’t boil over the side of the pot!)
Add 1/2 tsp of salt. Bring it up to a simmer (not a full rolling boil).
Note on the skin: Some people prefer to leave out the skin, but I prefer to add any that we haven’t eaten. The skin adds a bit more fat, which makes the broth richer, but it also adds some of the compounds from the Maillard browning effect on the chicken skin which will enhance the flavor. In addition, the skin adds a bit more collagen and gelatin to the finished broth.
3. Cook for 1-12 hours.
Keep the heat very low so that the broth stays at a slow simmer. Cook it uncovered and stir it every hour or so. The longer you cook it, the richer the broth will get. If the water boils down below the bones, top it off with water so that the bones stay submerged.
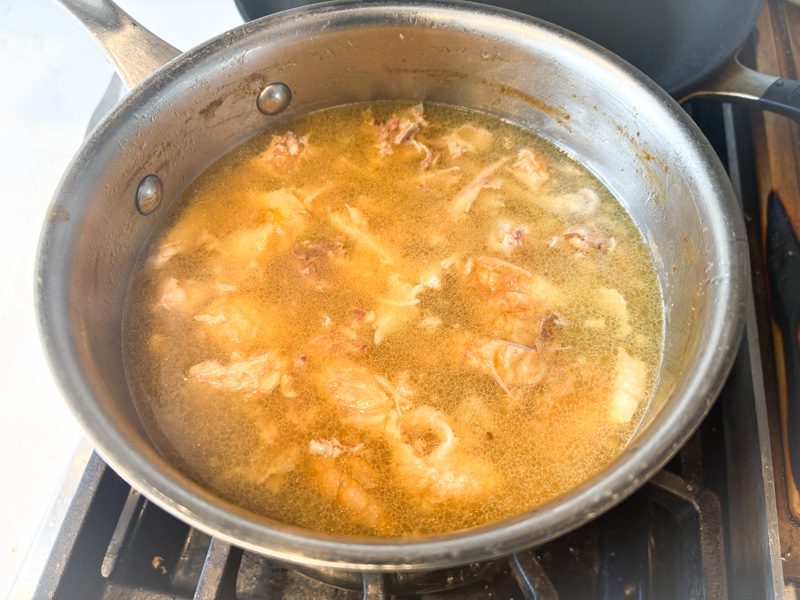
I usually cook it for 2-4 hours. I start it right after dinner, around 6.30 or 7pm, and turn it off right before bed, 10-11pm. I let it cool on the stove overnight and bring it back up to a simmer the next morning before I move to step 4.
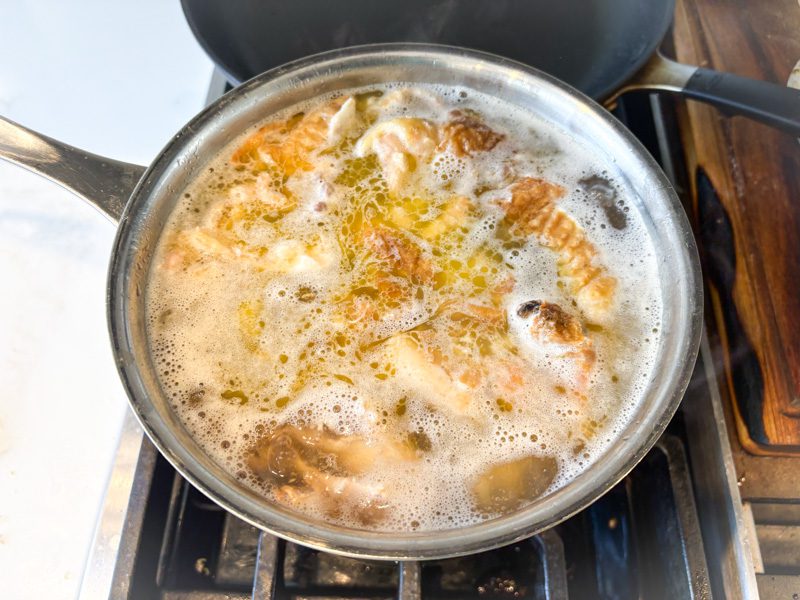
This is how my broth looks after about 4 hours of cook time.
4. Pour the broth through a strainer.
Put a strainer over a large heat-safe bowl. Pour the broth through the strainer. Let it sit for a bit to make sure all the broth has dripped through.
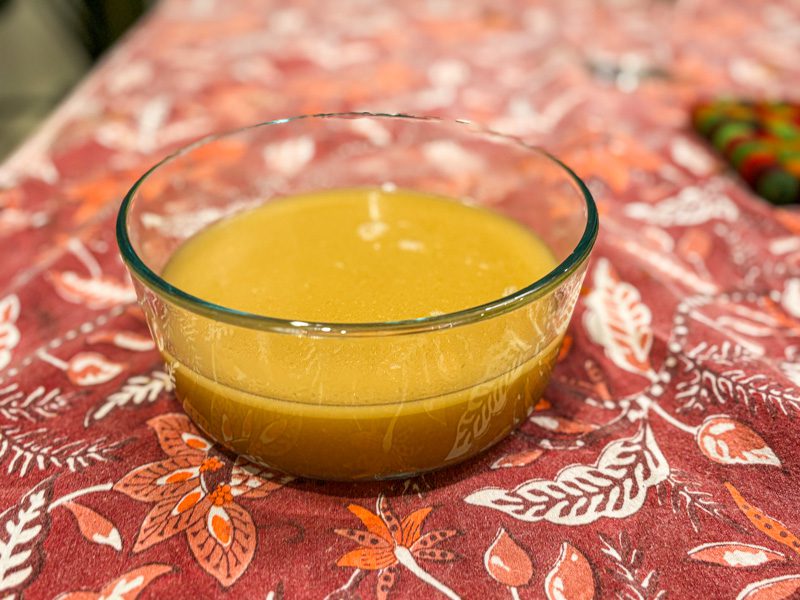
5. Congrats, you now have broth.
You can chill the broth, which will help solidify the top layer of fat. You can skim that out if you don’t want to keep it in. I usually leave it because I like the richness it adds to the broth.
To use the broth, I usually use about 1 part broth, 1 part water, as the flavor will likely be quite condensed.
- Prep Time: 5 min
- Cook Time: 2 hours
- Category: Dinner
- Method: stovetop