A one-pot weeknight take on Peruvian arroz con pollo verde . . .
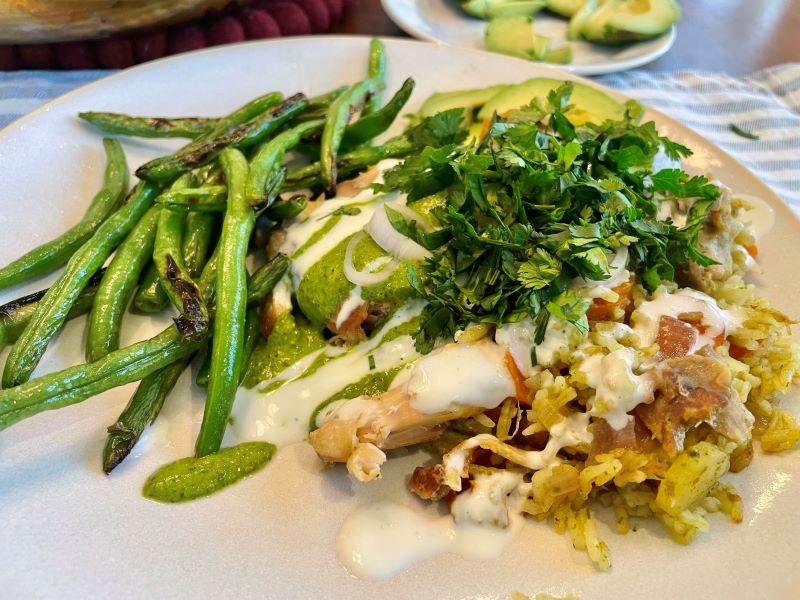
My four-year-old calls this one-pot Peruvian green chicken “Grass Chicken.” I’m not sure why she’s decided to call the delicious green sauce “grass,” but if she likes it and eats it (and she really, really does), I’m going to run with it. Strangely enough, the green sauce is green because I use lots of cilantro, which she otherwise won’t touch. Aren’t toddlers such strange little people?
Weeknight One-Pot Family-Friendly Dinner
This is my weeknight take on Peruvian chicken (arroz con pollo verde) because it is fast to make and it has vegetables that my kids are willing to eat. There’s relatively low active time, which is nice because once you get it ready to go, you can forget about it for a little bit while you do other things.
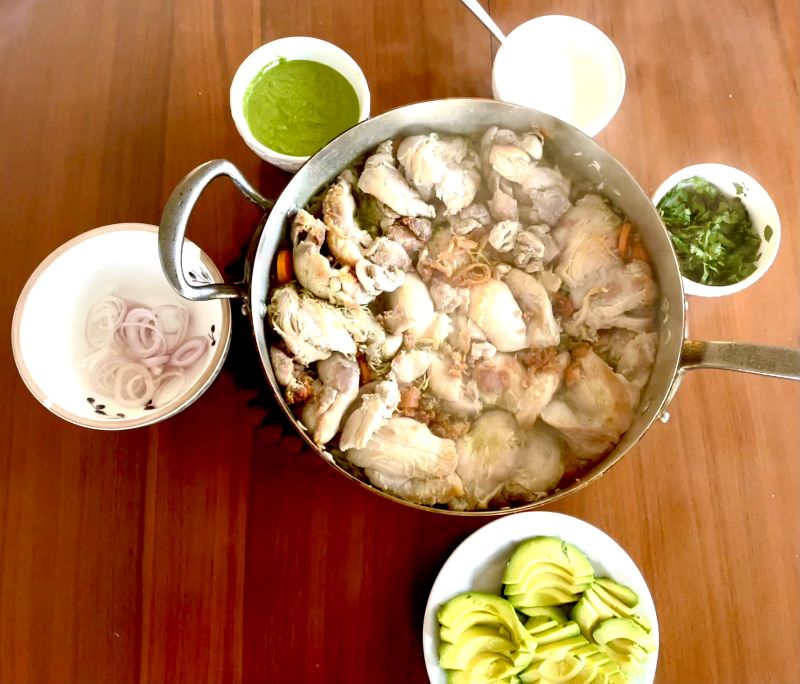
Once it’s ready, I like to place the pot in the center of the table and let the kids serve themselves as much as possible so they can choose their own adventure.
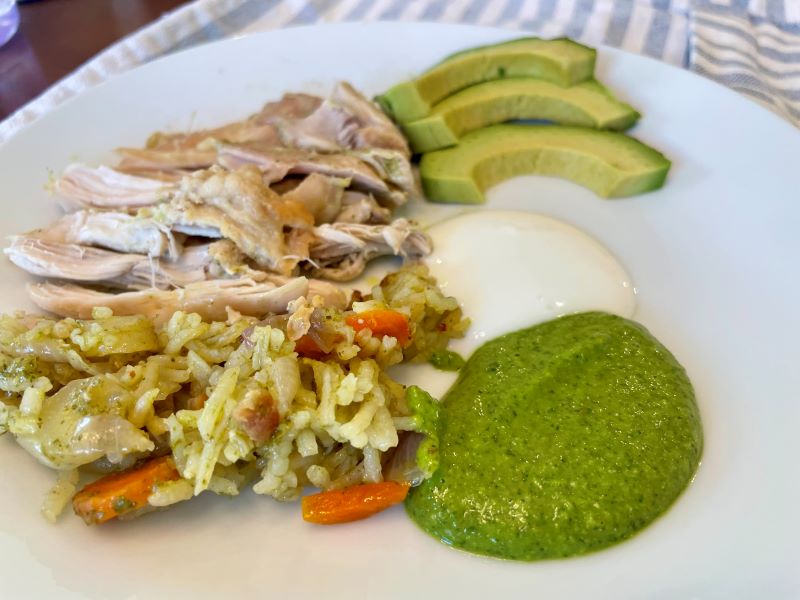
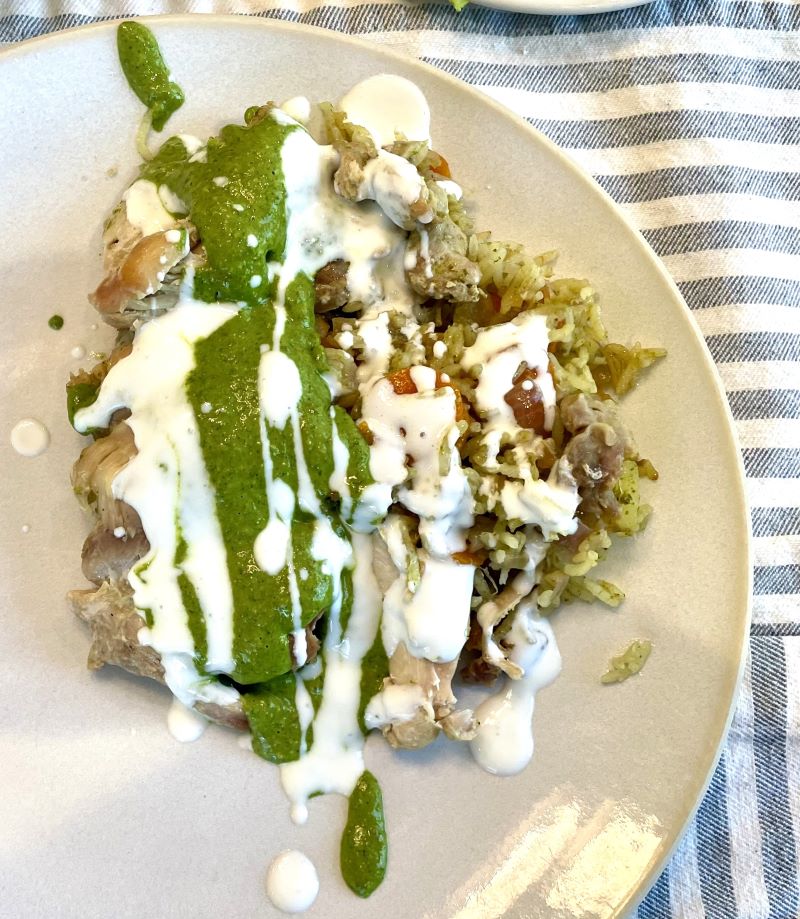
Below is my sample toddler Peruvian green chicken plate. I’m only going to show you the “before” picture, for obvious reasons. My daughter LOVES to mix the sauces and dip everything in them — chicken, vegetables, her hands, LITERALLY everything.
Sometimes I also make some quick green beans on the side so there are several vegetable options on the table to choose from.
Developing the Recipe
During peak Covid, my husband and I started cooking NYT’s Peruvian Roasted Chicken With Spicy Cilantro Sauce (delicious recipe as written, just a little too much for a weeknight!). It’s a bit much on a weeknight with three little ones running around, so this version is simpler and has the benefit of coming with vegetables. Making a simplified version was inspired by Ambitious Kitchen’s One Pan Green Chicken and Rice (love the concept, but I like my version’s favor better). The green sauce from the NYT’s version is just unbeatable, although I’ve simplified it here).
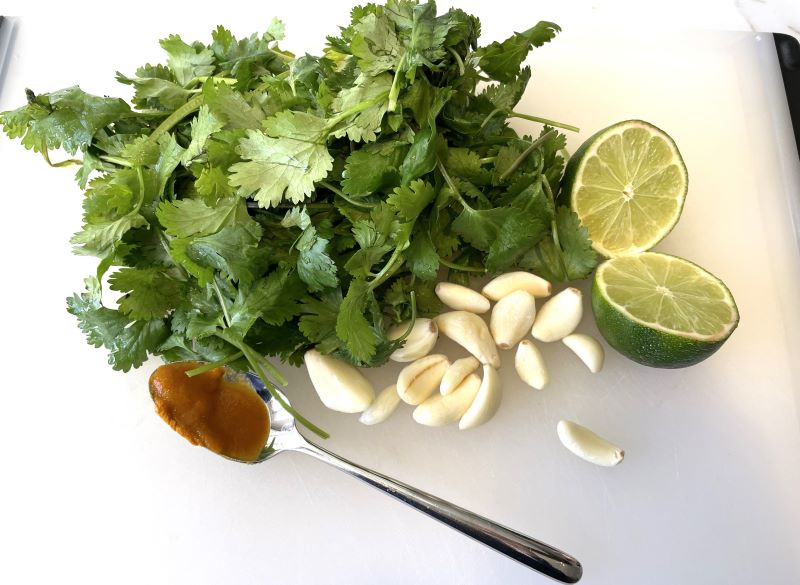
Above are the ingredients in the green sauce (AKA, “grass”) that puts the “green” in Peruvian green chicken. In case you don’t have aji amarillo paste and can’t easily find it (sometimes an issue for us), I usually get mine online. It is not spicy, at least when included in the quantities suggested in my recipe below. If you’re not sure whether to trust me on the spice level: I am a total baby. I could easily make an argument for the spiciness of ketchup.
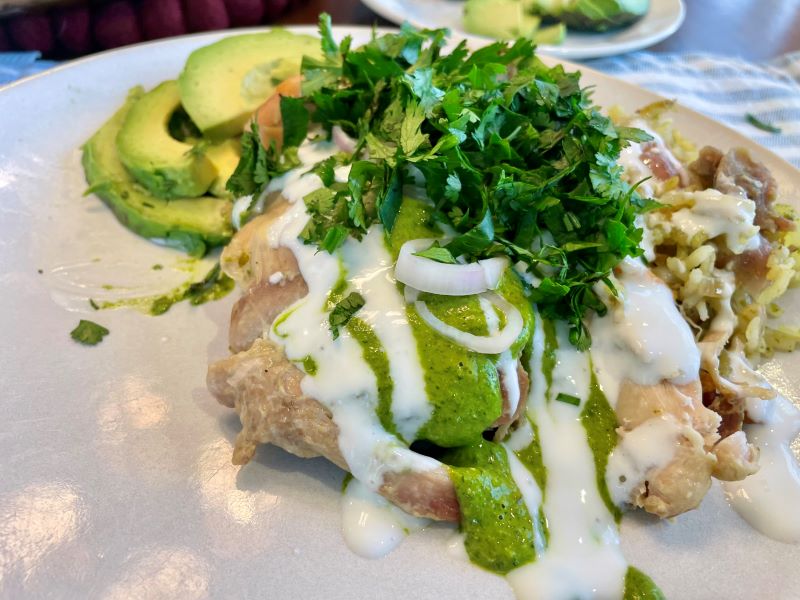
Note on Avocado Oil
I recommend using avocado oil or another oil with a high smoke point to sear the chicken below. This isn’t because I’m really into avocados as the latest health trend, it’s because it is potentially unhealthy to heat an oil above its smoke point, and this is very easy to do when searing meats.
Print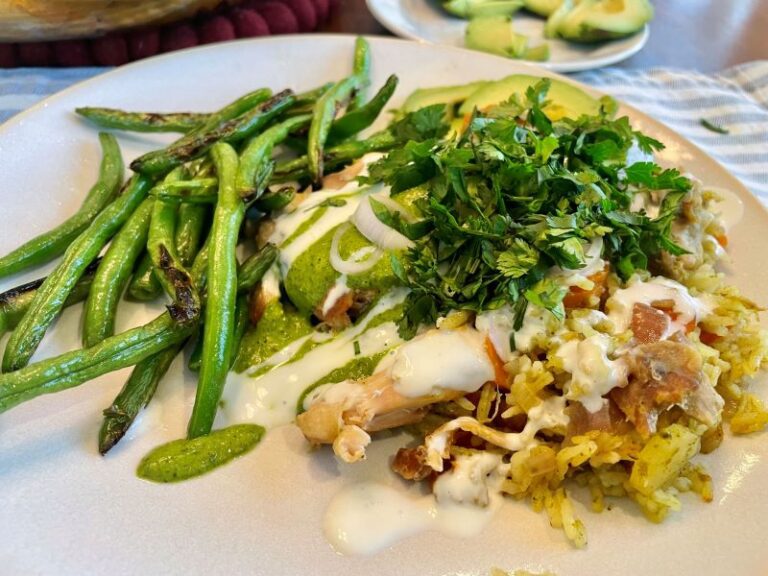
One-Pot Peruvian Green Chicken
This is a one-pot weeknight take on Peruvian green chicken, complete with healthy and delicious green sauce and hidden vegetables in the rice. My children gobble it up, and I love how quickly it comes together.
- Total Time: 45 min
- Yield: 6 servings
Ingredients
Green Sauce (AKA “Grass”)
Chicken & Rice
Optional Toppings
Instructions
1. Brown the chicken thighs.
Coat a stainless steel pan with 1-2 tablespoons of avocado oil and preheat for about a minute, until the pan is uniformly hot. Do not skip this step – unless you want the chicken to stick to the pan. You could use a nonstick pan, but I like to get the pan really, really hot, which you shouldn’t do with a nonstick.
Pat the chicken dry (this helps with browning), salt it, then add to pan and sauté untouched for about five minutes on each side until both sides of the chicken have browned. The chicken will not yet be cooked through. Remove the chicken from the pan and set aside.
Because this is a relatively large amount of chicken, I recommend doing this in two batches. You can work on the next steps while the chicken browns.
2. Make the green sauce.
First, make sure you wash the cilantro thoroughly (sometimes they grow it in sandy soil and it is THE WORST discovery to bite into your food covered in green sauce and get a mouthful of gritty sand).
Next, place all the green sauce ingredients (restated below) into a blender or food processor and blend just until smooth. Try not to blend more than needed so the cilantro doesn’t get too beat up:
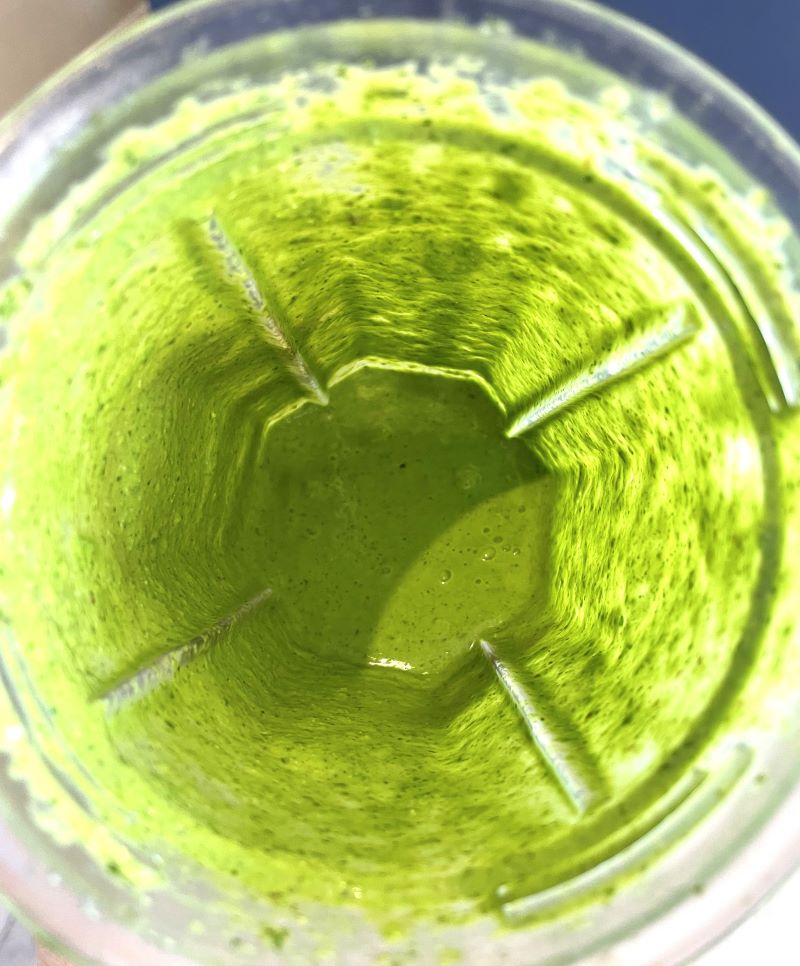
3. Start the vegetable rice.
Dice your 1 onion, 2 carrots, and 1 bell pepper.
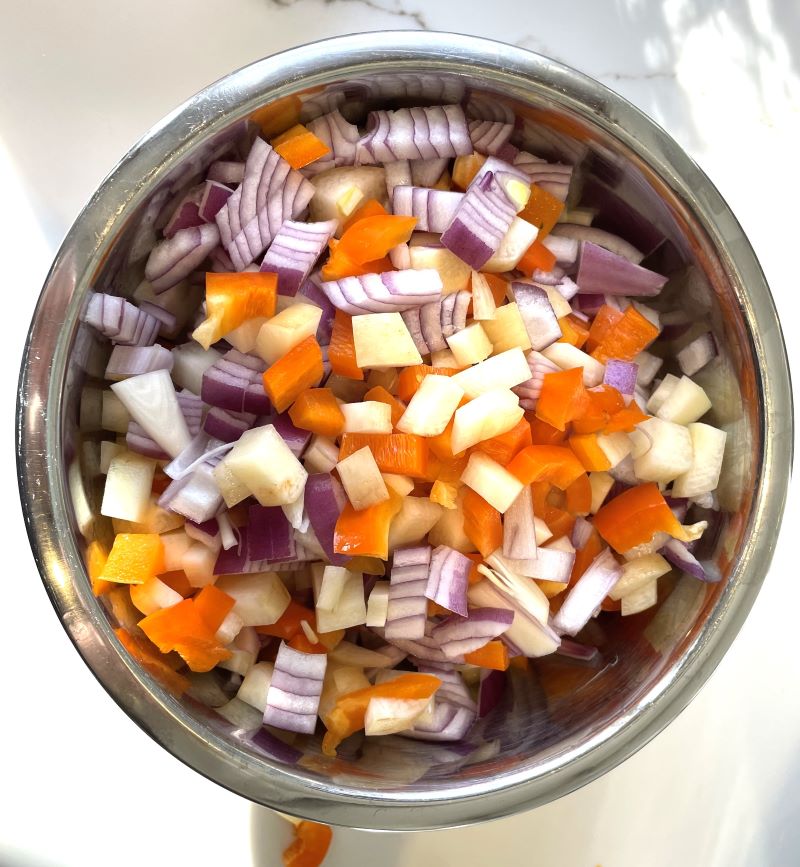
Once the chicken has finished browning, remove it from the pan but leave the fat. Reduce the heat to low-medium.
Add the onion and carrot into the chicken fat and let them soften under low-medium heat for 2-3 minutes. Then add the bell pepper and cook for another 1-2 minutes or so, until all vegetables are softened a bit.
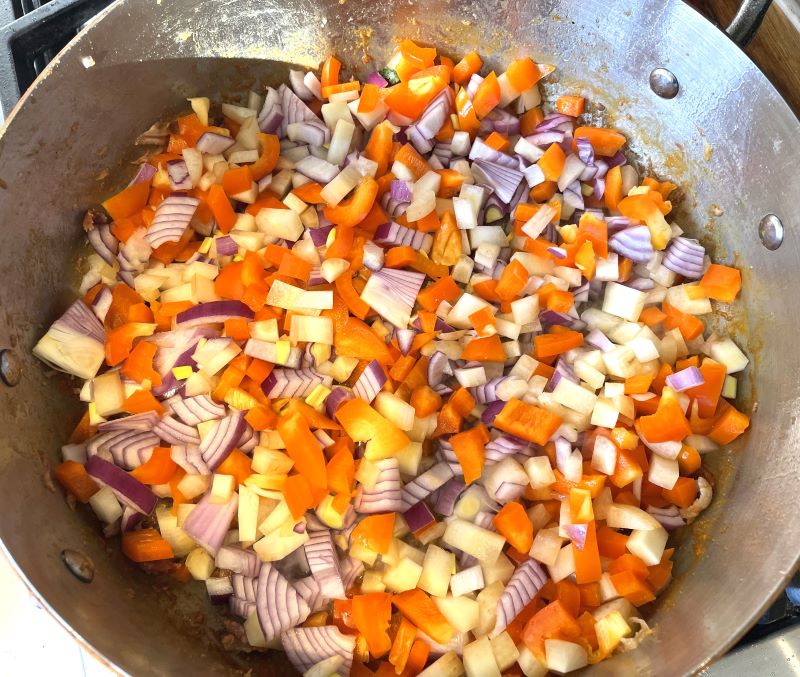
4. Add the rice.
Add the 1 cup of basmati rice to the vegetables and stir to incorporate.
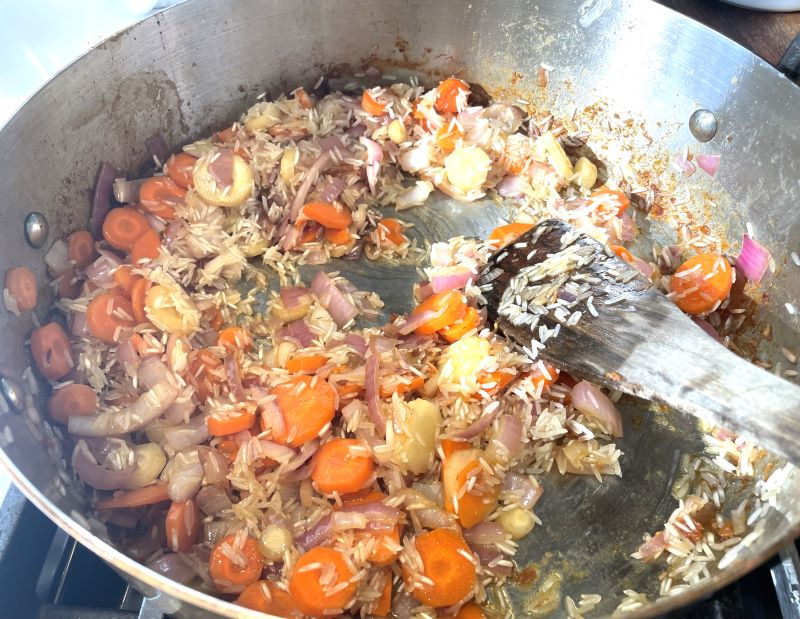
5. Finish cooking the chicken.
Add the 1 1/4 cup chicken broth to the rice and scrape up any remaining brown bits from the chicken. Add 1/2 cup of green sauce (save the rest to eat with the cooked chicken).
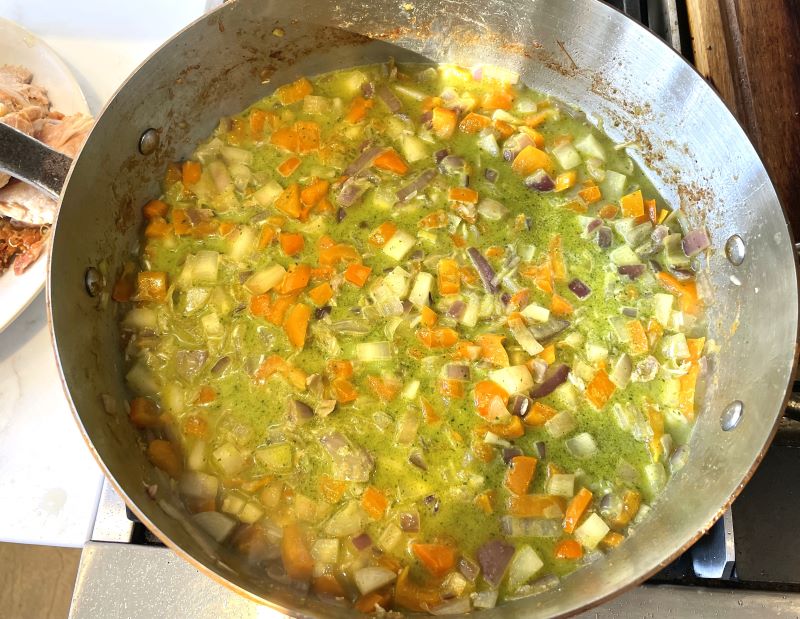
Stir well, place the chicken thighs on top of the rice and vegetable mixture. Turn up the heat so that the mixture boils. Once the liquid is boiling, reduce the heat to low and cover the pan.
Cook for 25 minutes on low heat.
7. Prepare the toppings.
While the chicken is cooking, prepare the white sauce by mixing the 1/2 cup of greek yogurt with 1-2 tbsp of water to form a thin white sauce. Chop up any avocado, red onion, cilantro, etc. that you want as a topping.

8. Enjoy!
After 25 minutes of cooking, the rice should have absorbed the liquid and the chicken thighs should be cooked through.
I usually put it on the table as is, and let everyone “decorate” their chicken as much as possible. More fun for the kids.
- Prep Time: 20
- Cook Time: 25
- Category: Dinner
- Method: stovetop
Note: This post may contain affiliate links.

