I should mention at the outset that because I make this tart with the fresh limes available in our grocery store (Persian limes), it is probably more accurate to call this a lime curd tart.
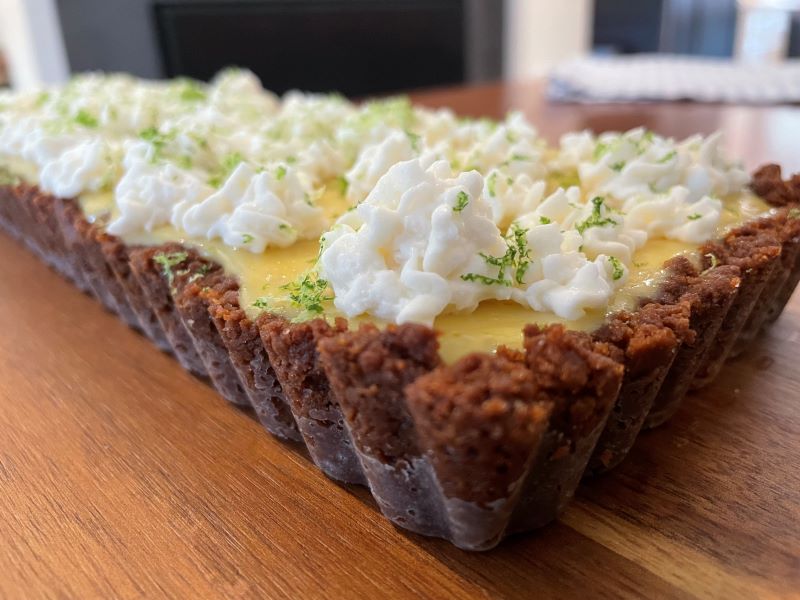
I make this key lime tart with condensed milk, limes, and egg yolks. To stand up to the intensity of the tangy lime curd filling (I like to keep it on the tart side, heh), I add a bit of spiciness to the typical graham cracker crust and replaced the graham crackers with gingersnaps and fresh ginger. The spicy gingersnap and sharp lime curd go so well together, I’ve found myself eating bite after bite trying to decide if I like the crust or the filling more. The crust manages to stay perfectly crisp for at least 36 hours, which is the longest the lime curd tart has lasted in our household to date. But I imagine it would stay crisp for quite a bit longer if your family has better self control than ours.
To top off the lime curd tart, I like to use stabilized sweetened whipped cream. This makes it easy to decorate the tart and can make it quite pretty. If you didn’t have the time or patience to do a fancy whipped cream topping, the tart is still quite pretty on its own. Just serve it with some whipped cream on the side (if you like whipped cream). When we take a break from our healthy meals to celebrate with dessert, we like to go all in. Which means whipped cream, and some times ice cream too.
The Key to Perfectly Crisp Crust
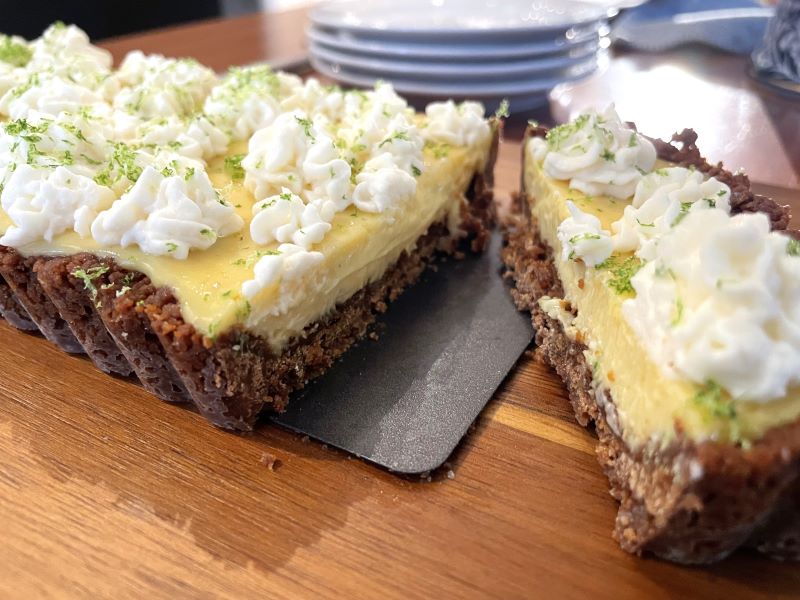
Many recipes for gingersnap crust or graham cracker crust call for less butter and less baking time than I do here. I’ve found that those crusts tend to get soggy — if not right away, certainly by the next day. Therefore I increased the amount of butter, which actually has several benefits.
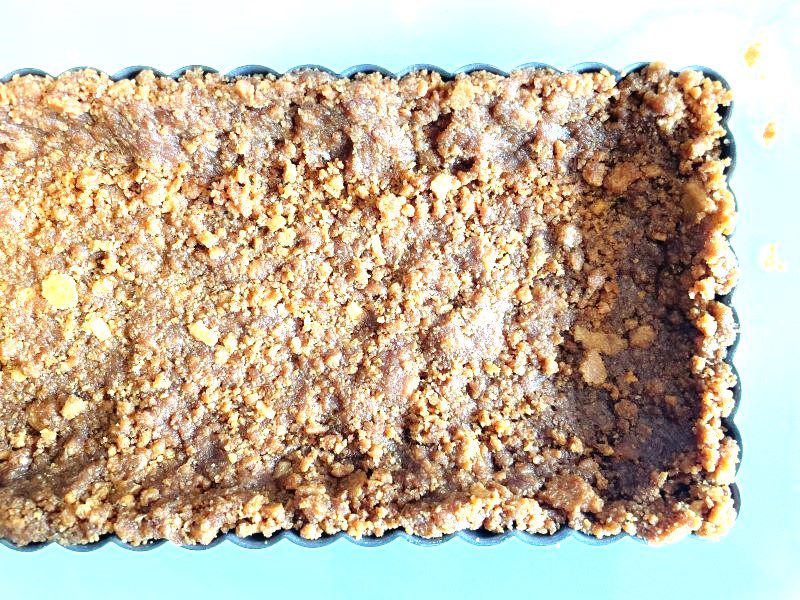
First, it makes the crust easier to form in the first place. When you add butter to crushed gingersnaps, the crumbs take on the texture of wet sand. Think about making sand castles — it’s easier to form with sand that’s a bit wetter. Not sopping wet, but definitely not barely moistened.
Second, the fat in the butter forms a natural shield against moisture penetrating the crust. This keeps the crust crisp for a very long time.
Third, when you use a lot of butter, you don’t need to worry at all about the crust sticking to the tart pan. This makes for a much less stressful de-tart-panning experience when you’re ready to show off your key lime tart.
There is one downside. When you are baking the crust, some (not loads) of the butter may seep out of the mold. You have to be willing to lose a bit of butter. And this is why I recommend that you bake the crust on top of a sheet pan lined with parchment paper or aluminum foil (to catch any drippage). The sheet pan also makes it easier to manipulate the tart in the tart pan without worrying about damaging the crust.
The Filling
Fair warning, this isn’t technically a “Key lime tart” because I don’t use key limes. As I mention above, it would probably be more accurate to call it simply a lime curd tart. I use the regular limes available fresh in most grocery stores (a.k.a., Persian limes). Most people cannot tell a difference once the juice is in the tart. Just don’t use bottled juice (even if it is Key lime). You will be able to taste a difference between fresh and bottled juice in the lime curd.
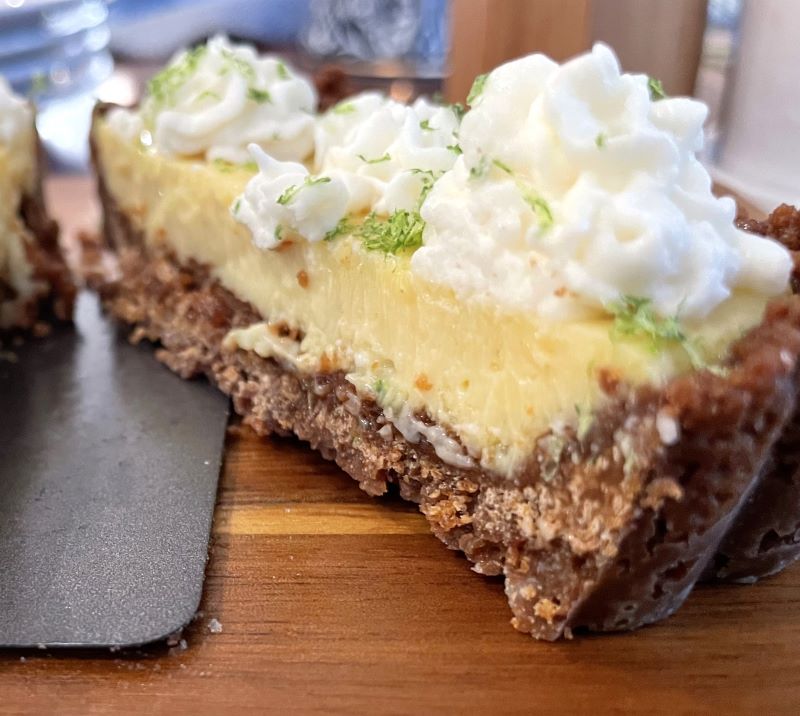
If you are curious, the difference between Persian limes and key limes is that key limes are more tart and more floral. Key limes also have a bit of bitterness to them. I’ve adjusted the recipe accordingly.
Because I make this key lime tart with condensed milk as the sole sweetener, I increased the amount of lime juice and the amount of zest to address the slight difference in flavor profile. The extra lime juice makes it a bit tarter, and the zest gives it a bit more of the floral flavor. And so I think it is fair to call it a Key lime tart.
The Necessity of Whipped Cream
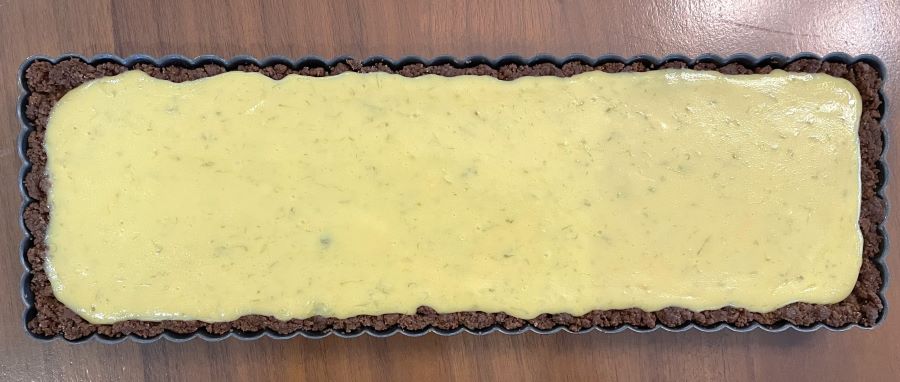
First, whipped cream is totally not necessary. Below is a shot of the tart sans whipped cream. Although it is still in the tart pan, I think it still looks quite pretty. Slice it and serve it with a bit of whipped cream on the side (or not). I think it’s good with a touch of whipped cream for the sweet and creamy contrast against the tangy filling and the spicy crust. But it doesn’t truly need the whipped cream.
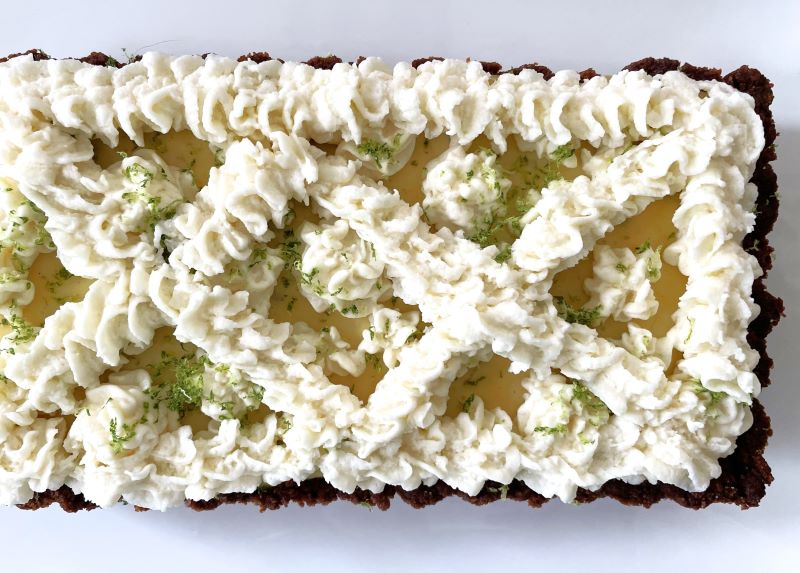
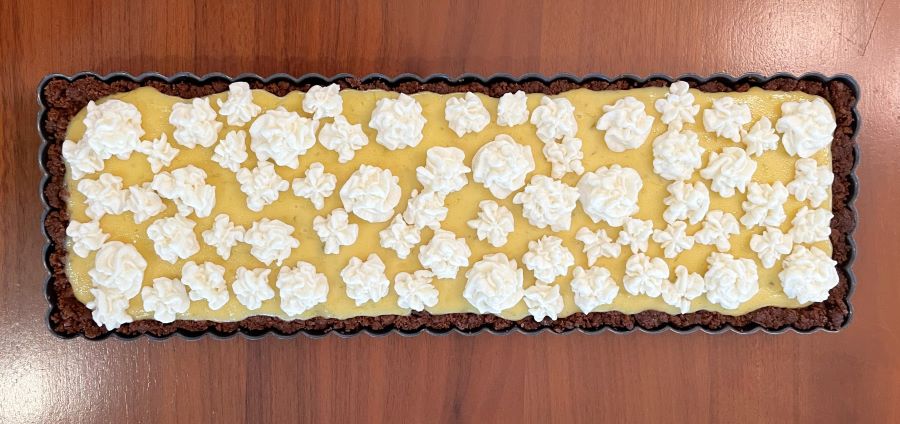
That said, in terms of bang for your decorating buck, this is an easy dessert to decorate if you have a piping bag. Just little random dollops of whipped cream and it can look quite fancy! The main thing is picking the right piping tip. You want a small open star tip to get a result like the one below.
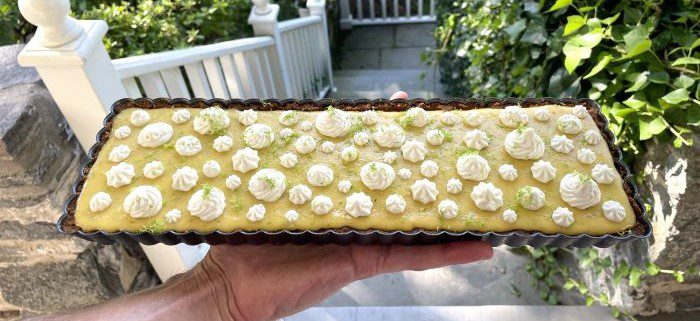
For a result like the one below this paragraph, which looks pretty messed up closeup but alright from a distance – closed star tip. In conclusion, I recommend the open star tip (above), because it looks a little neater. Neater = better if you’re doing a simple design like dollops of whipped cream.
A Note on the Tart Pan
I have several tart pans, including the usual round variety, but the one pictured here (the Wilton 14 inch x 4.5 inch tart pan) is my favorite because it is so very easy to cut slices. This is especially the case when you’re working with a crisp crust, delicate crust, or thick crust.
That said, any shape tart pan will work. If you’re working with a round pan, a standard 9″ round tart pan has approximately the same capacity as my beloved rectangular tart pan and will work perfectly for this recipe.
Print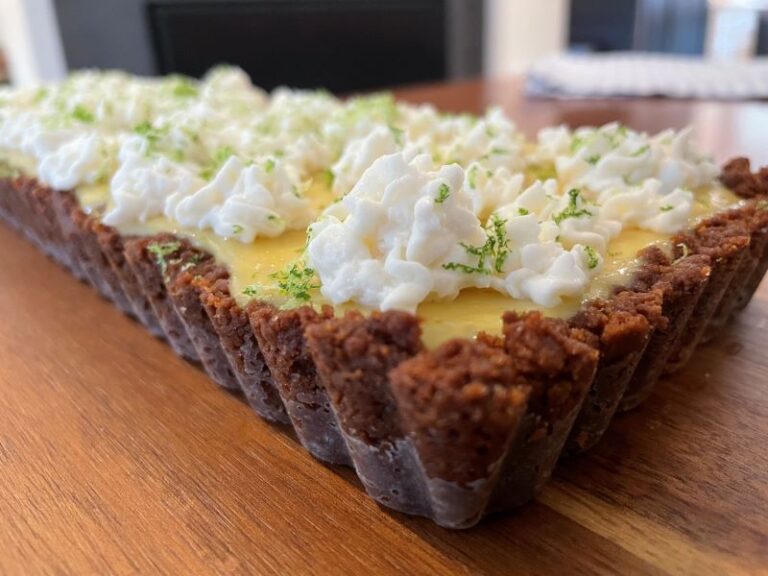
Key Lime Tart with Gingersnap Crust
I make this key lime tart with condensed milk, limes, and egg yolks. A crisp and spicy gingersnap crust compliments the tangy filling.
For this recipe, you will need either: (1) a 9 inch round tart pan or (2) (my preference) a 14 x 4.5 inch rectangular tart pan. If you don’t have a tart pan, you can use a 9 inch pie dish and plan to serve it in the dish.
- Total Time: 3 hours 40 minutes
- Yield: 8 servings
Ingredients
Gingersnap crust
Key Lime Filling
Whipped Cream Topping
Instructions
1. Preheat the oven to 350F.
2. Make ginger butter.
Melt the butter and let it cool enough so that it does not scorch your fingers when you’re forming the crust. Grate the ginger into the cooled butter and mix.
3. Crush the gingersnaps.
This is easiest to do if you have a food processor. Just pop in the cookies and run the processor until they are powder.
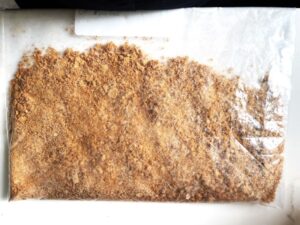
However, if you either do not have a food processor or recently killed yours making chocolate avocado mousse, you can place your cookies in a ziplock baggie and whack at them with a spoon or water bottle until they are crushed. You need 2 and 1/2 cups of crushed gingersnaps.
4. Make the crust.
Mix the gingersnap crumbs and sugar with the ginger butter mixture. Mix until the crumbs take on the texture of wet sand. Then dump the mixture into the tart mold and press it into the sides and bottom of the mold.
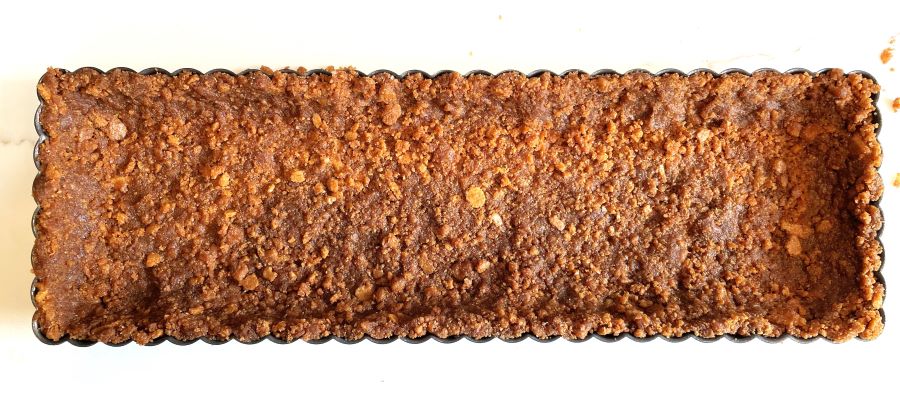
5. Bake the Crust for 25 minutes.
Place the tart mold onto a sheet pan lined with parchment paper or aluminum foil. This serves two purposes. First, it will make it much easier to take the tart mold in and out of the oven without jostling the crust and risking breaking it. Second, if any butter leaks out, it will collect on the sheet pan and not the bottom of your oven.
6. Prepare the lime filling.
While the crust bakes, zest the limes. (Make sure to zest before you juice! It’s HARD to zest a juiced lime.).
Beat the 4 egg yolks with the lime zest for 3 minutes using a stand mixer or whisk. The yolks should look a bit lighter and tinged with green afterward.
Mix in the condensed milk thoroughly.
Mix in the lime juice thoroughly. Let the mixture stand for 30 minutes. It will thicken up a bit during this resting period.
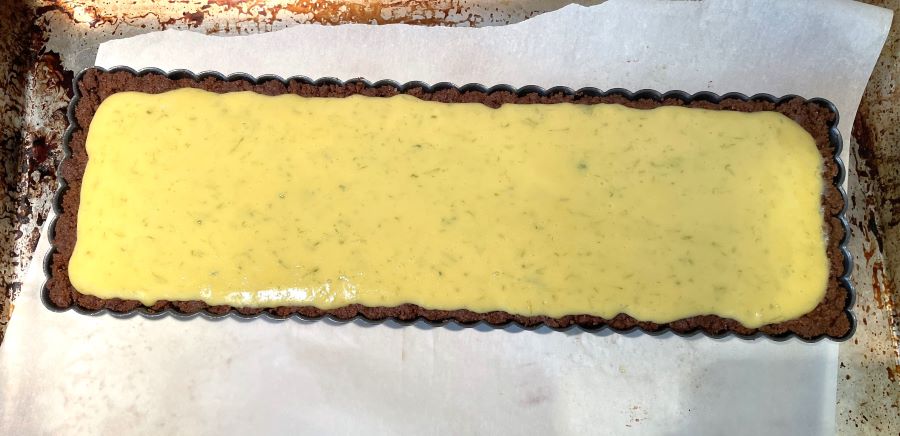
7. Pour the filling into the warm pie crust.
By now, the crust should be out of the oven and should have cooled slightly. Pour the filling into the warm tart crust. Pop it back into the oven to bake at 325F for 15 minutes.
The tart is done when the filling jiggles only slightly. Better to err on the side of underbaked if you’re unsure. The classic recipe for key lime pie does not involve any cooking at all!
8. Let the tart cool and set.
Let the tart cool for about 45 minutes, then place it in the refrigerator to set, uncovered, for at least 3 hours.
I do this uncovered because, if you place plastic wrap over the top of the tart, there is a big risk that the wrap touches the surface. This will blemish the appearance of the tart. You can cover it up later with creative use of whipped cream, but why create problems? I’ve never had an issue with the top of the tart getting tough or dehydrated.

9. OPTIONAL: Make the stabilized whipped cream.
Mix the 1 tsp of gelatin powder with 1 tbsp of cool water. Heat the water in 10 second increments until the gelatin is completely dissolved, stirring between each increment. Let the mixture cool (but not until it congeals).
Whisk the whipping cream, vanilla, and sugar together until you get soft peaks. At this point, mix in the cooled gelatin mixture. Whisk until you get stiff peaks. You now have stabilized whipped cream!
Once the tart is fully chilled and set, fill a piping bag with the stabilized whipped cream, and decorate the tart however pleases you. See my note above regarding piping tips. I recommend using a small open star tip, not a closed star tip like I did for the, hem, masterful pipework in this picture. Open star will look better.
10. OPTIONAL: More lime zest!
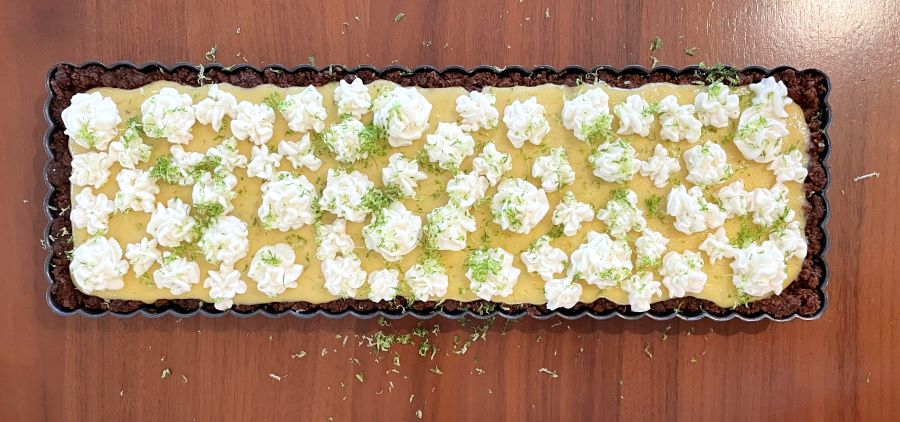
Top the whipped cream with some additional lime zest for added pizzaz (and distraction from your whipped cream piping game, if poor like mine).
11. Serve & Enjoy!
When ready to serve, pop the tart out of the tart pan by pushing up on the bottom insert. I usually focus on one side at a time. With all the butter in the crust, it should pop right out.

- Prep Time: 15 min
- Cook Time: 35 min
- Category: Dessert
- Method: Bake

