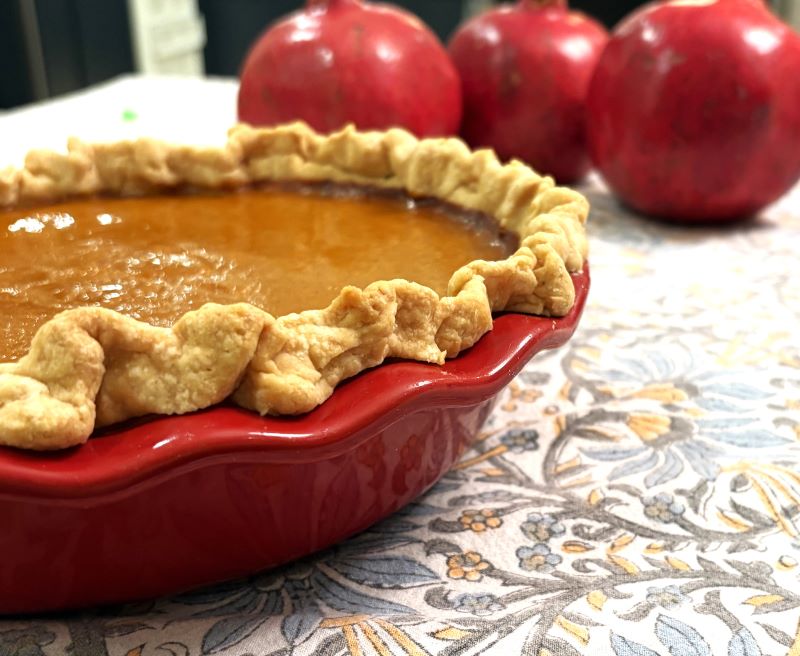
This honeynut squash pie is the light custardy cousin of pumpkin pie . . . plus, it is made with fresh cream and no refined sugars!
Caution for Pumpkin Pie Lovers
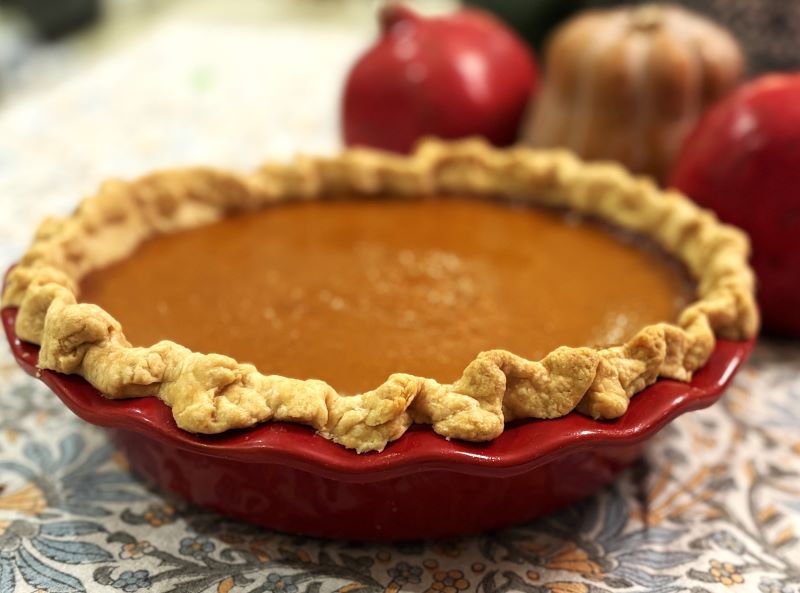
You may end up abandoning your sweet old pumpkin pie for her hot new honeynut cousin.
Pumpkin pie has been one of my favorite pies for a very long time. But then I started making this honeynut squash pie, which is more time consuming (because you need to roast the squash), but totally worth the effort. Now everyone wants “squash pie” as we call it in our house instead of pumpkin pie.
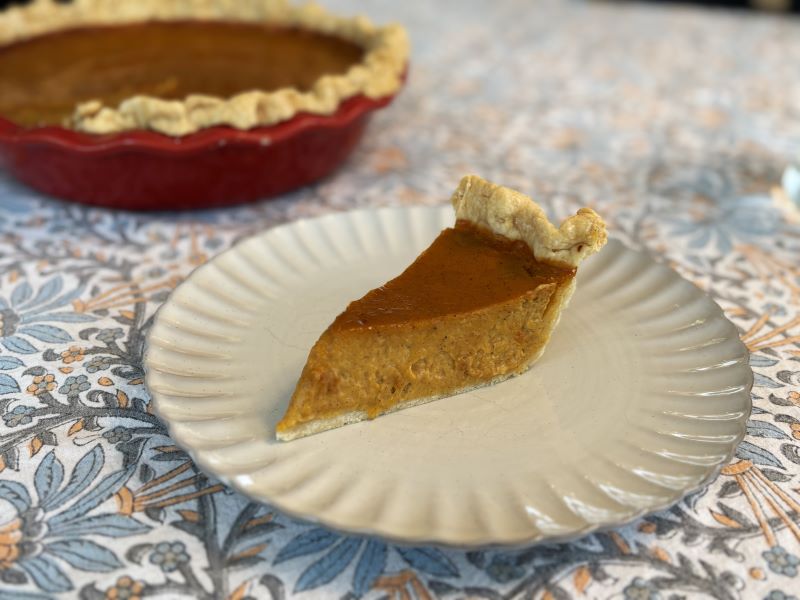
The primary difference is that the honeynut squash has a sweeter, lighter flavor than a pumpkin. That leaves the pie filling feeling a bit more like a spiced custard. It also means that you can get away with adding much less sugar.
A Healthier Way to Do Pie
Many pumpkin pie recipes out there rely on sweetened condensed milk for creaminess and sweetness. Sometimes eggnog or cream cheese for creaminess instead. Pretty much all of them call for lots of brown and/or white sugar or even corn syrup. I wanted to see if we could find a way to make the classic pumpkin pie a bit less “bad” feeling. It is a vegetable pie, after all. So shouldn’t we be feeling good about eating it?
For me, that meant no refined sugars and using fresh cream rather than processed cheese or canned condensed milk.
I started with the most delicious squash I could find: honeynut squash. Honeynut squash is a sweeter, smaller, and more orange (= more beta carotene!) version of a butternut squash.
I first tried honeynut squash in the fall of 2020, in the months after the pandemic had started. This was when we were spending a lot of time with just family, and I thought that of course it made sense to order about 30 pounds of squash. What else were we going to do with our time? Plus, squash has a long shelf life! I still stand by that decision. We ate like kings!
Health Benefits of Honeynut Squash
During that time, possibly to justify the storage space the squash was taking up in our small New York City apartment, I would frequently tick off the many health attributes of my sizeable squash stockpile. My husband still teases me by reciting how the honeynut squash has so much beta carotene! But it is true! Honeynut squashes are very high in Vitamin A, high in Vitamin C, dietary fiber, potassium magnesium, and antioxidants.
Because they are naturally sweeter than butternut squash and pumpkins, a honeynut squash pie (as opposed to a pumpkin pie) does not need as much sweetener. In fact, because you roast the squash in this recipe to enhance its natural sweetness, you’re already pretty close to a dessert. You just need a bit of honey to get you firmly into dessert territory.
I also increased the amount of squash puree in the pie beyond that found in most recipes. This means that it has more dietary fiber to slow down how fast the sugar (in the squash and honey) hits. That also makes this a healthier option than most pumpkin pies or squash pies out there. Less of a sugar rush means less craziness in the kids after dessert, and less of a sugar crash (for everyone).
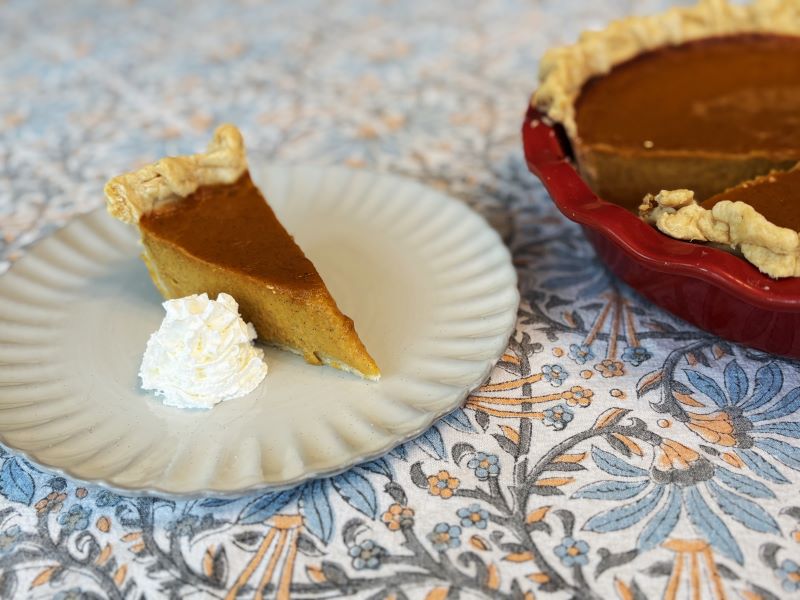
That said, I try to limit myself to two pieces of pie in a sitting! But it’s hard, especially when you break out the whipped cream.
About the Crust
I’ve tried a lot of premade (but unbaked) pie crusts over the years. They make the pie-making process so simple — you can choose to make a pie last minute, and all you really have to worry about is the filling! That said, some premade options are much better than others.
Premade options
I only get the premade crusts that haven’t yet been baked. I think there is a big loss in quality with the pre-baked crusts.
The premade (but unbaked) ones I find the most delicious – although I can’t vouch for their healthiness – are the Trader Joe’s pie crust (frozen) and the Pillsbury pie crust (refrigerated). I haven’t had as much luck with other brands (I’ve tried many over the years).
Homemade options
Pie crust is actually surprisingly easy to make. You just have to plan in advance, because the dough needs time to rest, and you have to be willing to get your hands dirty. You really don’t need a food processor.
Because honeynut squash pie requires roasting squashes (haven’t yet found it canned), it’s kind of the perfect pie for homemade crust. And I do think homemade crust is the tastiest. (I’m working on a homemade pie crust entry, so that will be coming soon. In the meantime, I really like this crust recipe.)
A note on chilling dough
If you go ahead and make your crust, I’ll just note that you can probably revise the chill time for your crust. Most recipes say to get the dough ingredients together into a ball, shape it into a disc, and then wrap it in plastic wrap and pop it in the fridge for about 3 hours before you roll it out.
But we are blind baking the crust in this recipe (i.e., we are baking it first without filling to make sure it’s crisp, not soggy, on the bottom; then we bake it again with filling). Because you’re blind baking the crust, you will need to chill the dough in the pie tin again after it’s rolled out. So you can revise the 3-hour recommendation slightly.
Why does dough need to chill?
FYI, yes, the dough needs a good 2 hours of refrigeration time for the flour to fully hydrate and for the gluten to relax. You also want the butter/shortening to be pretty cold when you roll out the dough. So I put the disc in the fridge for about 2 hours (you can shorten this to 1 hour if you’re in a rush), then roll it out, put it in the pie dish, and pop it back in the fridge for another 30 minutes (up to overnight).
Re-chilling the dough in the pie dish before you bake it is crucial to ensure you don’t have the crust sliding down the sides of your dish as it blind bakes. The reason I break down the times slightly differently is that some of the things you’re trying to accomplish (flour hydration, gluten relaxation) continue to happen after you’ve already rolled out the dough, put it in the pie dish, and popped it back in the fridge. So there’s no need for this to be a 3.5 hour process — you can get by with as little as 1.5 hours if you’re in a rush, or 3 hours with no compromise in quality.
Print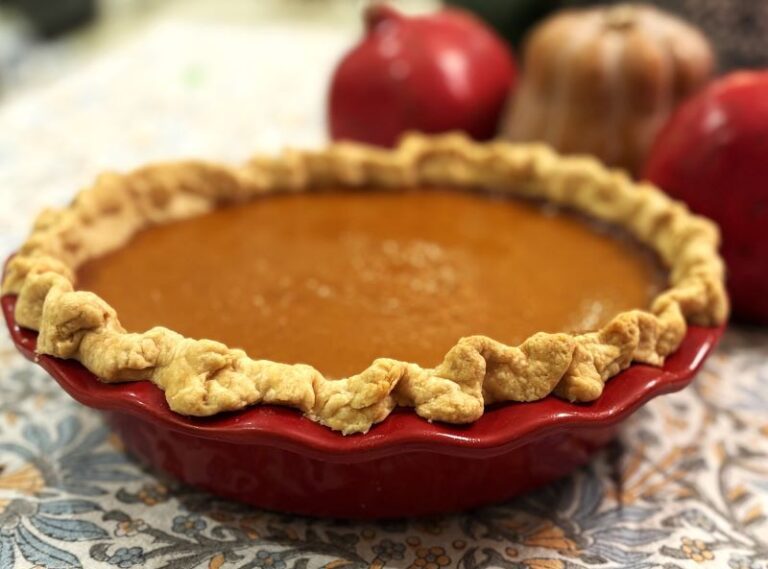
Honeynut Squash Pie
This honeynut squash pie is the light custardy cousin of pumpkin pie.
Equipment: 1 9-inch pie dish (Not deep dish; if you only have deep dish, you will need to increase the amount of filling by about 50%. A standard pie dish holds about 4 cups of filling — deep dish holds about 6 cups).
- Total Time: 140 min
- Yield: 1 9-inch pie 1x
Ingredients
Pie Crust
1 unbaked 9-inch pie crust (see my note above re crust options)
Filling
2 cups honeynut squash (about 4–5 squashes)
1 1/4 cups heavy cream
2 tsp vanilla extract
1/4 tsp salt
1 1/2 tsp ground ginger
1 1/2 tsp ground cinnamon
1/2 tsp nutmeg
pinch cayenne pepper
1/2 cup + 1 tbsp honey
4 eggs (2 eggs; 2 egg yolks)
Instructions
1. Preheat oven to 450F.
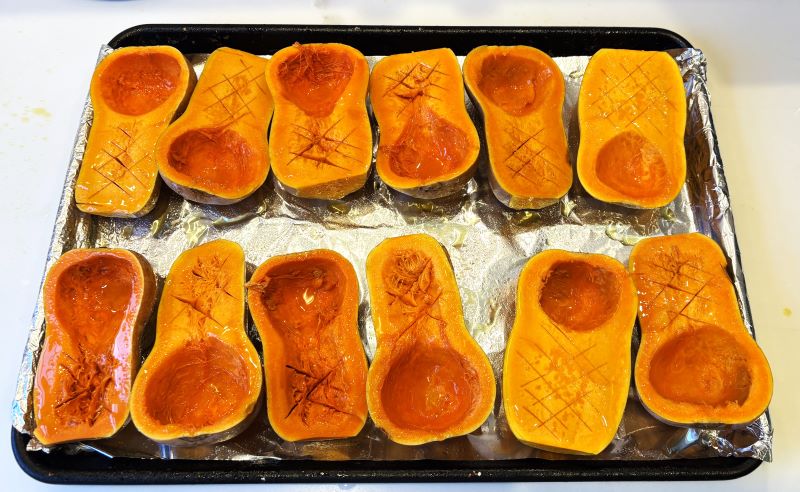
Cut honeynut squash in half lengthwise and scoop out seeds. Cross hatch their uppers diagonally with a knife taking care not to pierce through the outside skin. Spray / rub olive oil over the tops of each of them. No salt.
2. Roast the honeynut squash.
Pop in the oven for about 45 minutes, but start checking on them after about 30 minutes. As they bake and approach readiness, they will become very tender if pierced with a fork. They will also develop little pools of liquid in their bellies. You want to wait until after these little pools have mostly evaporated before taking them out. The goal is for them to be a bit burned on the bottoms, but just a little dark on top.
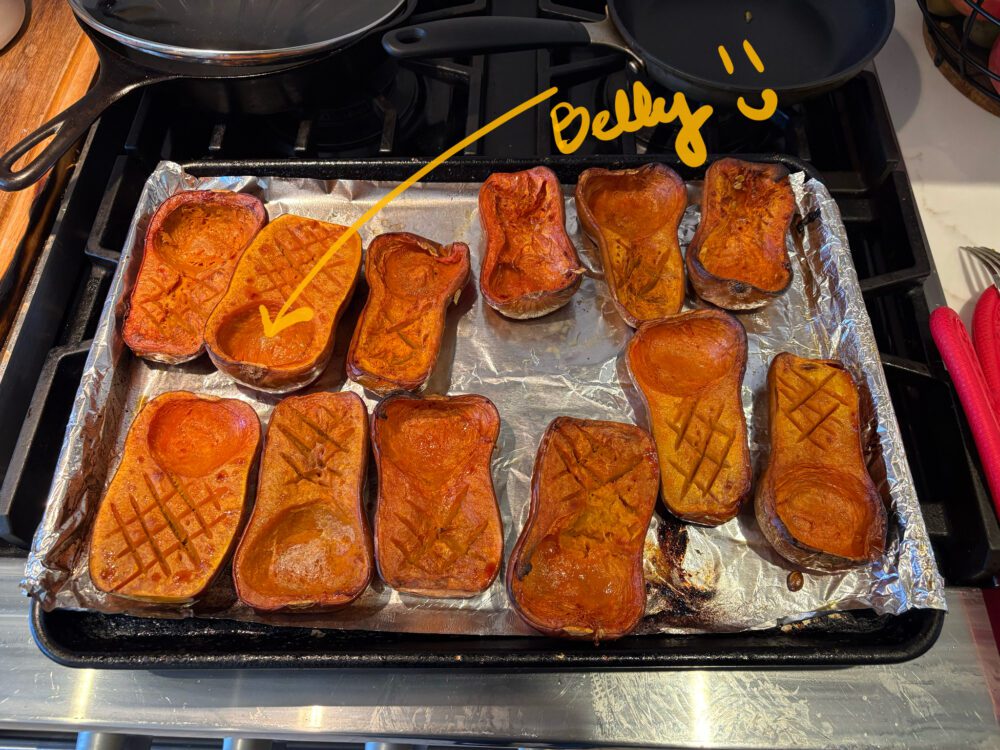
Once finished, take the honeynut squash out and let them cool for at least 10 minutes.
Reduce the heat to 400F.
3. Blind bake the pie crust.
Get your pie crust into a pie dish. Prick the bottom with a fork. Line the pie crust with parchment paper cut into a round (keep the round large enough so it folds over the crust top and protects it from burning while baking. Fill with ceramic beads (my choice) or apparently some people use beans.
Then chill in the refrigerator for about 30 minutes to ensure the crust is cold when it goes into the oven. This chilling step is actually important because it reduces the risk your pie crust will slide down the edges of the pie dish while blind baking.
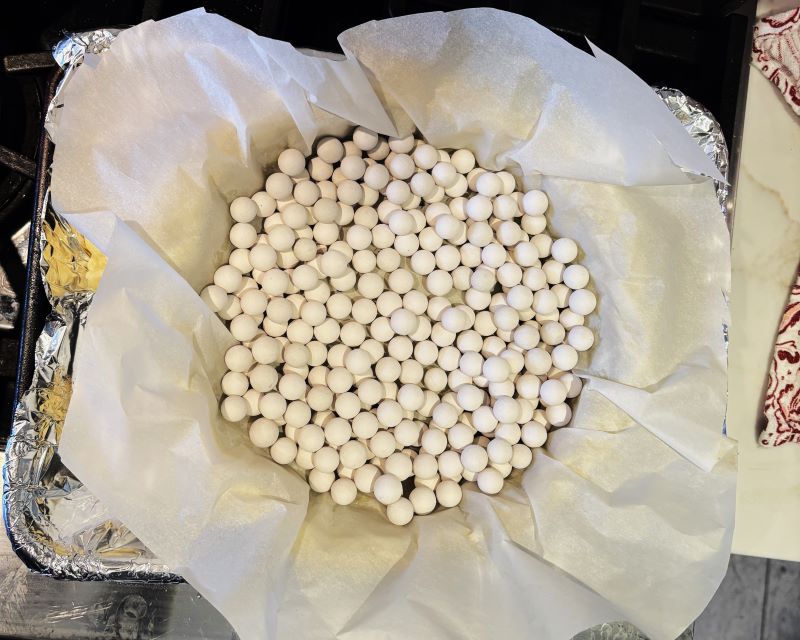
Bake for 20 minutes with the parchment paper and bea(d/n)s. After 20 minutes at 400F, reduce the heat to 350F and cook for 5 more minutes.
Then take out the parchment paper and bea(d/n)s and bake another 10 minutes at 350F.
4. Prepare Filling.
While the pie crust is baking, take a spoon and scoop out the honeynut squash guts from the skins. You are aiming for about 2 cups of squash. Put the 2 cups of squash guts into a food processor or blender.
Add your 1 1/4 cup of cream, and blend until smooth. Then, if you have space (if not, just move to a mixing bowl) add:
- 1/4 tsp salt
- 1 1/2 tsp ground ginger
- 1 1/2 tsp ground cinnamon
- 1/2 tsp nutmeg
- pinch cayenne pepper
- 1/2 cup + 1 tbsp honey
- 2 tsp vanilla extract
Finally, add 2 eggs and 2 egg yolks. I recommend using a mixing bowl for this step, but you could use your blender provided you use short pulses and are careful to not over mix the eggs.
5. Bake the pie.
After removing the pie crust from the oven, reduce the oven temp to 325F.
Pour the filling directly into the hot pie crust and bake for about 45 minutes at 325F. It is finished when it jiggles in the middle (the outside of the pie up to about 2/3 of the way into the middle should be set, the rest should jiggle).
6. Allow to cool completely.
The texture changes as it cools, and the pie will also need to set. Budget at least 3 hours of cooling time.
7. Enjoy!

- Prep Time: 90 min
- Cook Time: 45 min
- Category: Dessert
- Method: Bake

