Nothing says fall like a ginger apple crisp baked with cinnamon, nutmeg, cloves, and vanilla. . . .
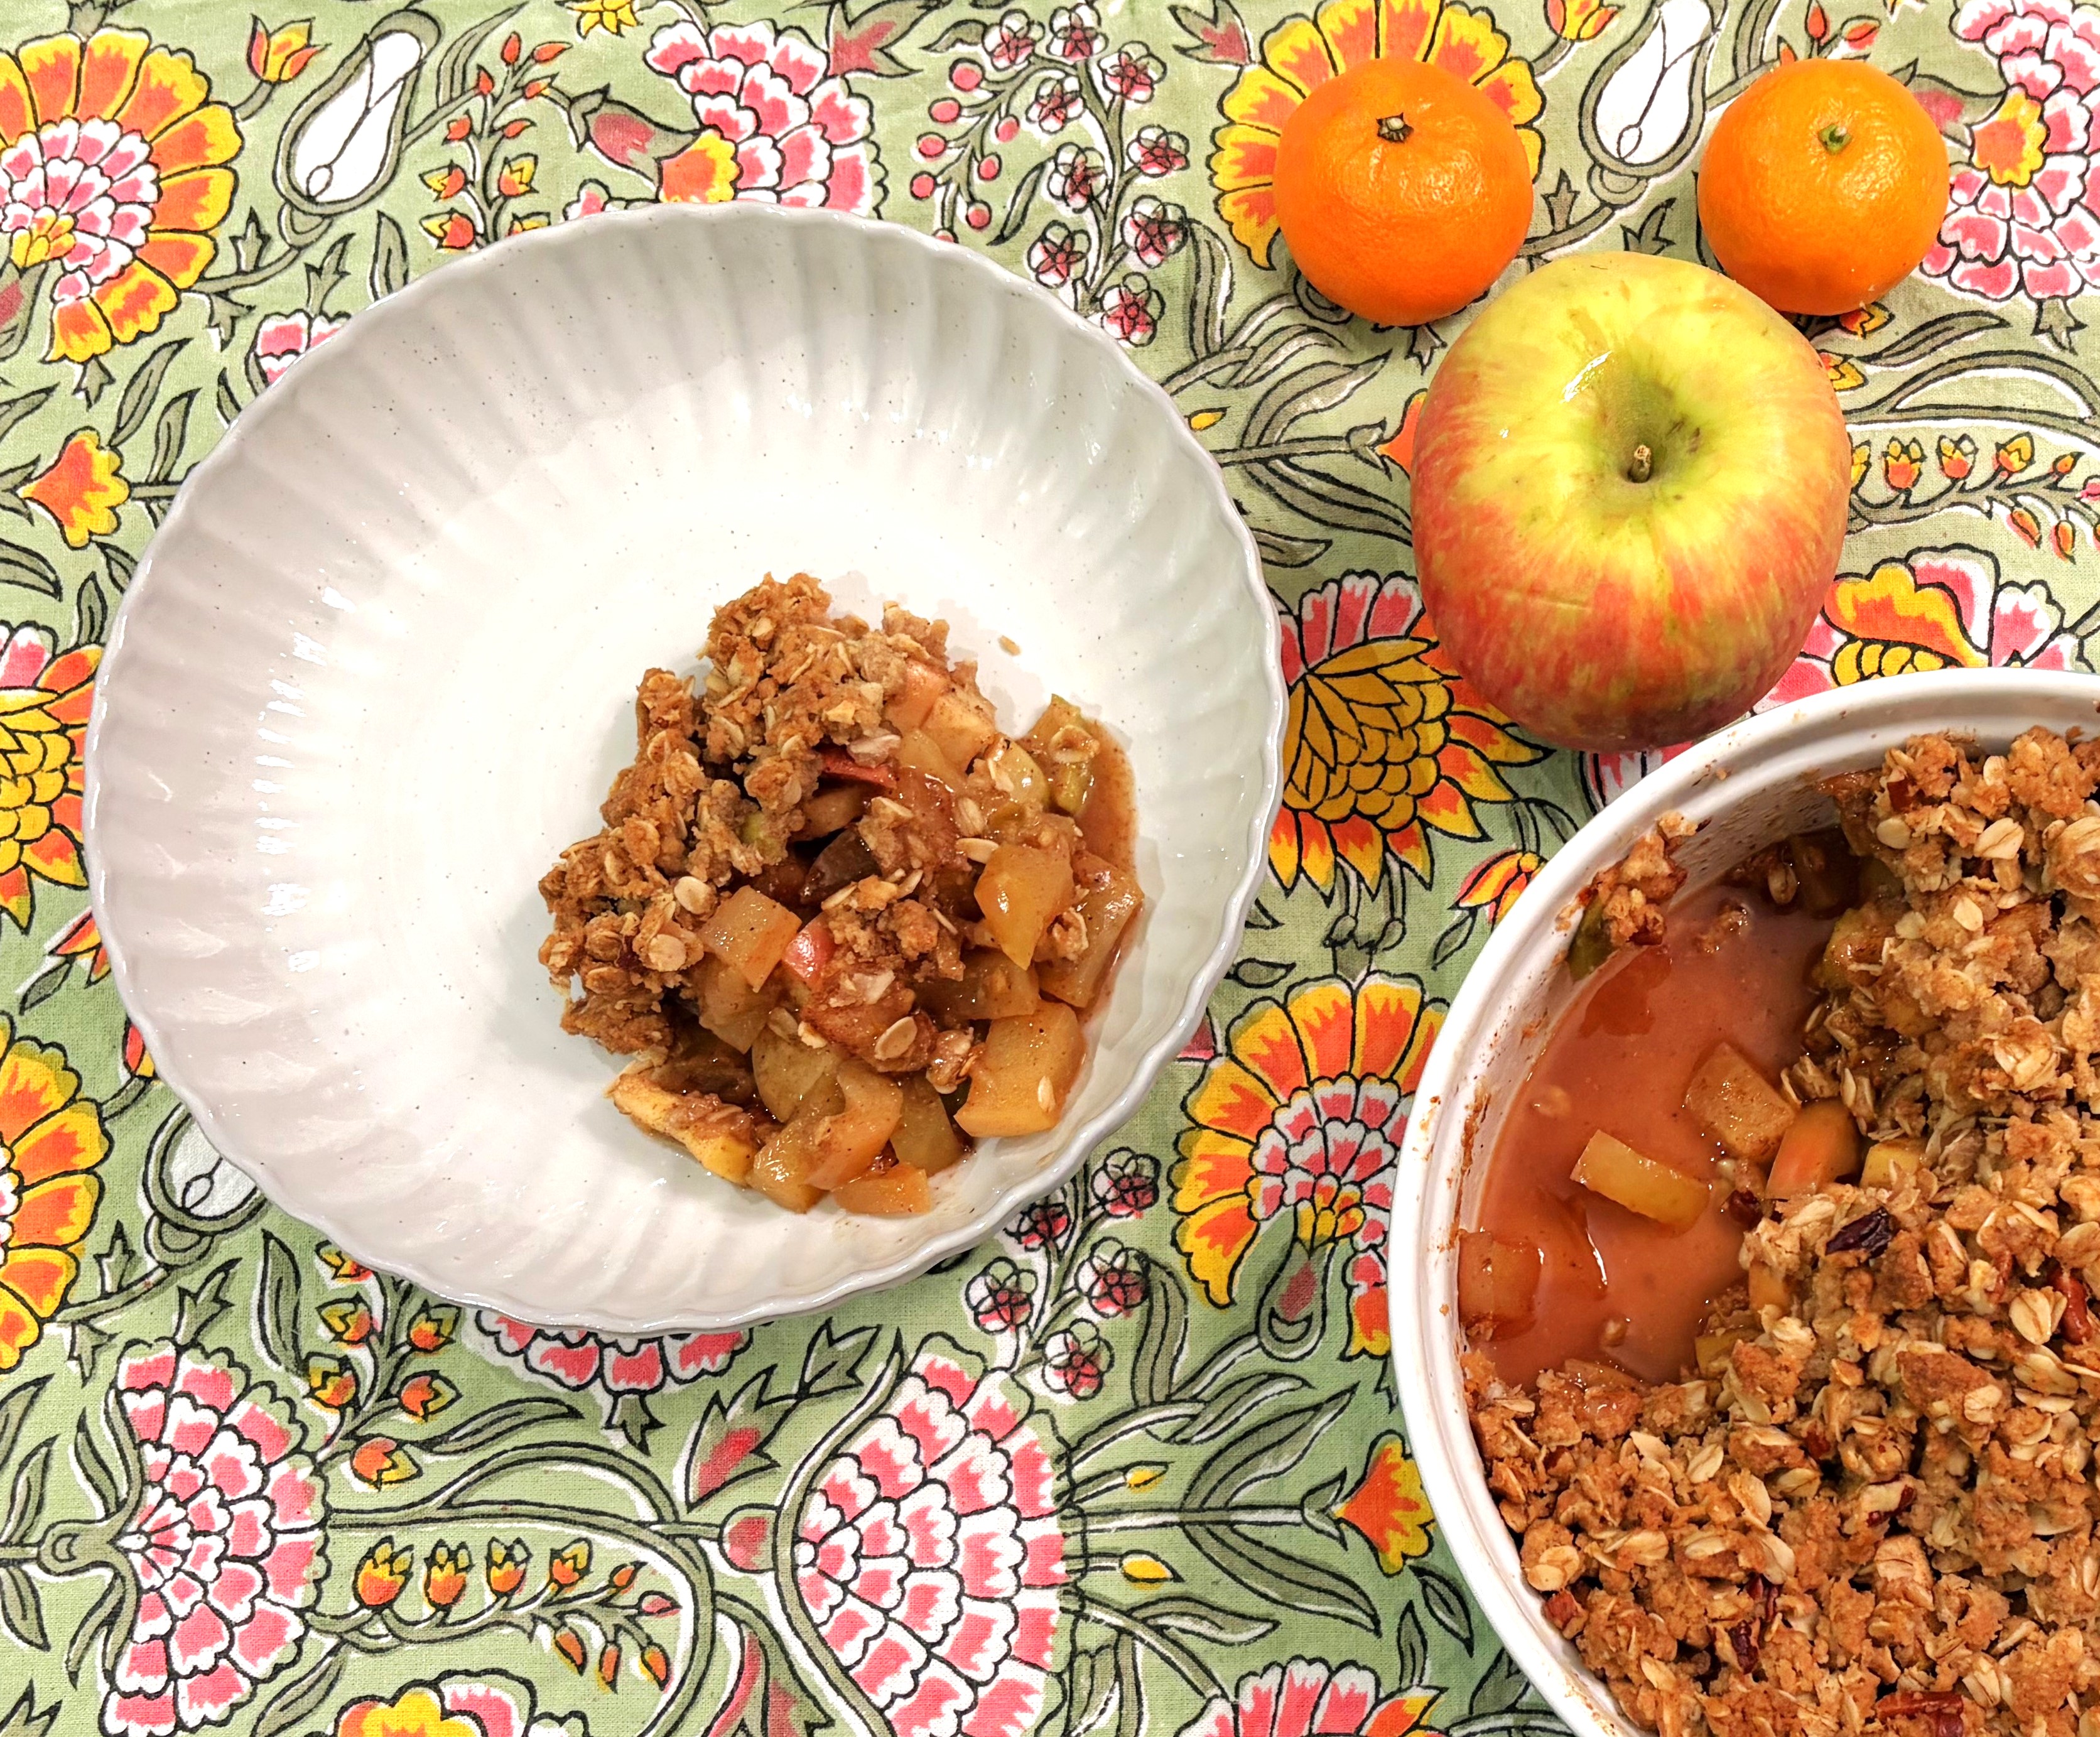
Since the start of the fall season, I have been craving a warm apple crisp. Complete with all the warm fall spices: ginger, nutmeg, cinnamon, cloves, and vanilla.
Apple Crisp is Fairly Healthy
Typically this time of year, I’m craving squash and starting to make loads of pumpkin and butternut squash pies. Not the case this year! I think it may have something to do with still trying to lose the baby weight. It feels best to avoid pie crust for at least another month if I can manage it. But then all bets are off. I may regain all the baby weight in November alone. (Just kidding, that’s not physically possible.)
So apple crisp with ginger feels very much like a fall treat, but it’s a bit healthier than pie. I think? It definitely feels like a delicious treat.
It is mostly apples, after all. Plus oats. And a bit of sugar. And you can top it with some lightly sweetened maple whipped cream (see recipe below), which is quite a bit better for you than ice cream. It’s basically just meeting your apple-a-day health requirement at this point.
That said, if you’re really looking for something a bit healthier, but you’re craving apple crisp (like I was last week) you can try my spicy baked apples, which are very much in the same category, but without the sugar and butter and flour.
Shortcuts to Making Apple Crisp Easy
Typically, you make the crumb topping by cutting cold butter into some combination of flour, sugar, oats, and spices. You can use two knives, or a fork, or a pastry cutter, and it’s a pain in the butt. The best approach is to use your hands to squeeze the butter into the flour mixture. And the reason to cut the butter into the topping is that it creates pockets of butter that melt more slowly, leading to a crisper, crumblier texture.
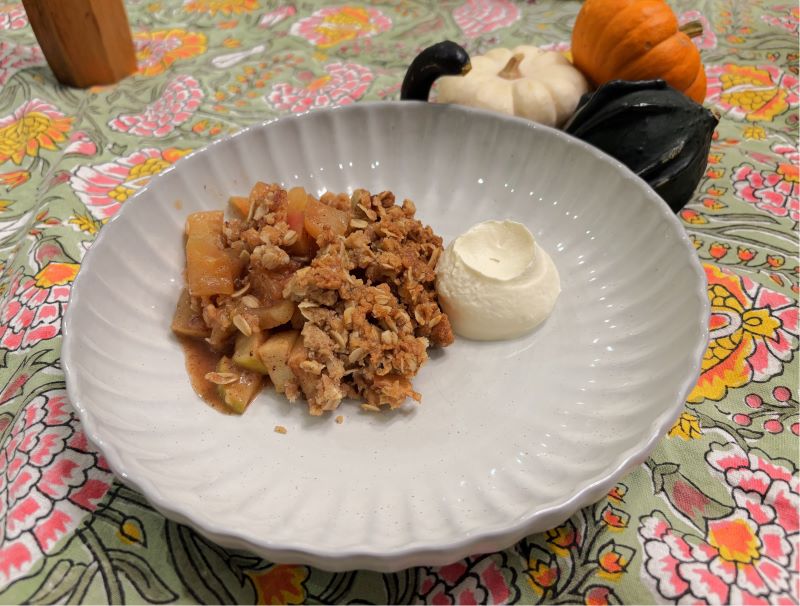
I get that, but I’ve started doing the crumb topping by just mixing the flour mixture with melted butter, and, frankly, I can’t tell the difference. I get a crisp, crumbly topping that tastes absolutely delicious. It’s still crisp the next day, in fact. I’m really not sure you can actually tell the difference, so my conclusion is that the butter-cutting-step is a basically frivolous exercise. Now if you’re doing this with a toddler and they want to get their hands dirty, by all means go for it. But I’m not convinced you’re really doing much to make the dessert tastier.
Also, I really don’t like getting my hands dirty. I currently justify it as a practical need, given I may need to stop what I’m doing to pull the boys off of each other at any given moment. Or my daughter off of one of the boys. Or them off of her. Really, it can go any way right now. I don’t want to be rubbing butter all over their clothes or hair as I try to extricate them from one another.
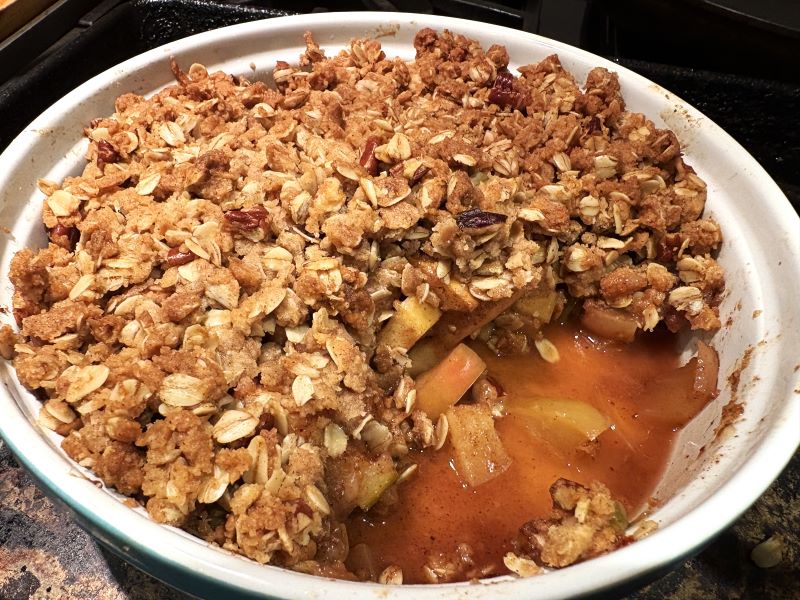
Plus every time you get butter on your hands, you have to use soap rather aggressively to strip off the grease from your hands, and then your hands get drier than they already were. And it’s fall, when my skin is already getting dry. No one has time for this. So I just melt the butter and mix it with my flour, sugar, spice, oat, etc. mixture using a spatula. So very simple.
Now, on to the recipe.
Print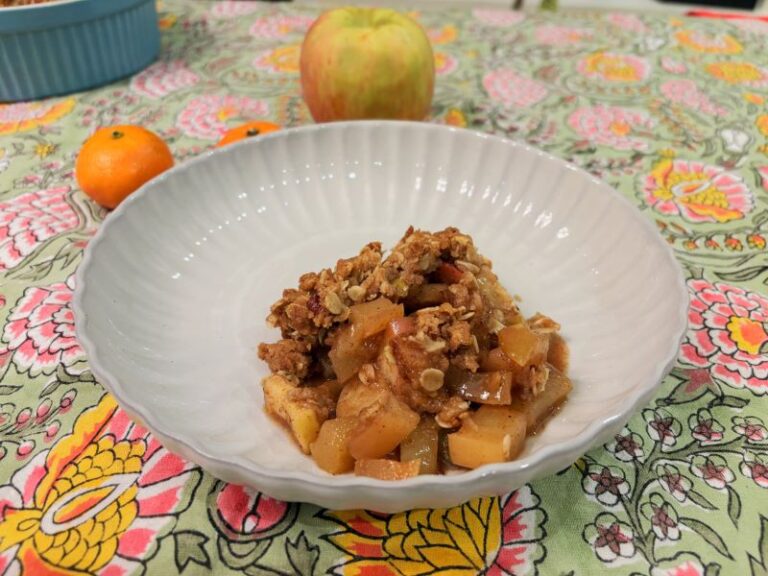
Ginger Apple Crisp with Maple Whipped Cream
An easy recipe for apple crisp.
Suggested Equipment: 48-ounce ramekin (I use this one) OR a deep dish 9-inch pie dish. You need something with approximately 6 cups of capacity.
- Total Time: 80 min
- Yield: 1 8-inch apple crisp 1x
Ingredients
Spiced Apple Filling
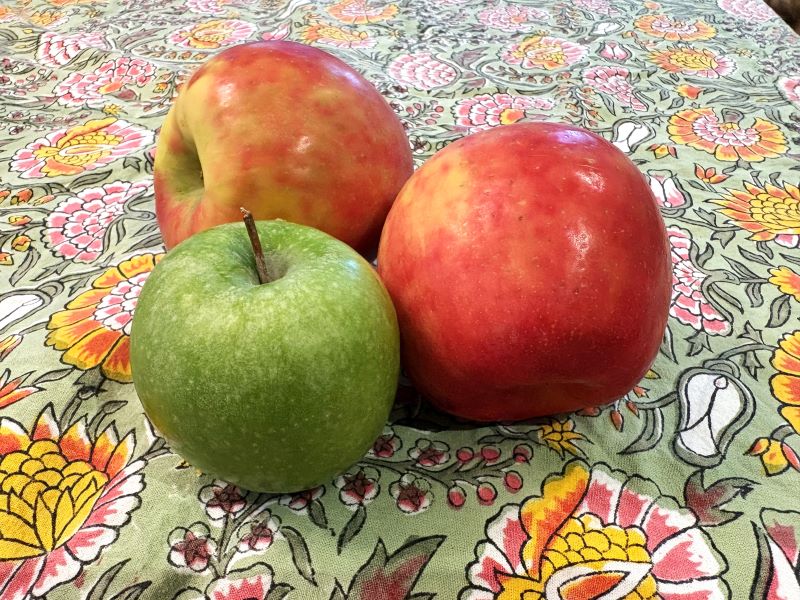
2 large honeycrisp apples (approximately 4 cups of chopped apple)
1 large grannysmith apple (approximately 2 cups of chopped apple)
1/4 cup brown sugar
1 tbsp all-purpose flour
1 tsp vanilla extract
1/2 tsp ground cinnamon
3/4 tsp ground ginger
1/2 tsp ground nutmeg
1/8 tsp ground cloves
1/8 tsp salt
1 tsp orange zest
Crumble Topping
1/4 cup melted butter
3/8 cup all-purpose flour
3/8 cup brown sugar
1/2 cup rolled oats
1/2 tsp ground cinnamon
1 tbsp chopped pecans
pinch of salt
Maple Whipped Cream
1 cup heavy whipping cream
1 tbsp maple syrup
1 tsp vanilla extract (preferably bourbon)
Instructions
1. Preheat oven to 350F.
2. Prepare the apple filling.
Chop the 3 apples into 1/4 to 1/2 inch cubes. Leave the peel on the apples. Here’s a picture of the weird way I cut up my apples. Maybe everyone is doing this, but it’s not how I was taught to do it growing up.
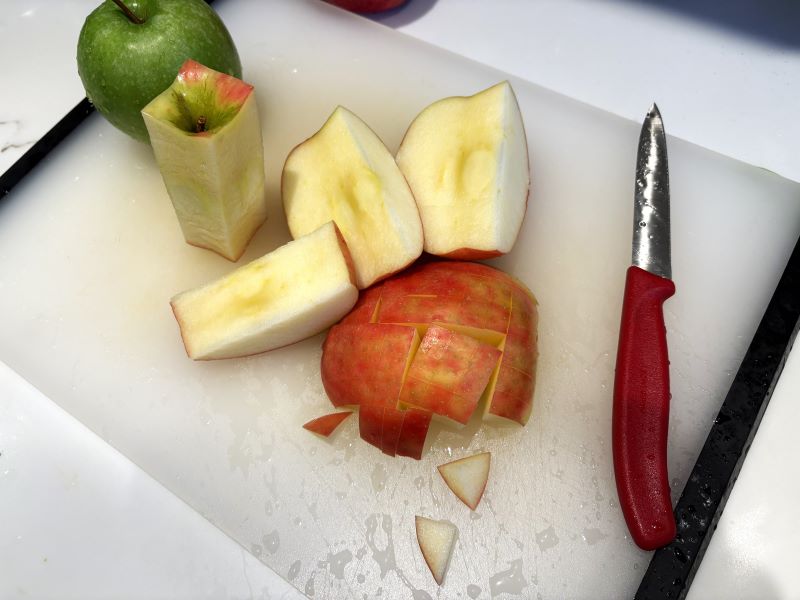
It’s best if there is some variation in the apple piece sizes, so that you have some softer and some firmer pieces of apple after baking. Toss the chopped apples with:
- 1/4 cup brown sugar
- 1 tbsp all-purpose flour
- 1 tsp vanilla extract
- 1/2 tsp ground cinnamon
- 3/4 tsp ground ginger
- 1/2 tsp ground nutmeg
- 1/8 tsp ground cloves
- 1/8 tsp salt
- 1 tsp orange zest
Then pour the apples into a baking dish. I use an 8-inch ramekin, but a 9-inch deep dish pie pan has approximately the same capacity and would also work. This is what mine looked like.
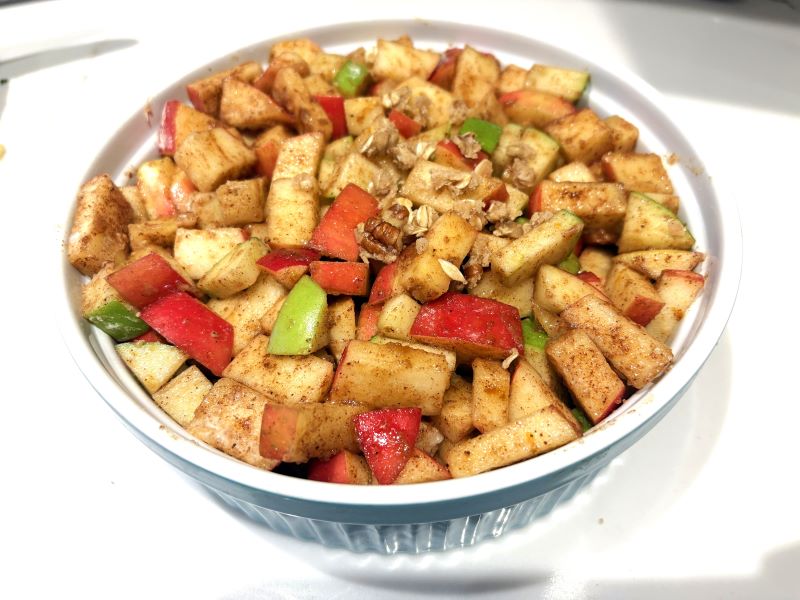
(oops, I started sprinkling the crumble before I took this picture)
3. Make the crumble topping.
Begin by melting the 1/4 cup of butter. I usually do this in the microwave by heating in 20 second bursts.
Then use a spatula to mix in thoroughly until moist throughout:
- 3/8 cup all-purpose flour
- 3/8 cup brown sugar
- 1/2 cup rolled oats
- 1/2 tsp ground cinnamon
- 1 tbsp chopped pecans
- pinch of salt
When you’re finished mixing, you should have a crumbly crumb texture. Gently sprinkle the crumbs evenly over the apples. Try to hide all the apples from sight. Do not press the crumbs down into the apples. Here’s what mine looked like right before I popped it into the oven:
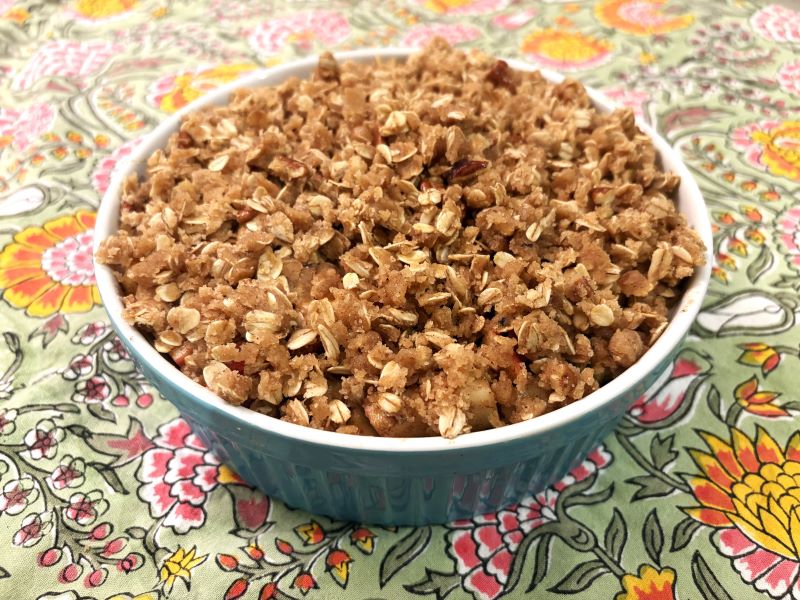
Hot tip: I often double the recipe for the crumble and freeze half of it. That way, I can very quickly make a batch of apple crisp. (Sometimes it’s an apple-crisp emergency). It freezes very well. Just take the frozen bits out of the freezer maybe 30 minutes before you want to use them. Or, if you forget to take it out ahead of time, just pop the frozen crumble into a bowl and then into the microwave in 5 second bursts, until sufficiently un-frozen (ideally not warm).
4. Pop it in the oven for 70 minutes.
It’s done when it smells delicious. You can take it out closer to 60 minutes if you prefer your apples a little firmer, or closer to 80 minutes if you like them very soft.
5. Make the whipped cream.
Combine the 1 cup of heavy whipping cream with 1 teaspoon of vanilla extract and 1 tablespoon of maple syrup. Whip to combine and then keep going until you reach soft peaks (until it looks like whipped cream). You can do it by hand or use a mixer if you’re so inclined.
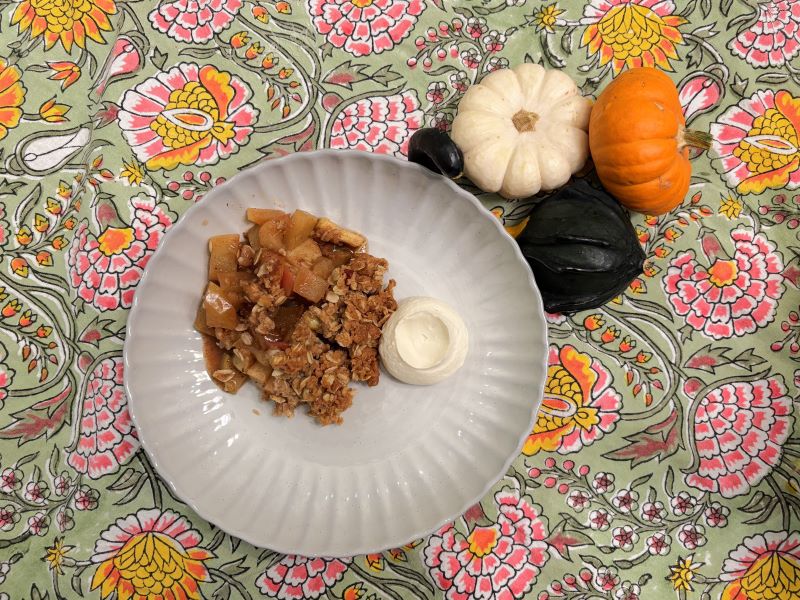
6. Enjoy!
- Prep Time: 10 min
- Cook Time: 70 min
- Category: Dessert
- Method: Bake

