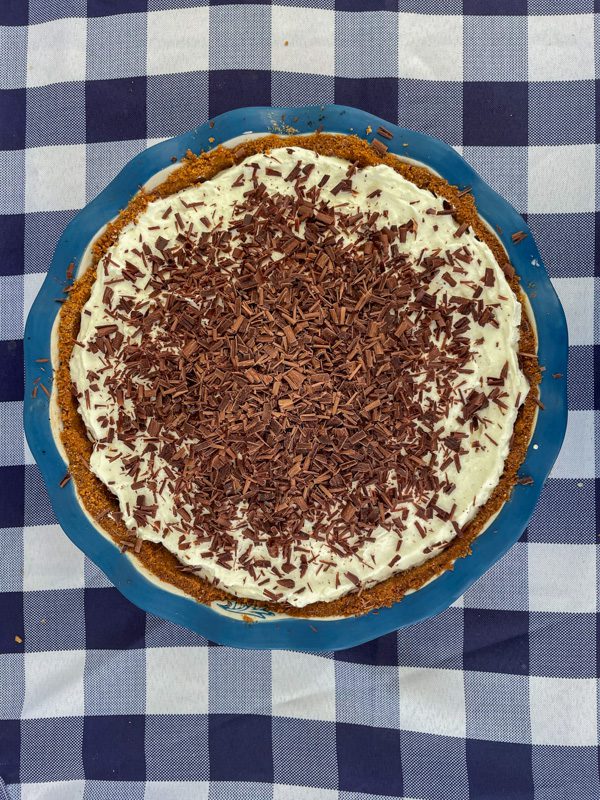
Graham cracker crust + dulce de leche + bananas + whipped cream + shaved chocolate = banoffee tart. What could possibly go wrong?

Why it works
Dulce de leche is a milkier, mellower version of caramel that perfectly complements the flavor of fresh bananas. It gives them a touch more sweetness and a bit of caramel flavor without overpowering them. You need only a little dulce de leche to get the flavor across because it is quite sweet. I put it between the banana and the graham cracker crust – preventing the graham cracker crust from getting soggy if you let the tart sit a day or two.
I top the sweet and gooey mess with lightly sweetened whipped cream. This keeps it feeling like a lighter dessert that you can’t eat enough of (slightly problematic, but oh well), and shaved milk chocolate on top adds a little texture and a hint of chocolate-y goodness to every bite. But it’s important to keep the chocolate milky, not dark, so that you don’t overpower the other flavors. (Save your dark chocolate for something like a chestnut tart!)
The only time-consuming part of making this tart comes in if you decide to make the dulce de leche yourself (process discussed below) BUT you can totally skip this by buying dulce de leche. Or, if you don’t want to buy it, it’s pretty shockingly easy to make. It just takes a bit of time (during which you basically do nothing except boil a pot of water).
Making Dulce de Leche
There are several ways to make dulce de leche, all starting with a 14-ounce can of sweetened condensed milk.
I have tried all three methods. I think there’s a clear winner: the boiling method. It’s the easiest, but it takes longer. But this is inactive time! So totally worth it if you plan ahead a bit.
About the three methods: Wiser people than me have written extensively on the subject of how to make good dulce de leche. I’ll go through the boiling method in my recipe below, but I’m linking some good articles that discuss this subject in depth below. And also, I’ve put together a fun little chart based on my own experiences with these three methods.
Here are some links to articles discussing the stovetop or oven method. And the microwave method. But if you don’t want to read multiple articles, below is my very quick overview:
| Stovetop | Oven | Microwave | |
| How fast? | Slow (3 hours) | Faster (1.5 hours) | Fastest (15 minutes) |
| How easy? | Easiest but potentially anxiety-inducing Boil a large pot of water with the can submerged for 3 hours. If the water boils off it’s a potential safety hazard. So use a lot of water and put a lid on the pot so the water won’t evaporate off quickly and check the water level intermittently. Let it cool before you open the can. | Harder Pour the milk into a dish, wrap well in foil, drop into a hot water bath, and bake for 1.5 hours. | Hardest and potentially anxiety-inducing. Microwave the milk in a large microwave-safe bowl, at 50% power, and spend 15 minutes standing in front of the microwave, stopping it to whisk every few minutes. Several times, the milk nearly boiled over (I had to stop the microwave several times). I was also nervous the bowl would explode (it got very, very hot). |
| How delicious? | Best Results Smooth, perfect consistency. Super pourable and easy to work with once done. | Worst Results Even if you wrap it well, there will be some moisture escape and crystallization on top in my experience. So not perfectly smooth. Thin out with cream or it will harden too much as it cools. | Ok Results Thin out with cream or it will harden too much as it cools. Not as smooth as stovetop but better than oven. |
Oh, and remember you could just buy dulce de leche.
Banoffee Tart versus Banoffee Pie
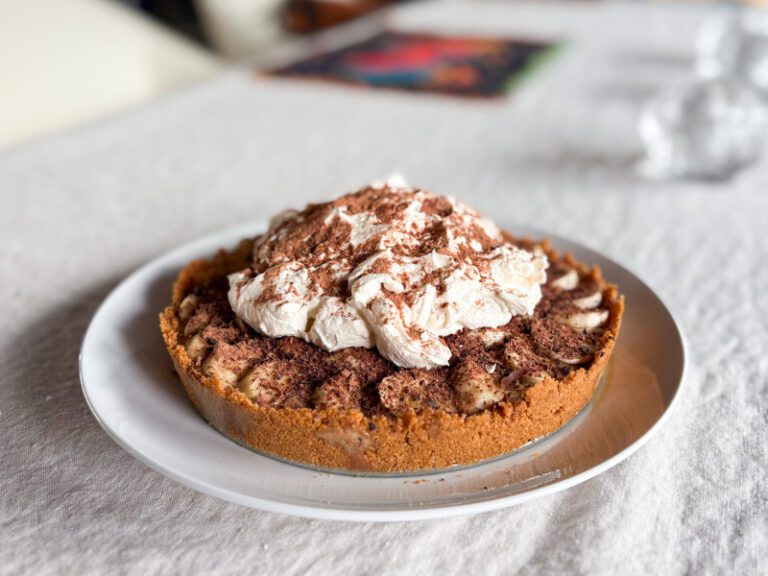
I think you more typically hear about banoffee pie – not so much about the tart version. I’ve made banoffee pie and banoffee tarts. Both are delicious. But the tart is much prettier looking, a bit lighter, and the same amount of work as banoffee pie. So I opt for banoffee tarts.
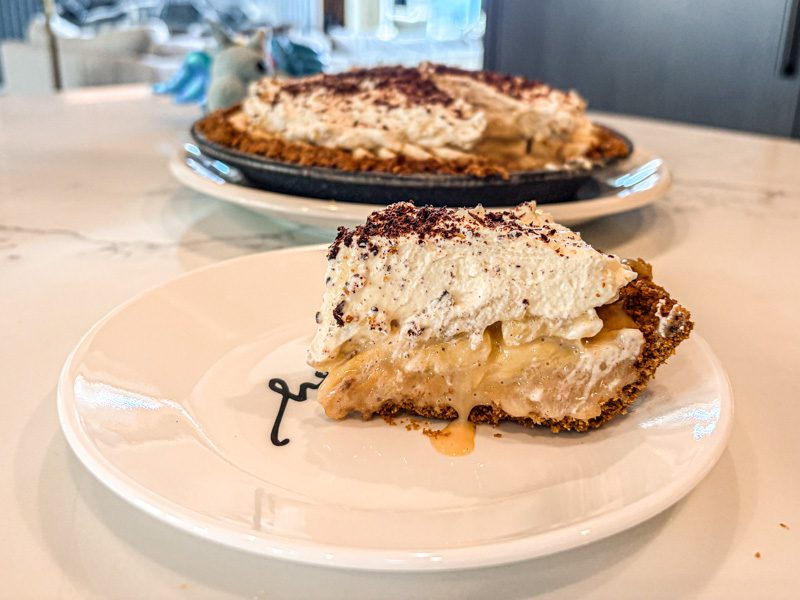
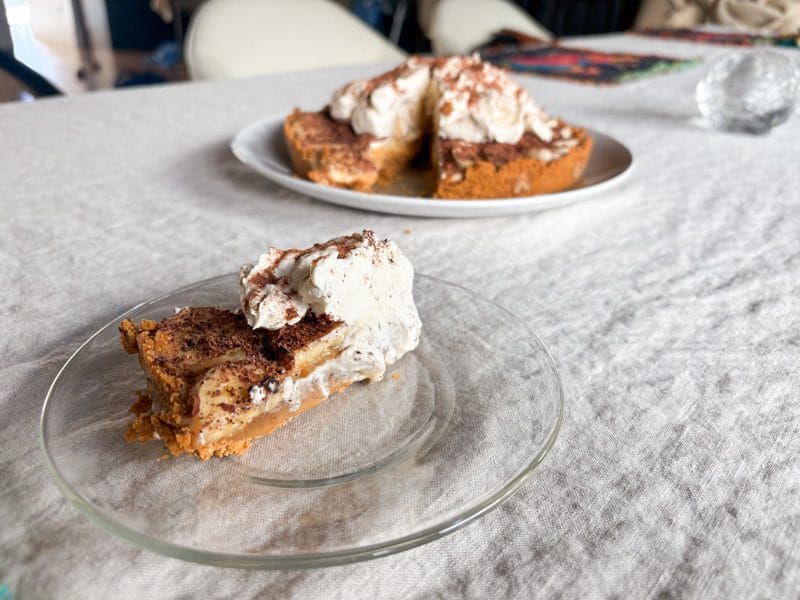
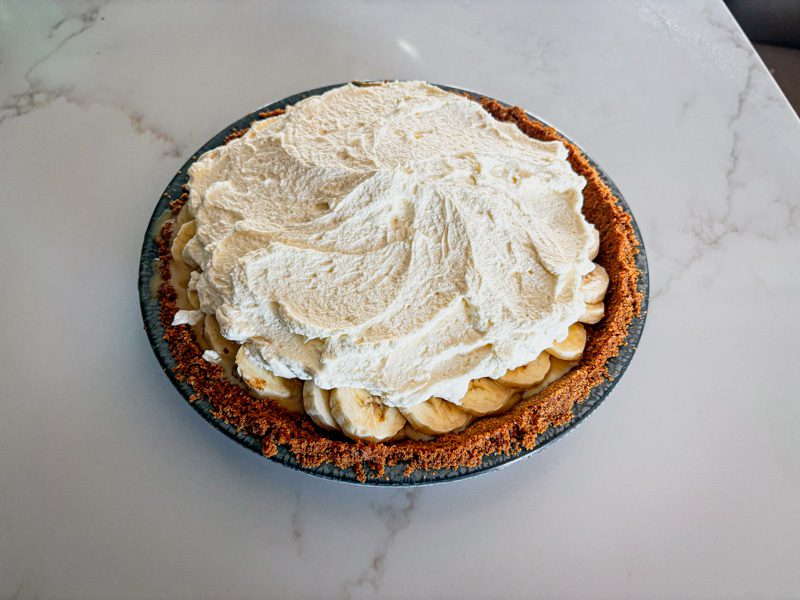
The primary difference between the tart and pie version is that the tart uses one layer of dulce de leche and one layer of banana. The pie has two layers of dulce de leche (more than 1 can’s worth!) and two layers of banana. (The picture above is a slice of banoffee pie.) It’s delicious, but honestly it can get a bit sweet.
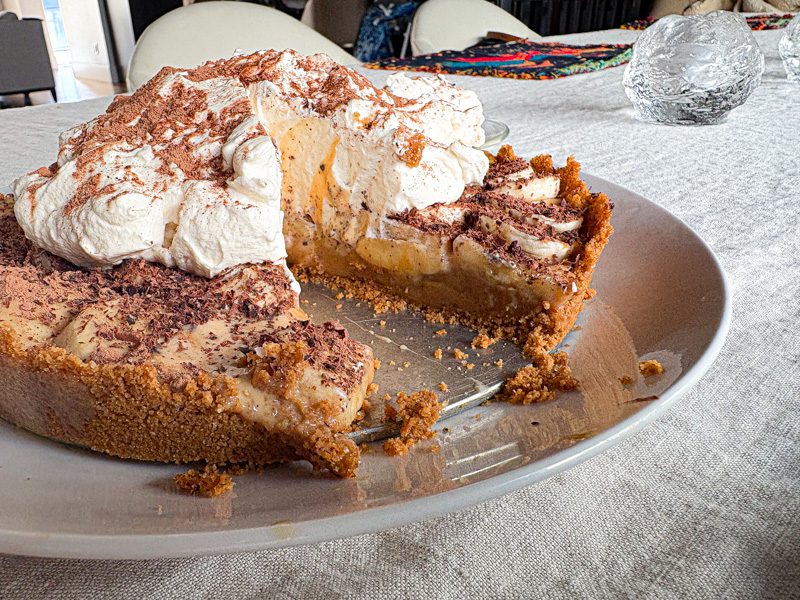
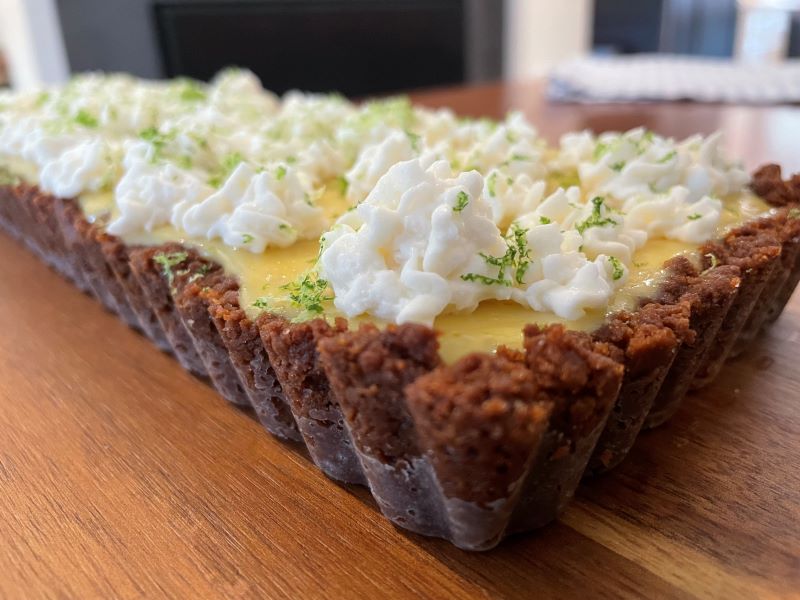
The tart is one layer of dulce de leche and one layer of banana (picture above). Much better to keep the banana and dulce de leche down to one layer. Plus, you get a higher crust to banana ratio that way!
Banoffee Tart
Graham cracker crust + dulce de leche + bananas + whipped cream + shaved chocolate = banoffee tart. What could possibly go wrong?
Equipment: 10 inch tart pan
- Total Time: 0 hours
- Yield: 1 tart 1x
Ingredients
Crust
9 graham crackers
6 tablespoons unsalted butter
1 tablespoon sugar
Filling
1 14 ounce can of sweetened condensed milk
2–3 bananas
1 cup heavy whipping cream
1/4 cup sugar
1 tsp vanilla extract
1 milk chocolate bar (or 1/4 cup unsweetened cocoa powder)
Instructions
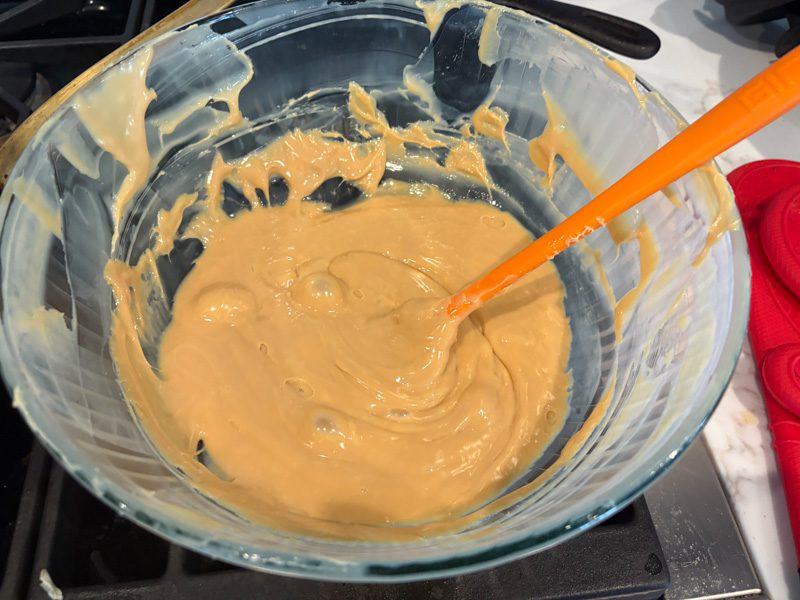
1. Make the dulce de leche.
My preferred method is the stovetop. I discuss other options above, but I strongly recommend this method as the simplest with the best and most consistent results.
Remove the paper wrapper from the 14-ounce can of sweetened condensed milk. Fill a large pot (one that has a lid that fits) with hot water. Put the unopened can of sweetened condensed milk into it. Make sure there are at least 2-3 inches of water above the top of the can. This is important so the can does not explode when the water gets hot. So make sure you keep the water level high so it stays completely submerged. Put the pot onto the stove and bring to a boil. Reduce the heat and place a lid on top of the pot.
Let the water boil for 3 hours. Check on the pot periodically to ensure that there is a good amount of water over the top of the can. Add more water if needed.
After 3 hours, turn off the heat and allow the water to cool down. I usually give the can a good hour to cool in the water, then take it out to use. Definitely do not try to open it right away unless you want it to explode.
FYI – you can do this with multiple cans at once and then hang onto the sealed cans. They’ll keep for several months so you have ready-made dulce de leche!
2. Preheat oven to 350F.
3. Prep the crust.
Crush the 9 graham crackers. Fastest way is in a food processor. Or you can put it in a Ziplock bag and hit it with a heavy spoon. Just don’t be too aggressive or the bag will tear.
Put it in a mixing bowl. Add the 1 tbsp of sugar. Add the 6 tbsp of melted butter. Stir until the texture becomes like wet sand.
4. Bake the crust.
Dump the graham cracker sand into a tart crust. Press it down into the tart pan (I use a 10 inch tart pan) so that it’s as compressed and even as you can get it. I use my fingers, but more civilized people apparently use the bottom of a glass cup.
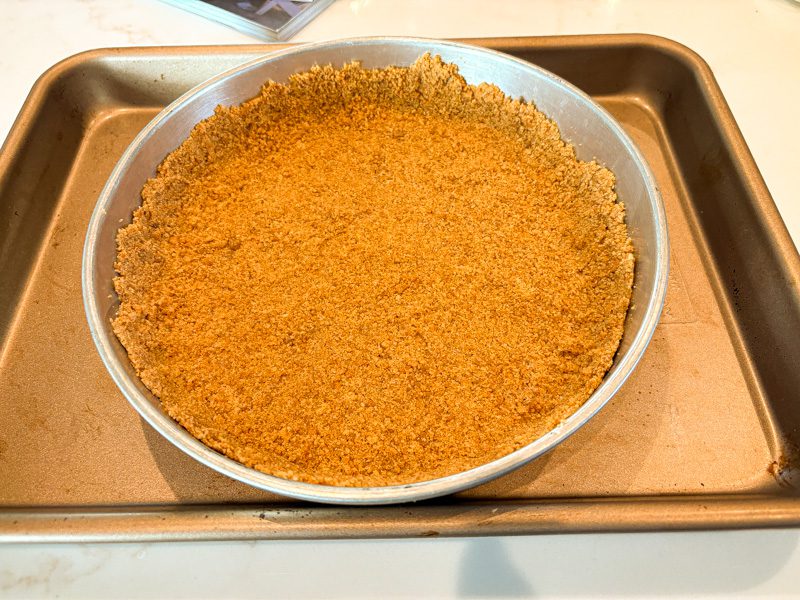
Then put the tart pan on a baking sheet (this makes it easier to take out of the oven). Pop it into the oven for 15 minutes. Take it out when done and let it cool.
5. Add the dulce de leche.
Once the crust has cooled, pour the entire can of dulce de leche onto it. Open the can, and drizzle the dulce de leche evenly over the crust. Get it up the sides of the crust if you can a bit because it serves as a moisture barrier, protecting the crust from the moisture of the bananas and whipped cream. Try not rely on spreading it around much – this is very difficult because it’s thick and going to grab onto the crust.
Tip: Spreading the dulce de leche in the crust is easiest to do while the dulce de leche is warm (not hot)! If you’re having a hard time, you could dump the dulce de leche into another microwave safe container and heat it up a bit in the microwave in 15 second bursts, until it’s a bit runnier and easier to work with. Then drizzle it all over the crust.
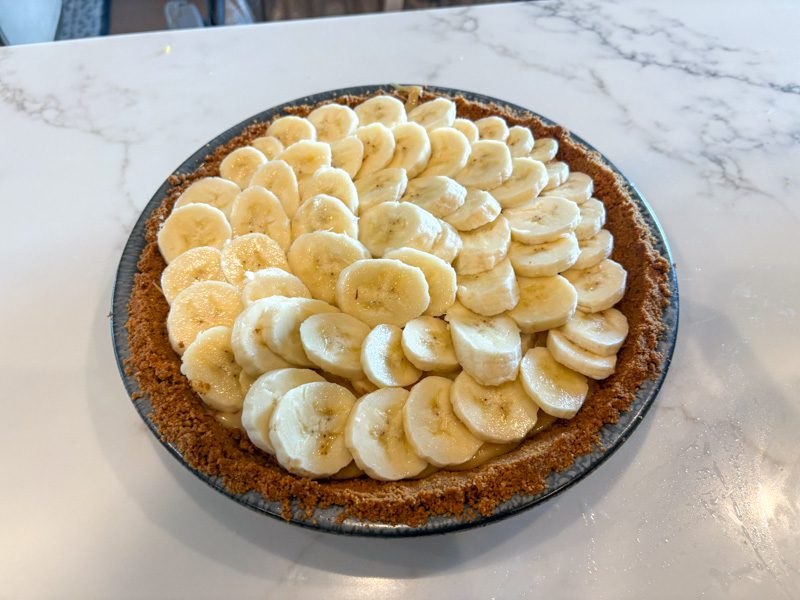
6. Slice the 2-3 bananas and arrange on top of the dulce de leche in a single layer.
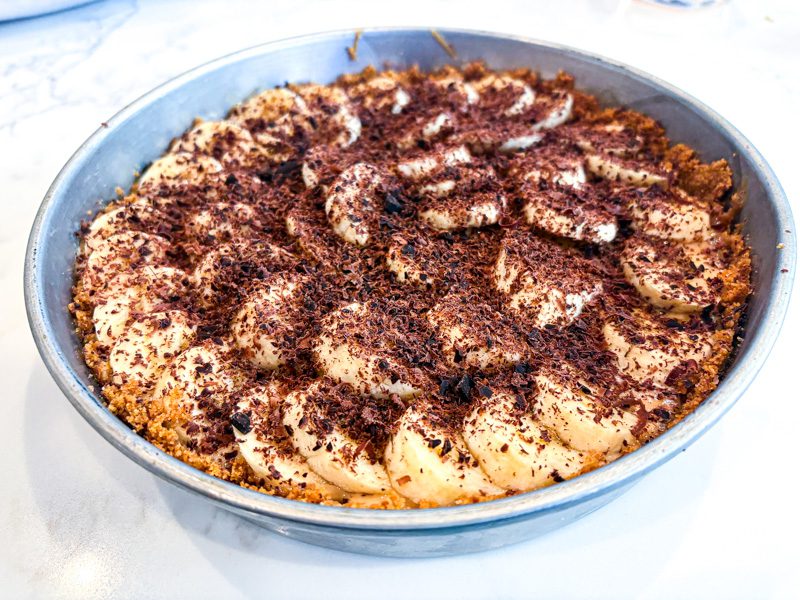
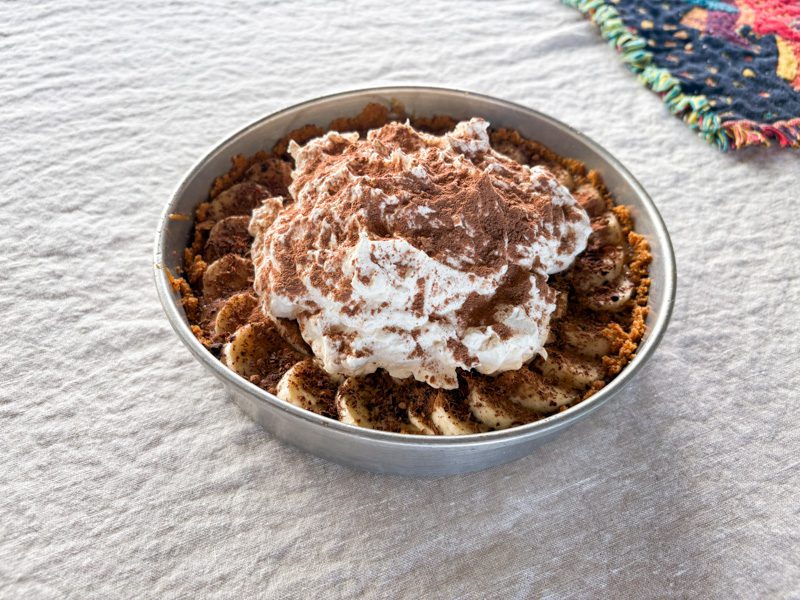
Add a bit of chocolate onto the top of the bananas. Take the bar of milk chocolate and a sharp paring knife. Run the knife gently along the side of the chocolate bar to create chocolate curls. Alternatively, dust the top with cocoa powder. Either looks cool and tastes good.
7. Make the whipped cream.
Whip together until you have stiff peaks:
- 1 cup heavy whipping cream (cold)
- 1/4 cup sugar
- 1 tsp vanilla extract
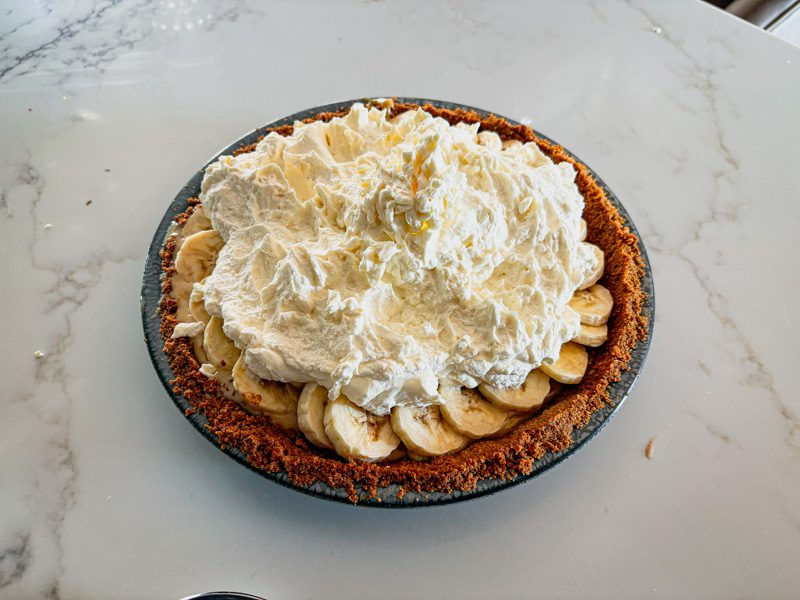
Plop the whipped cream onto the bananas. Try to make it look nice with a spoon, or embrace a chaotic look and just leave it dumped on however it falls.
8. Top with chocolate.
Again, take the bar of milk chocolate and a sharp paring knife. Run the knife gently along the side of the chocolate bar to create chocolate curls over the whipped cream. Alternatively, dust the top with cocoa powder.
Add as much chocolate as you like. I like loads, but tried to keep it moderate in the picture below.
- Prep Time: 3.5 hours
- Category: Dessert