Ingredients
5 tbsp butter (salted or unsalted)
4 tbsp maple syrup
4 good long sprigs of rosemary (or 8 long sprigs of thyme for spring)
salt and pepper
approximately 4-pound chicken (+/- 1 pound will just speed or slow cooking time)
Instructions
1. Preheat oven to 375F.
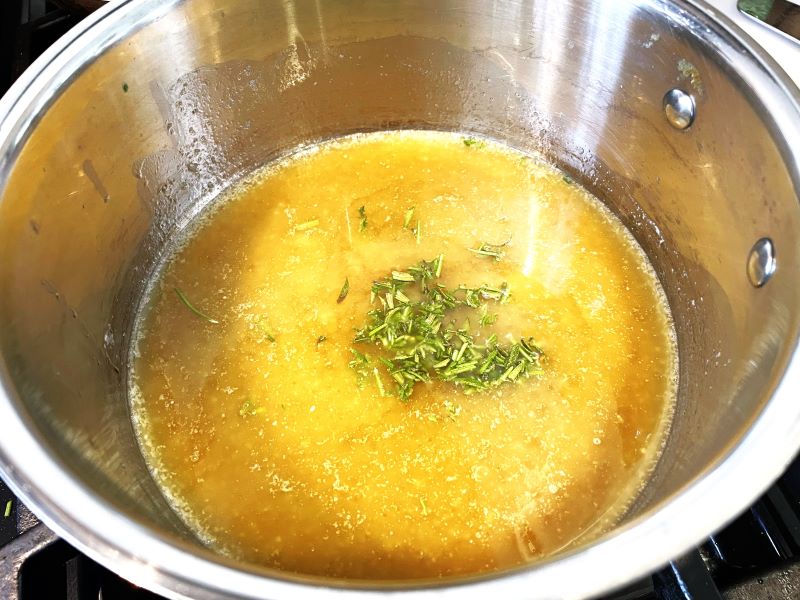
2. Make the glaze.
Melt 5 tbsp of butter in a small saucepan over low medium heat. Add 3/4 tsp salt if using salted butter; if using unsalted, add 1 tsp salt.
While the butter melts, wash the rosemary/thyme, strip the leaves off 2 of the stems (not all 4), and chop it up. Add it to the butter. OR: If you’re feeling lazy, just throw the whole sprig of rosemary/thyme into the maple butter. This is how I’ve been doing things around here recently.
Add 4 tbsp of maple syrup. Once the butter is completely melted, stir well and heat until it comes to a simmer. Let it simmer for about 1 minute and then turn off the heat.
3. Prep the chicken.
Put the chicken in a cast iron skillet or other roasting pan just big enough to fit the chicken (if it’s too big, more of the drippings will evaporate or burn during baking). Make sure you get out any giblets (not a good thing to forget I’ve found).
Place the remaining sprigs of rosemary/thyme into the chicken’s cavity. (Note: If you took the lazy approach of not chopping up the rosemary/thyme, take all of the sprigs out of the maple butter now and put all of them into the cavity).
Pour about a third of the glaze over the chicken, making sure that you’ve completely coated the chicken. Sometimes I put gloves on one hand and smear the sauce everywhere to make sure it gets all over the chicken.
Then liberally sprinkle the chicken with salt and some pepper. If you do this before adding the glaze, the glaze will wash the salt off.

4. Pop that chicken in the oven.
Roast it for about 20 minutes, then take it back out. See how its browning. (Is it even? If not, rotate the chicken when you put it back in the oven.)
Pour 1/2 of the remaining glaze over the chicken, covering the surface area of the chicken as well as you can. Then pop it back in the oven and roast it for another 20 minutes. Take it out after 20 minutes, pour the rest of the sauce over it, and temp the chicken. It probably needs 10-20 more minutes of cooking. It’s finished when a thermometer inserted deep into the breast reaches 155F. Make sure you don’t push the thermometer all the way into the cavity and get a faulty reading — this is surprisingly easy to do with a small chicken!
Then take it out and let it rest for 10 min.
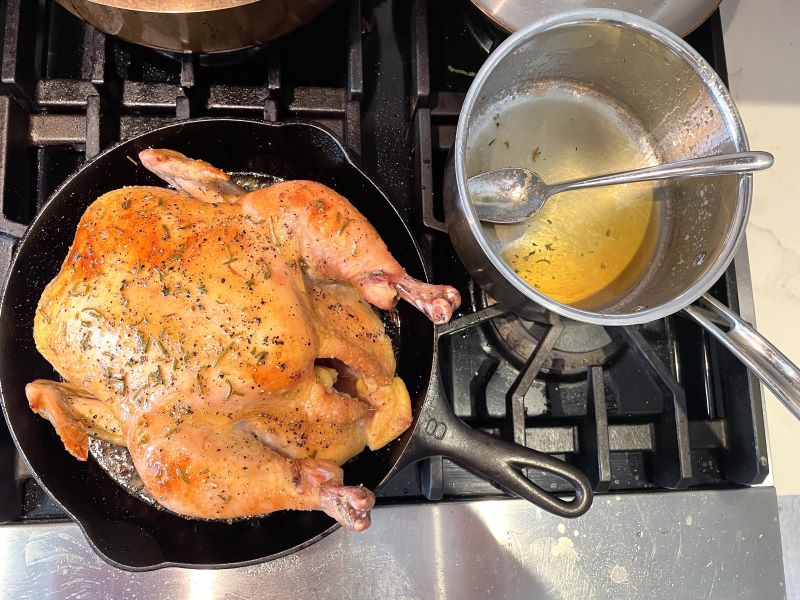
5. Finish the maple butter sauce.
If you want sauce (you want the sauce), after the chicken has rested, move the chicken onto a (wooden) cutting board so that it’s ready to cut up. You must do this after the chicken has rested (or at least has rested for 5-10 minutes), because the chicken will continue to drip some juices while it rests, and you want those juices for the sauce.
If I use a cast iron, I will just heat the drippings back up where they are. If you used a roasting pan or other dish, you’ll need to pour the drippings back into the original sauce pan you used to make the glaze.
Bring the sauce to simmer and let it reduce for maybe 3-5 minutes. Don’t be tempted to pour off the butter.
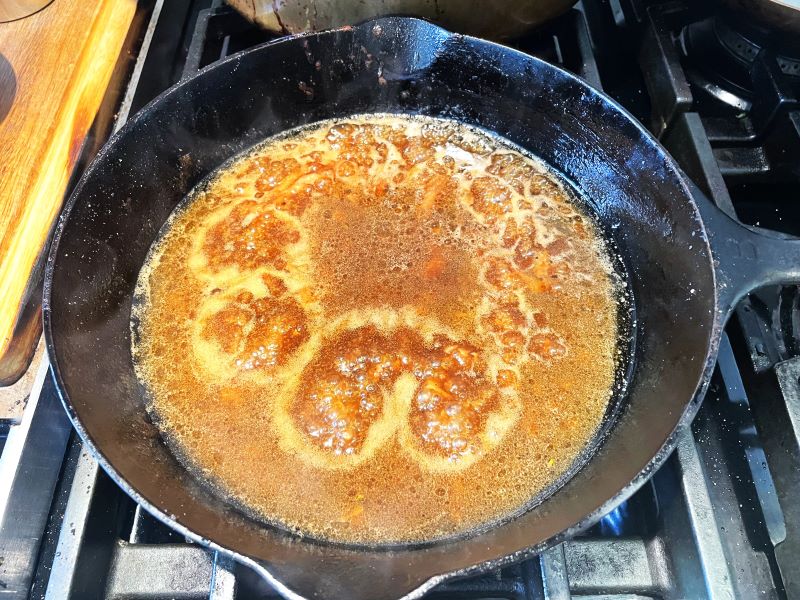
As soon as it starts to cool, the sauce will separate into the maple syrup and chicken drippings and the butter.
The maple syrup and drippings will naturally separate, so use a spoon to mix the sauce each time before you pour it over your food.
Alternatively, if you have an immersion blender, you can use it to blend the sauce and force the drippings and butter to mix (you’re creating an emulsion – great fun lesson for the kids if they want to watch from a distance, but be very careful with them around those hot drippings!). Blend those drippings and butter until you have a cohesive sauce. Honestly, I do not bother doing this. Too much work for a weeknight, lol.
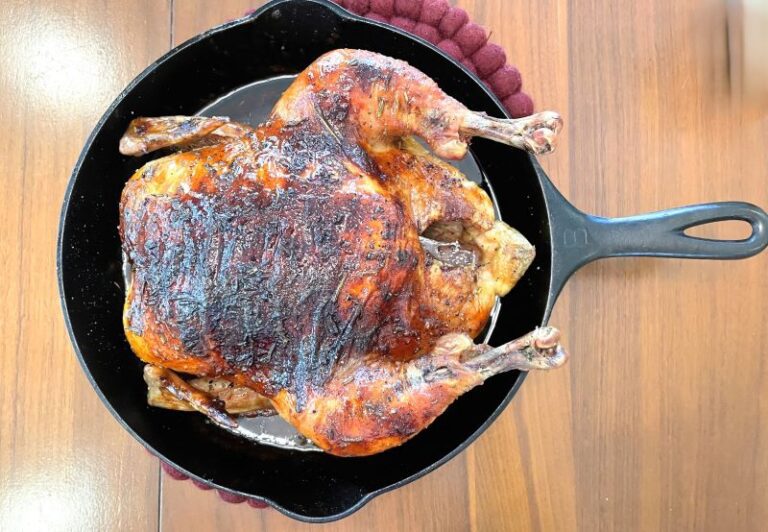
7. Serve up your chicken. Apply sauce as needed!
- Prep Time: 10 min
- Cook Time: 60 min
- Category: Dinner
- Method: Bake