Ingredients
Greens Mixture
Cheese Mixture
Filo Pastry
Instructions
1. Defrost filo.
Assuming you are using frozen filo, get it out of the freezer now. It needs 3 hours of defrosting at room temp before you can use it. It will take you approximately 45 minutes to get from the start of this recipe to the point when you can start to use the filo. If you get there before the filo is fully defrosted, however, the filling can hang out for several hours (I will store it in our fridge for a couple of days after making it so I can make multiple pies).
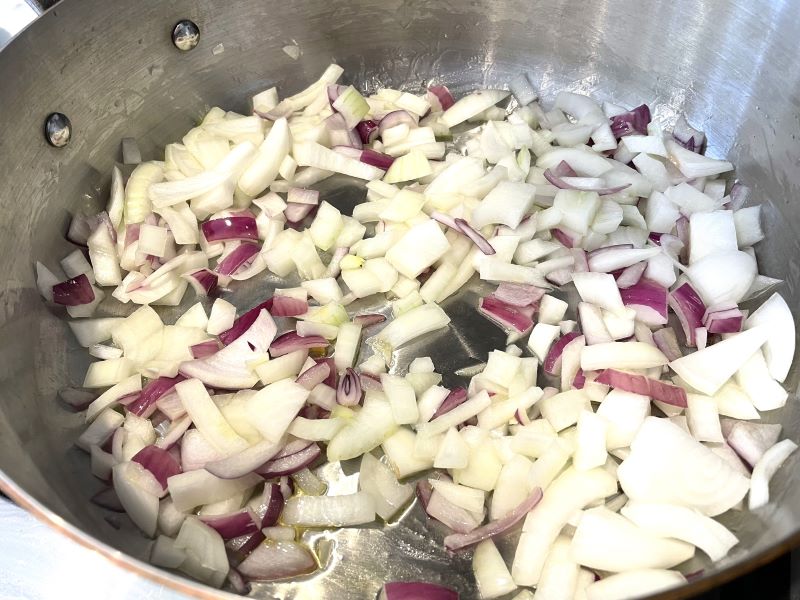
2. Begin with the onion.
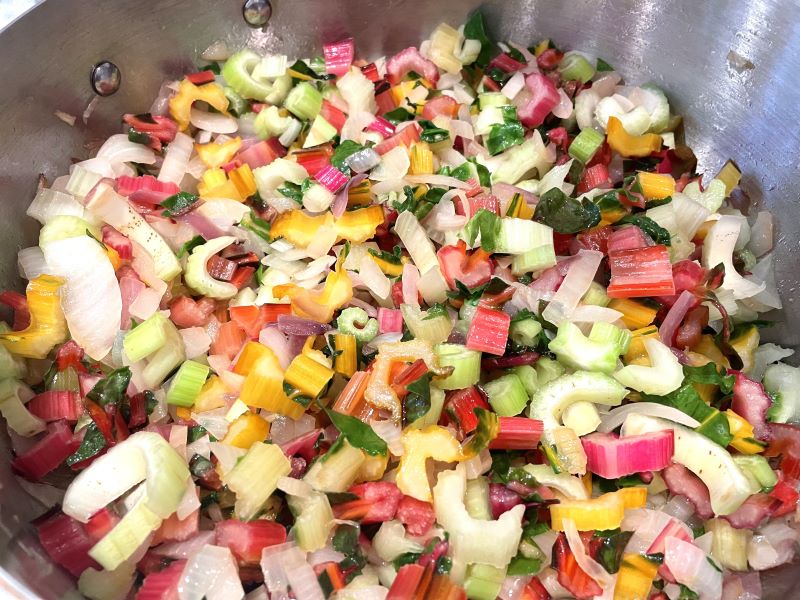
Chop up the onion and sauté it in a large pan with high sides on medium heat until it starts to caramelize a bit (about 10 minutes). I used a mix of red and yellow onion in the below picture, but either or both types of onion will work.
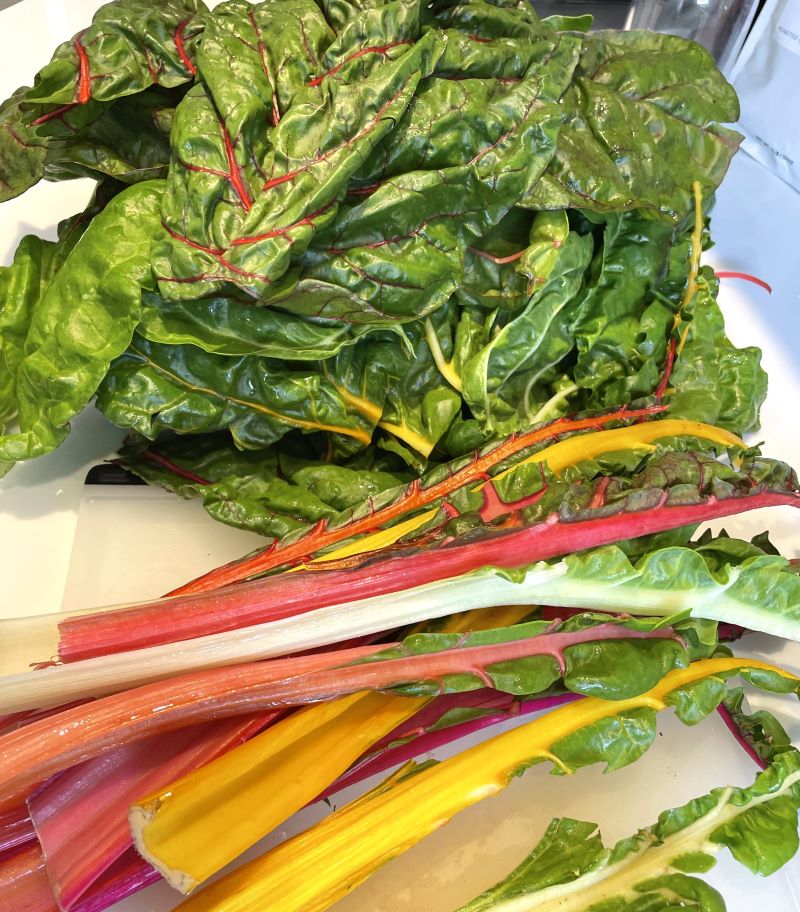
3. Remove the chard stems from the rainbow chard.
I usually use a paring knife to cut out the stems, but you could also use a zealous toddler to rip the leafy bits off of the stems. Either approach works in my experience.
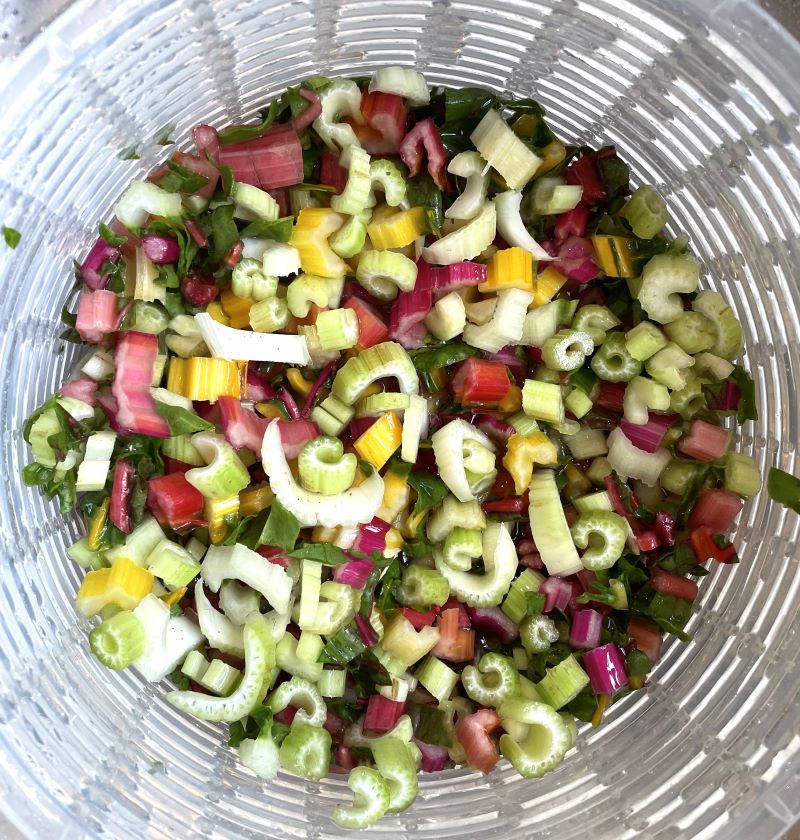
4. Chop the chard stems and the celery and wash thoroughly.
5. Add the chard stems and celery to the onion and cook another 5 minutes to soften.
I say 5 minutes, but usually I just keep cooking over low-medium heat while I prep the other vegetables that need to go in the pan, so sometimes it takes me a tad longer.
6. While the stems cook, shred the chard leaves.
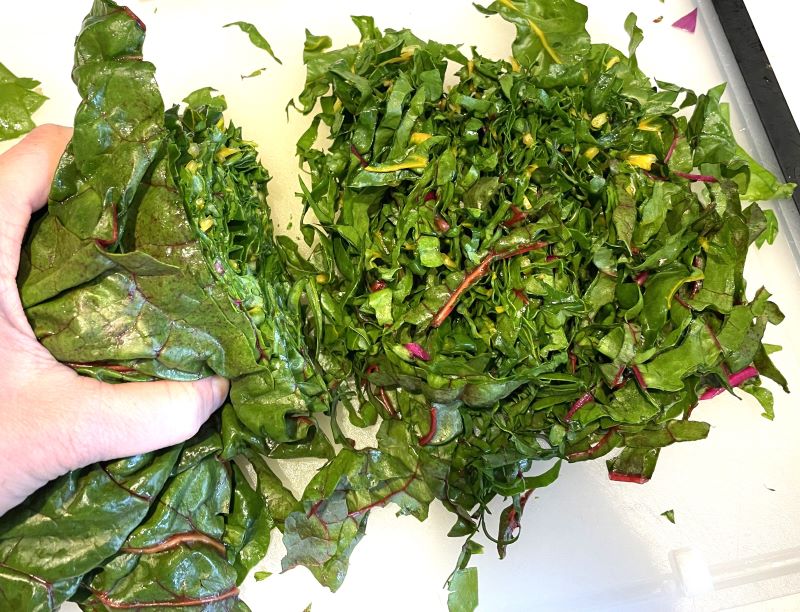
I bundle together my leaves into a tight burrito and then shred them pretty finely. Then I throw them into the salad spinner and wash them thoroughly.
7. Add the remaining greens to the pan.
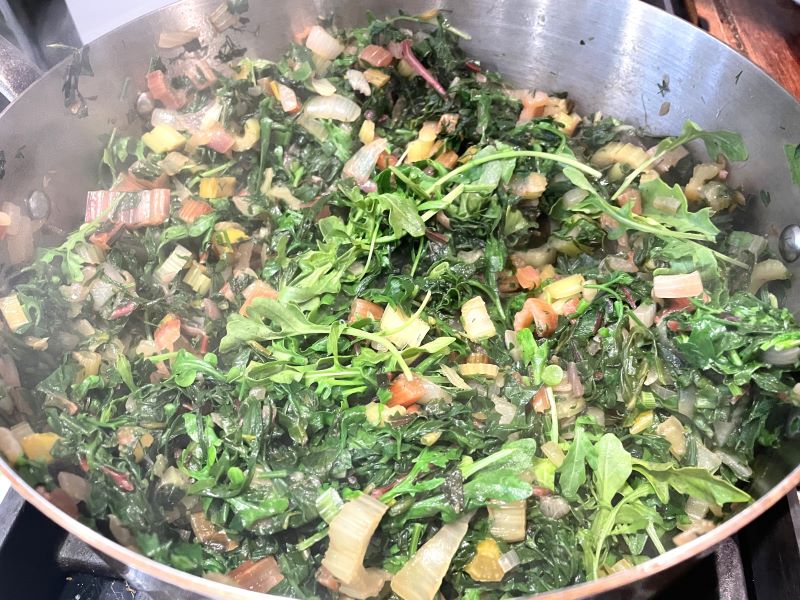
There will be a lot of greens, and they will take up less space as they wilt down. I usually start with the chard, then the chopped green onions and the arugula, and finally the roughly chopped herbs. Cook until just wilted and then turn off the heat and set aside to cool a bit.
8. Squeeze out the liquid from the greens.
You have two options here.
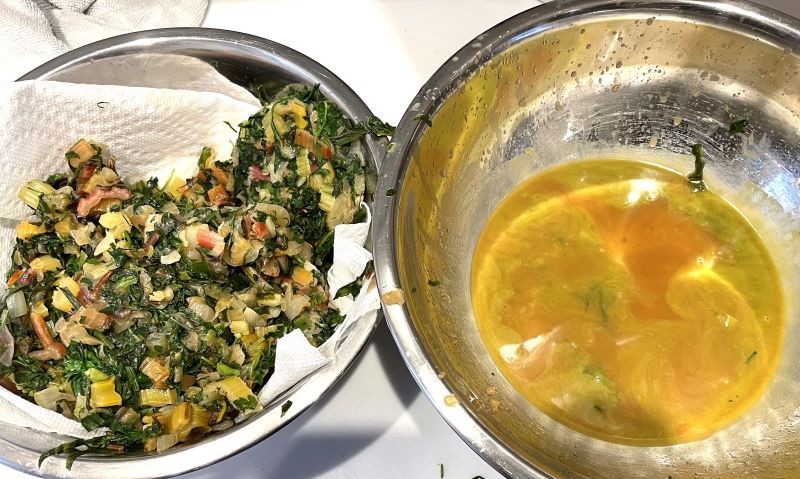
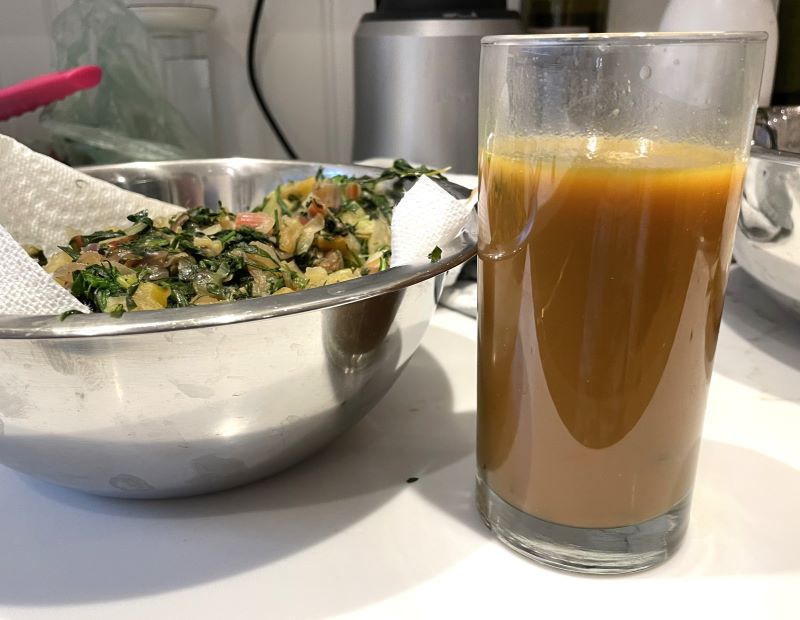
Option 1: My preferred method (pictured below), using a potato ricer. I set up two bowls next to the pan of wilted greens — one to collect liquid, and one to dump out the greens after squeezing. I usually put about 1/2 a cup of greens in the ricer at a time, squeeze it to get out as much liquid as I can, and then pop out the greens into the second bowl.
Option 2: You can put the greens in a strainer and let them sit over a bowl. The liquid will drip out of them. This will take at least 1-2 hours for you to get a decent amount of liquid out.
9. Do not skip the previous step.
You will be tempted. I know from experience. If you skip the prior step, you will end up with soggy filo dough and question all the hassle you just went through. FYI, here is how much liquid I removed from the greens last time I made this recipe.
10. Make the cheese mixture.
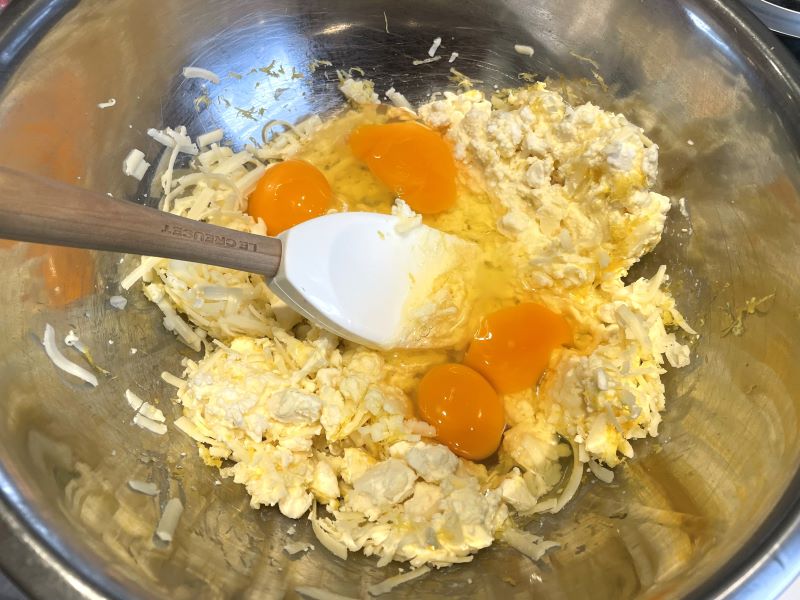
Add the cheeses, eggs, lemon zest, salt, and pepper to a bowl. Mix together well.
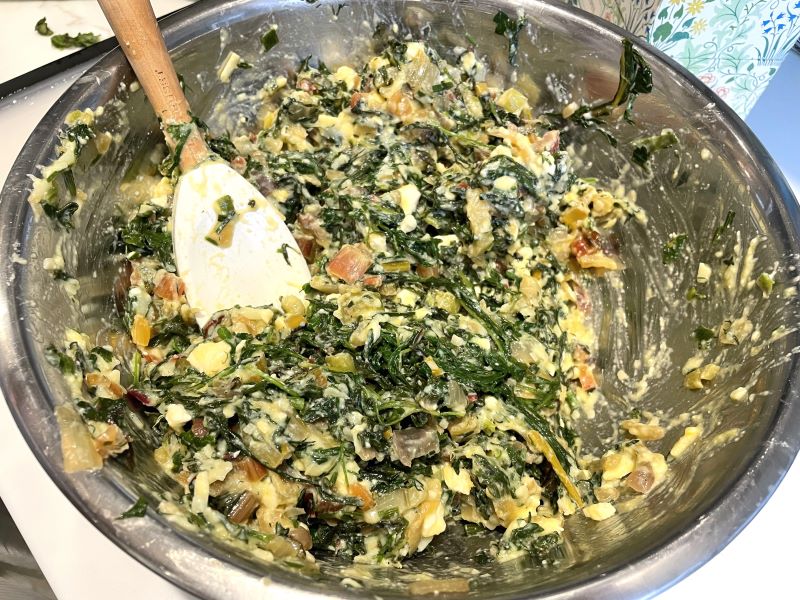
11. Combine the greens and the cheese mixture.
The filling is now complete and the hard part is over!
12. Prepare the filo.
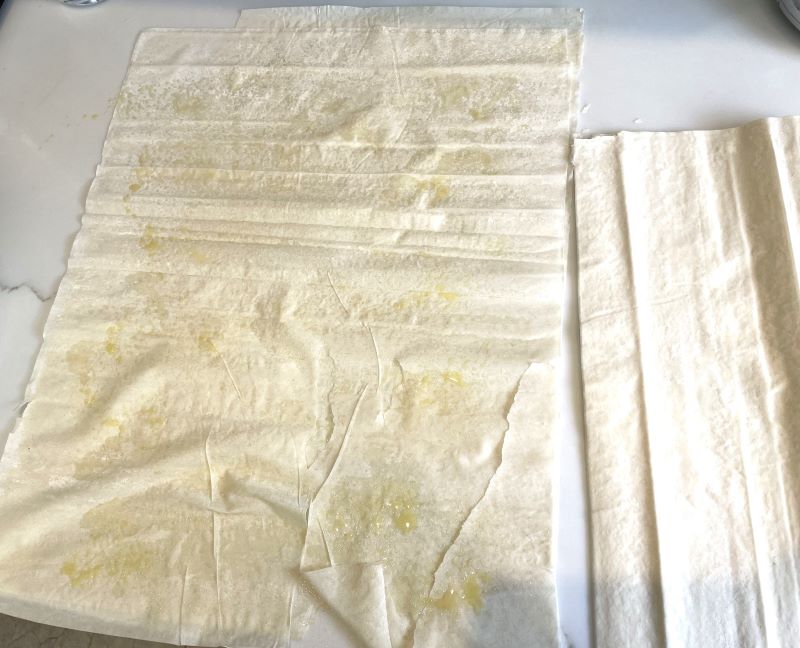
First, make sure your filo is properly thawed. Then open it up and unroll it. Makes sure you have a clean, dry countertop workspace. Take the first sheet of filo dough out and place it on the counter. Spray or brush it with olive oil (I usually do about 1/2 – 1 tsp of olive oil per sheet. Then place a second sheet on top. Spray or brush again with olive oil. Do this until you have a stack of 5 sheets.
13. Drape the filo dough.
Take the 5 sheets of filo dough and drape them gently over the dish you will use to bake your pie.
For a thick pie, I usually use a well-olive-oiled large ramekin or pie dish with sides. This makes sure the sides of the pie are supported during the cooking process. You will need to be very gentle when laying the filo dough into the pie dish. Gently press it into the edges of the ramekin. Spread a thick layer of the greens mixture (maybe 2 – 2 1/2 inches thick).
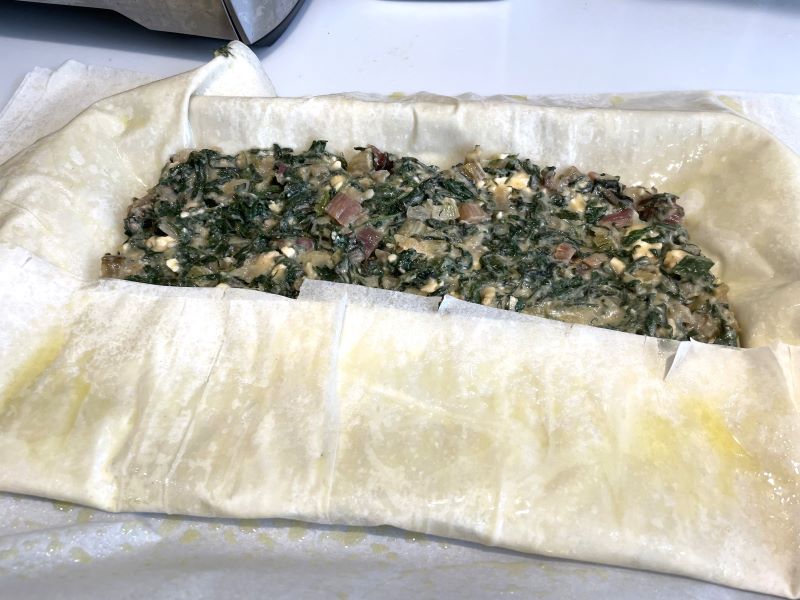
For a thinner pie (and an easier approach), I use a baking sheet with a piece of parchment paper on top (pictured). Spread a layer of the green mixture in to the filo dough. In the picture below, I am using a quarter sheet pan, and I aim to spread the mixture about 1/2 inch thick, in a roughly 5 x 8 inch rectangle in the middle of the filo.
14. Fold the filo over the top.
For the thick pie, trim around the edges of the filo dough so that about 2 inches overhangs the sides of the baking dish. Fold the overhanging filo dough over the pie. Create another 5-layer stack of filo dough following the instructions in step 12 above. Cut the stack into the shape of your baking dish and place over the top. Scrunch up the pastry a bit to get some waves in the top of the pie.
For the thinner pie, fold the overhanging filo dough over the pie, starting with the bottom, then fold over the two sides, and finally fold over the top. Once finished, scrunch up the filo dough to get some waves.
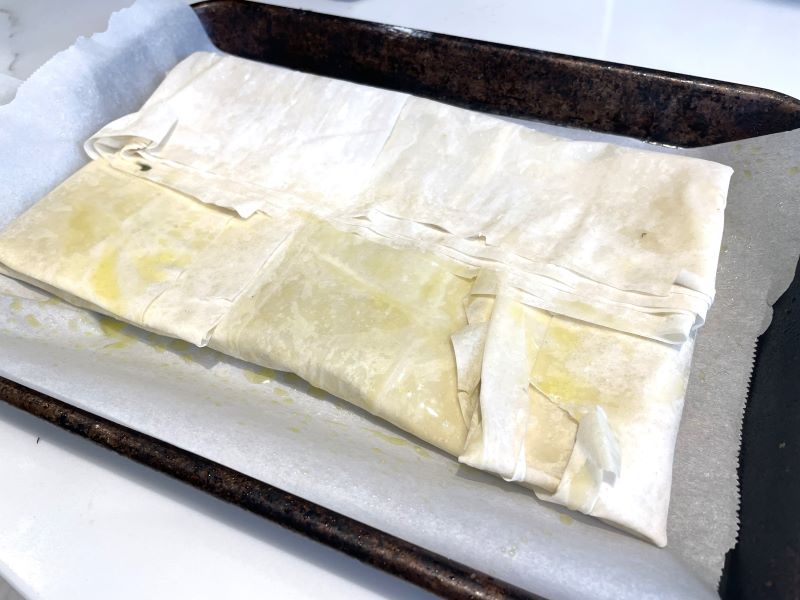
15. Spray or brush the top of the filo with olive oil.
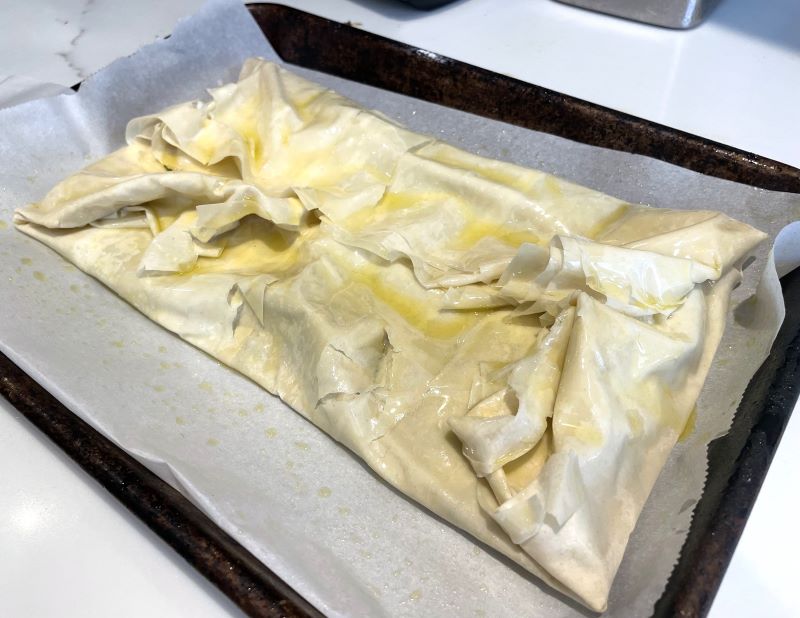
16. Bake the pie at 400F for about 40 minutes.
You could probably bake the thinner one for less time, but overbaking hasn’t really been an issue for us (at least so far).
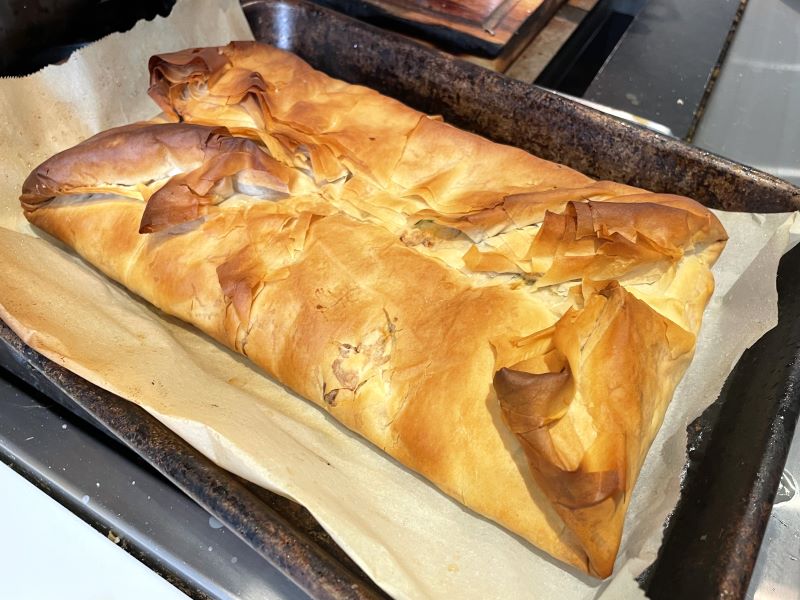
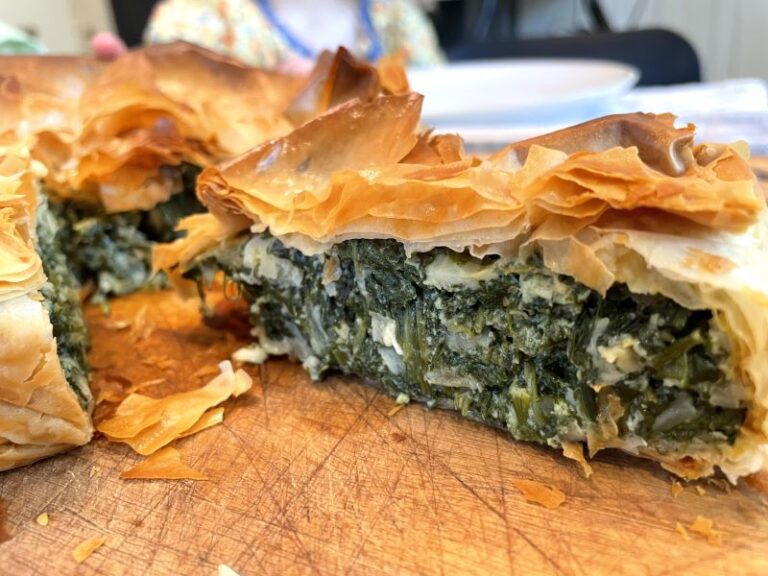
17. Enjoy warm or at room temp!
- Prep Time: 60 min
- Cook Time: 40 min
- Method: Bake, stovetop
