Ingredients
1 leftover chicken carcass
approximately 6 cups water
1/2 tsp salt
Instructions
1. Pick off any remaining meat.
Try to get all the meat off the carcass and set it aside for later. I put it into soup, but only in the last 10 minutes of cooking or so (otherwise, the meat will lose flavor).
It’s okay if you don’t get all the meat off – it will just enhance the flavor of the stock.
2. Put the carcass into a large saucepan.
The pot I use is about 3 quarts (about 12 cups). Sometimes its a bit of a challenge in getting all the chicken in there, but if it pokes out a bit, that’s fine. The structure of the carcass will start to break apart naturally after about an hour of cooking. It will fit into the pot much better at that point, so don’t stress.
I try to get all the juices, bones, skin, and cartilage in there. Sometimes some meat gets in there too, and that’s just fine.
Top it with about 6 cups of water (more if you need to based on the pot you’re using). Try to cover as much of the bones as possible, but leave at least an inch of space at the top of the pan (so that liquid doesn’t boil over the side of the pot!)
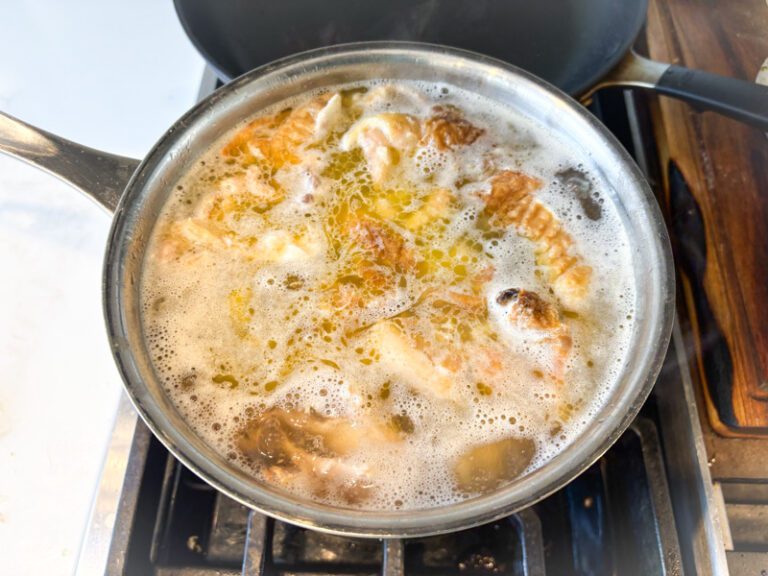
Add 1/2 tsp of salt. Bring it up to a simmer (not a full rolling boil).
Note on the skin: Some people prefer to leave out the skin, but I prefer to add any that we haven’t eaten. The skin adds a bit more fat, which makes the broth richer, but it also adds some of the compounds from the Maillard browning effect on the chicken skin which will enhance the flavor. In addition, the skin adds a bit more collagen and gelatin to the finished broth.
3. Cook for 1-12 hours.
Keep the heat very low so that the broth stays at a slow simmer. Cook it uncovered and stir it every hour or so. The longer you cook it, the richer the broth will get. If the water boils down below the bones, top it off with water so that the bones stay submerged.
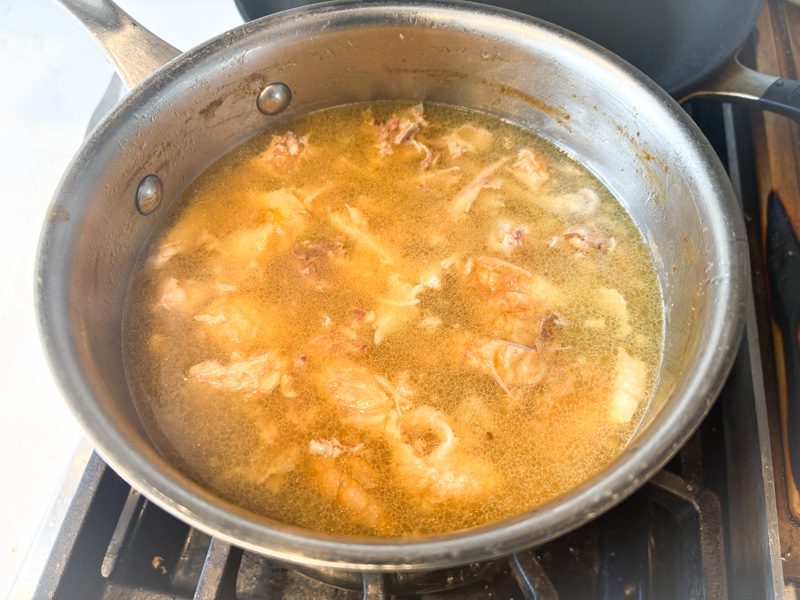
I usually cook it for 2-4 hours. I start it right after dinner, around 6.30 or 7pm, and turn it off right before bed, 10-11pm. I let it cool on the stove overnight and bring it back up to a simmer the next morning before I move to step 4.
This is how my broth looks after about 4 hours of cook time.
4. Pour the broth through a strainer.
Put a strainer over a large heat-safe bowl. Pour the broth through the strainer. Let it sit for a bit to make sure all the broth has dripped through.
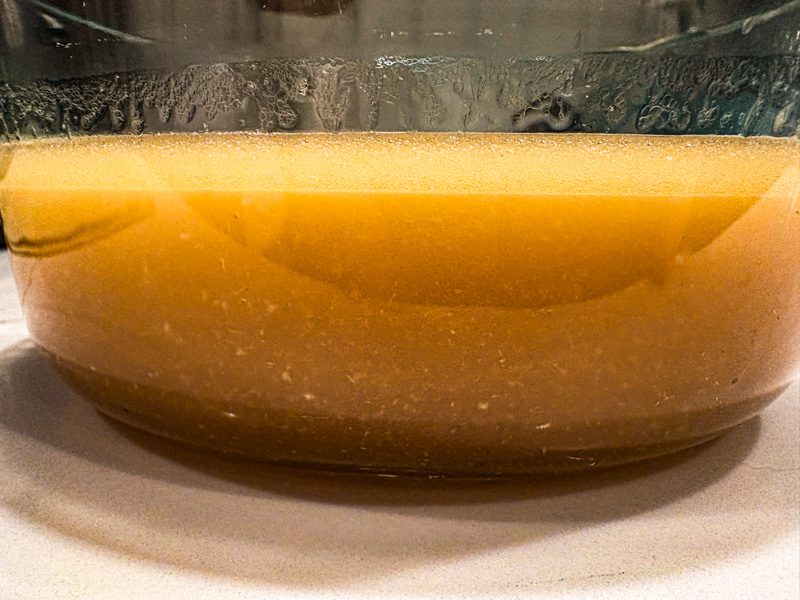
5. Congrats, you now have broth.
You can chill the broth, which will help solidify the top layer of fat. You can skim that out if you don’t want to keep it in. I usually leave it because I like the richness it adds to the broth.
To use the broth, I usually use about 1 part broth, 1 part water, as the flavor will likely be quite condensed.
- Prep Time: 5 min
- Cook Time: 2 hours
- Category: Dinner
- Method: stovetop